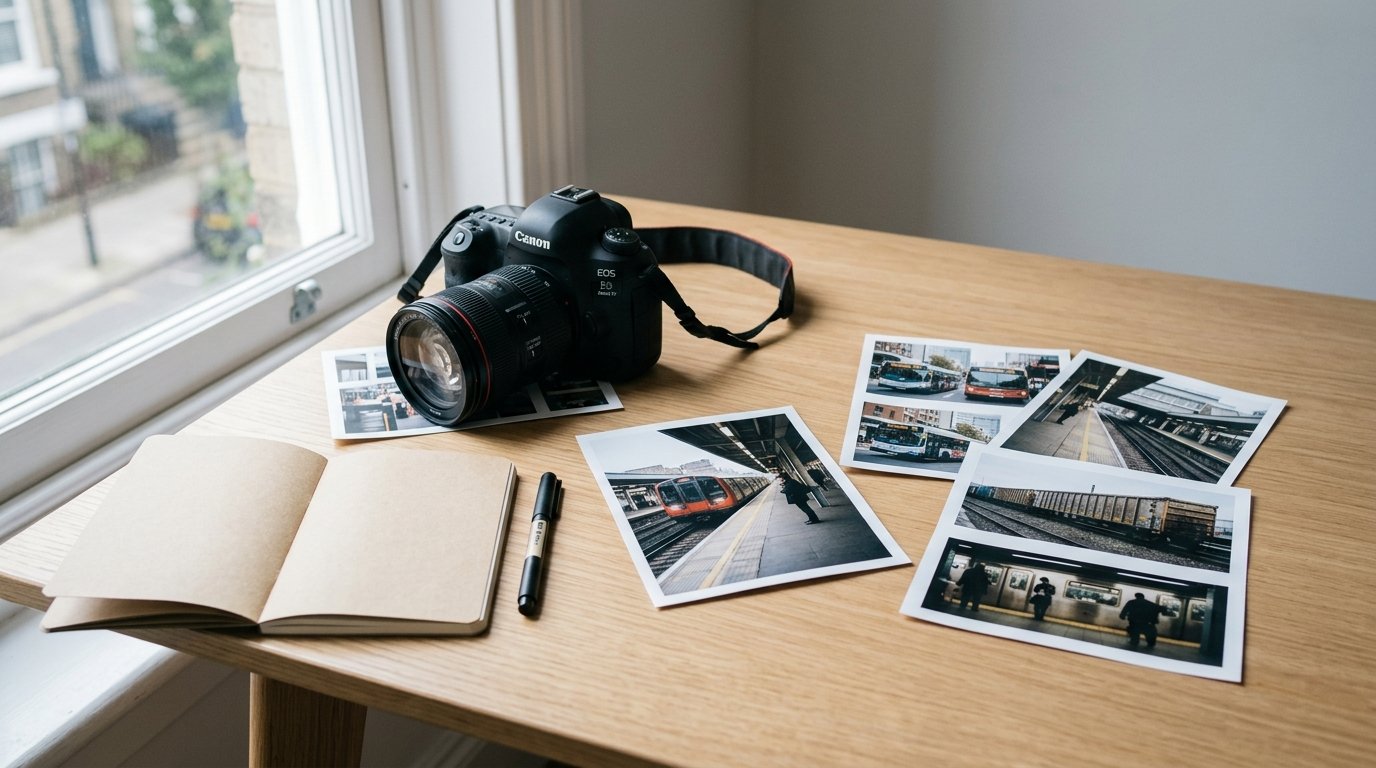
If this weeks photographic assignment is transport, your goal is not just to photograph a car, train, bus, or bicycle. The stronger approach is to show movement, travel, waiting, direction, routine, or connection. Transport photography can be about the vehicle, the people using it, the place it moves through, or the marks it leaves behind.
Start by choosing one simple story: speed, daily commuting, quiet journeys, deliveries, old versus new transport, or the design of wheels, tracks, roads, and signs. Then use composition and camera settings to support that story. A sharp parked bicycle, a blurred bus at dusk, and a train passenger framed in a window can all fit the assignment.
What Counts as Transport Photography?
Transport photography includes any image connected to moving people or goods from one place to another. Obvious subjects include cars, buses, trains, planes, boats, bicycles, scooters, motorcycles, taxis, and delivery vans. But you can also photograph stations, platforms, bridges, roads, traffic lights, ticket machines, cycle lanes, footsteps, luggage, helmets, wheels, mirrors, and signs.
Think of transport as a system, not just a vehicle. A rainy bus stop, a row of parked bikes, a ferry wake, or a commuter holding a travel card can communicate the theme clearly. This gives you more options, especially if you do not live near dramatic transport locations.
Choose One Story Before You Start Shooting
A broad theme like transport can feel too open. Before taking photos, choose a smaller idea to guide your decisions. Ask: what do I want the viewer to notice?
For example, “speed” might lead you to panning shots of cyclists or light trails from cars. “Routine” might suit commuters waiting at a station. “Design” could focus on shapes, wheels, chrome, handlebars, or train doors. “Contrast” might compare an old bicycle against a modern tram line.
This story does not need to be complicated. It simply helps you avoid random snapshots. Once you know the story, it becomes easier to choose location, framing, timing, and settings.
Quick Transport Photo Ideas You Can Try This Week
Here are beginner-friendly ideas that do not require special access:
- Photograph a bicycle locked to a railing, using the street behind it as context.
- Capture a bus arriving at a stop, with waiting passengers in the frame.
- Shoot car headlights or taillights during blue hour.
- Photograph reflections of vehicles in puddles, windows, or shiny building surfaces.
- Look for repeating patterns in train seats, platform edges, road markings, or bike racks.
- Take a close-up of hands on handlebars, a ticket being held, or luggage wheels.
- Frame a vehicle through a doorway, bridge, fence, or station entrance.
- Show contrast between still and moving transport, such as a parked scooter beside blurred traffic.
- Photograph shadows from bikes, railings, or passing cars.
- Capture the mood of waiting: empty benches, timetable boards, or quiet platforms.
Choose one idea and work it properly rather than rushing through ten unrelated subjects.
Transport Photo Challenge Ideas by Difficulty
Pick a challenge level that matches your confidence and location. Easy ideas help you complete the assignment quickly. Medium ideas add timing and composition. Harder ideas involve more control over light, motion, or storytelling.
| Difficulty | Photo idea | What to practice |
|---|---|---|
| Easy | Parked bicycle, scooter, or car detail | Framing, texture, clean backgrounds |
| Easy | Bus stop, platform, or station sign | Context and storytelling |
| Medium | Moving cyclist or bus | Shutter speed and timing |
| Medium | Reflections in windows or puddles | Layers and creative composition |
| Medium | Commuters waiting or walking | Human interest and observation |
| Hard | Panning a moving vehicle | Smooth tracking and motion blur |
| Hard | Night traffic light trails | Long exposure and tripod stability |
| Hard | Mini photo story of one journey | Sequencing and visual variety |
Composition Tips for Stronger Transport Photos
Transport subjects often include lines, direction, and movement, so use those features deliberately. Roads, rails, bridges, lane markings, escalators, and platform edges make excellent leading lines. Place your subject where those lines guide the eye.
Leave space in front of a moving vehicle so it appears to have somewhere to go. This is called “lead room,” and it makes motion feel more natural. If a bus is moving left to right, compose with more empty space on the right.
Look for frames within frames: train windows, bus doors, mirrors, tunnels, and bridge arches. These can turn an ordinary subject into a more intentional image.
Also watch the background. A clean wall, simple sky, or repeated pattern can make a bicycle or car stand out. If the scene is busy, move your feet, crouch lower, or shoot from the side to reduce clutter.
Camera Settings for Transport Photography
For still transport subjects, use aperture priority or portrait mode on a phone. Try f/4 to f/8 on a camera for enough sharpness, especially with cars, bikes, or station scenes. Keep ISO low in good light, such as ISO 100–400.
To freeze moving vehicles, use a faster shutter speed. Start around 1/500 sec for cyclists and cars, and go faster for trains or motorcycles. Use continuous autofocus if your camera has it.
For motion blur, slow the shutter to around 1/30 to 1/125 sec, depending on speed. A bus may blur nicely at 1/60 sec, while a cyclist may need 1/30 sec. Hold the camera steady or brace yourself.
For panning, follow the moving subject smoothly while using about 1/30 to 1/125 sec. The subject should be partly sharp while the background streaks.
At night, use a tripod or steady surface for light trails. Try 2 to 10 seconds, low ISO, and a narrow aperture such as f/8.
How to Photograph Movement Safely and Legally
Do not stand in roads, rail areas, cycle lanes, private yards, or restricted transport zones for a photo. Stay on public pavements, platforms, crossings, and viewing areas where photography is allowed.
Avoid distracting drivers, cyclists, or transport staff. Do not use flash toward moving vehicles. If photographing people closely, especially on public transport, be respectful and follow local rules. When in doubt, step back and make people part of the wider scene rather than the main subject.
A Simple One-hour Transport Photo Assignment Plan

Use this quick plan if you want a focused result without overthinking it.
First 10 minutes: Choose one location, such as a bus stop, train station entrance, bridge, car park, cycle rack, ferry terminal, or busy corner. Watch how people and vehicles move.
Next 15 minutes: Take wide shots that show the environment. Include roads, signs, platforms, tracks, or buildings so the transport theme is clear.
Next 20 minutes: Work on details and motion. Photograph wheels, doors, mirrors, tickets, handlebars, shadows, or reflections. Try one fast shutter speed and one slower shutter speed.
Final 15 minutes: Make three stronger compositions. Change your angle, simplify the background, wait for a better subject, and review your images before leaving.
Aim to submit one main image plus two supporting shots if your challenge allows it.
Editing Tips to Finish the Assignment
Keep edits clean and natural. Straighten horizons, especially with roads, platforms, buildings, and tracks. Crop to remove distracting edges and strengthen direction of movement.
Adjust exposure and contrast so the subject stands out. Use highlights carefully on shiny vehicles and night lights. A slight boost in clarity or texture can help details like metal, rubber, and road surfaces. For motion shots, do not over-sharpen blur; let the movement feel intentional.
FAQ
What Should I Photograph for a Transport Photography Assignment?
Photograph anything connected to travel or movement: cars, buses, trains, bicycles, scooters, boats, stations, roads, tickets, luggage, signs, or commuters. If you are stuck, start with a common public location and show how people or vehicles move through it.
How Do I Make a Transport Photo More Interesting?
Give the photo a clear idea. Show speed, waiting, routine, design, contrast, or a journey. Use leading lines, reflections, frames, motion blur, or human details. A simple bicycle can become interesting if the light, background, and angle support the story.
What Shutter Speed Is Best for Photographing Moving Vehicles?
Use around 1/500 sec or faster to freeze most moving vehicles. For creative motion blur, try 1/30 to 1/125 sec. For panning, start near 1/60 sec and follow the subject smoothly as it passes.
Can I Complete a Transport Photo Challenge with a Phone?
Yes. Use your phone for parked vehicles, stations, reflections, signs, and people in transport settings. For motion, try burst mode, night mode, or any long-exposure feature your phone offers. Good timing and composition matter more than expensive gear.
Is It Okay to Photograph People on Public Transport?
Rules vary by location, so check local guidance. In general, be respectful, avoid intrusive close-ups, and do not block or disturb anyone. A safer approach is to include people as part of a wider scene, such as silhouettes, queues, or commuters from behind.