
Summer is a great season for photography because the days are long, the light changes dramatically, and there are easy subjects everywhere: beaches, gardens, street events, family trips, food, storms, and late sunsets. The best summer photography projects are not just random photos. They give you a small goal, a subject to repeat, and a way to practice one skill at a time.
Start with a project that fits your schedule and location. If you only have 20 minutes, shoot shadows, flowers, or backyard details. If you have an evening, try sunset portraits or street scenes. If you have a full weekend, build a short photo story around a place, trip, or summer routine.
Quick Answer
The best summer photography projects are simple, repeatable, and tied to the season. Try projects such as golden-hour portraits, beach or lake details, backyard macro, summer food photography, street festival storytelling, silhouettes at sunset, water action, weather changes, and night scenes with lights.
A good beginner-friendly project should include four parts:
| Project type | Best location | Time needed | Skill practiced |
|---|---|---|---|
| — | —: | —: | — |
| Golden-hour portraits | Park, beach, backyard | 30–60 minutes | Light direction and posing |
| Backyard macro | Garden, patio, trail | 20–45 minutes | Focus and close-up detail |
| Summer food photos | Kitchen, picnic, café | 30 minutes | Styling and composition |
| Water action | Pool, lake, sprinkler | 30–60 minutes | Shutter speed |
| Sunset silhouettes | Open horizon, hill, beach | 20 minutes | Exposure control |
| Street or event story | Market, fair, parade | 1–2 hours | Sequencing and observation |
| Night lights | Boardwalk, city, campsite | 30–90 minutes | Low-light technique |
The main takeaway: choose one project, repeat it several times, and finish with a small set of 5 to 12 images. That final set matters because it teaches you to select, edit, and present your work instead of only collecting files.
For most summer photography projects, you can use a phone, compact camera, or beginner mirrorless/DSLR camera. If your camera has manual or semi-manual modes, start with aperture priority for portraits and details, shutter priority for motion, and exposure compensation for bright beaches or dark silhouettes.
How to Think About This Topic
Think of summer photography projects as practice containers. Instead of saying, “I want better photos,” you pick a subject, a light condition, and a final result. This keeps the project small enough to finish and focused enough to teach you something.
A useful mental model is: subject + condition + skill + final goal.
For example, “photograph flowers” is broad. “Photograph five backyard flowers in harsh midday light using shade and simple backgrounds” is a project. It gives you a subject, a summer condition, a skill to practice, and a finish line.
Here are a few ways to build that structure.
Start with your subject. Summer subjects are easy to find: people outdoors, ice cream, fruit, gardens, water, travel scenes, sports, pets, fireworks, campfires, and evening skies. Choose something you can access more than once. Repetition helps you improve faster than chasing a perfect one-time scene.
Choose the condition. Summer light can be beautiful but tricky. Early morning and late evening are soft and warm. Midday sun is hard and contrasty. Beaches and pools can fool your camera meter because bright sand and water reflect light. Storms create dramatic skies. Night events bring neon, string lights, and motion blur. Each condition teaches a different lesson.
Pick one skill. Do not try to practice everything in one project. For portraits, focus on where the light hits the face. For water action, focus on freezing or blurring motion. For food, focus on styling and background. For sunset silhouettes, focus on exposing for the bright sky. One clear skill makes the project easier to judge.
Define the final goal. A project should end with something specific: a 6-photo story, a printed diptych, a phone wallpaper set, a mini album from a trip, or a before-and-after editing comparison. This gives your shooting direction. If the final goal is “eight photos that show a summer evening at the lake,” you will remember to photograph wide scenes, details, people, and transitions—not just one pretty sunset.
This matters for readers looking for summer photography projects because the goal is not simply to get a list of ideas. The goal is to leave with a project you can begin today, using the gear and locations you already have. A beginner with a phone can make a strong backyard color study. A camera user with a kit lens can create a thoughtful beach story. Skill grows from attention, repetition, and finishing the work.
Practical Guidance
Use the ideas below as starting points. Each includes a subject, a shooting approach, a beginner technique, and a final project goal.
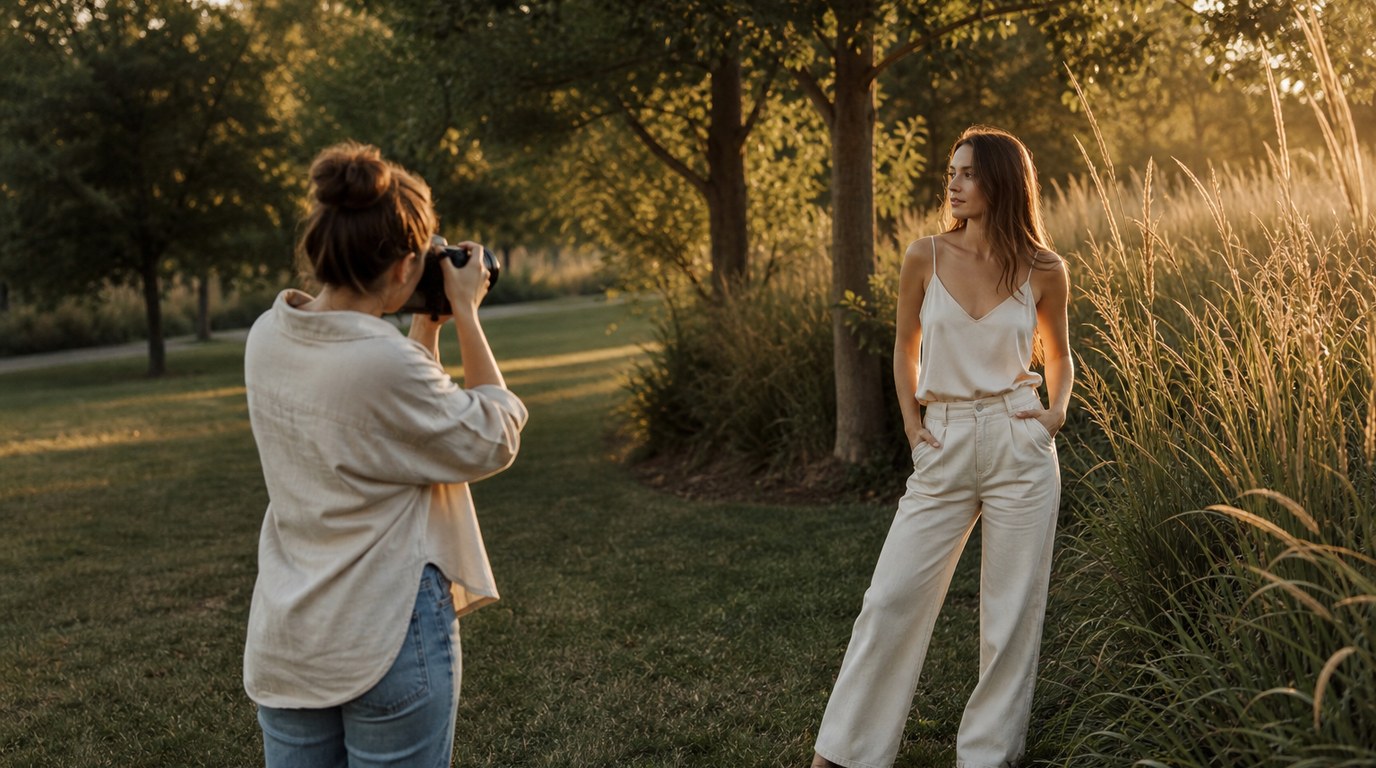
1. Golden-hour portrait series
Subject idea: photograph a friend, family member, or self-portrait during the last hour before sunset. Use a park, beach, open field, or even a driveway with warm side light.
Shooting approach: place your subject so the sun comes from the side or behind them. This avoids squinting and gives hair and shoulders a bright edge. Look for simple backgrounds.
Beginner settings or technique: use portrait mode on a phone, or aperture priority with a wide aperture such as f/2.8 to f/5.6 on a camera. Tap or focus on the eyes. If the face is too dark, increase exposure slightly or move into open shade.
Final project goal: create a set of 6 portraits showing different distances: close-up, half-body, full-body, walking, seated, and one environmental portrait.
2. Backyard macro and detail hunt
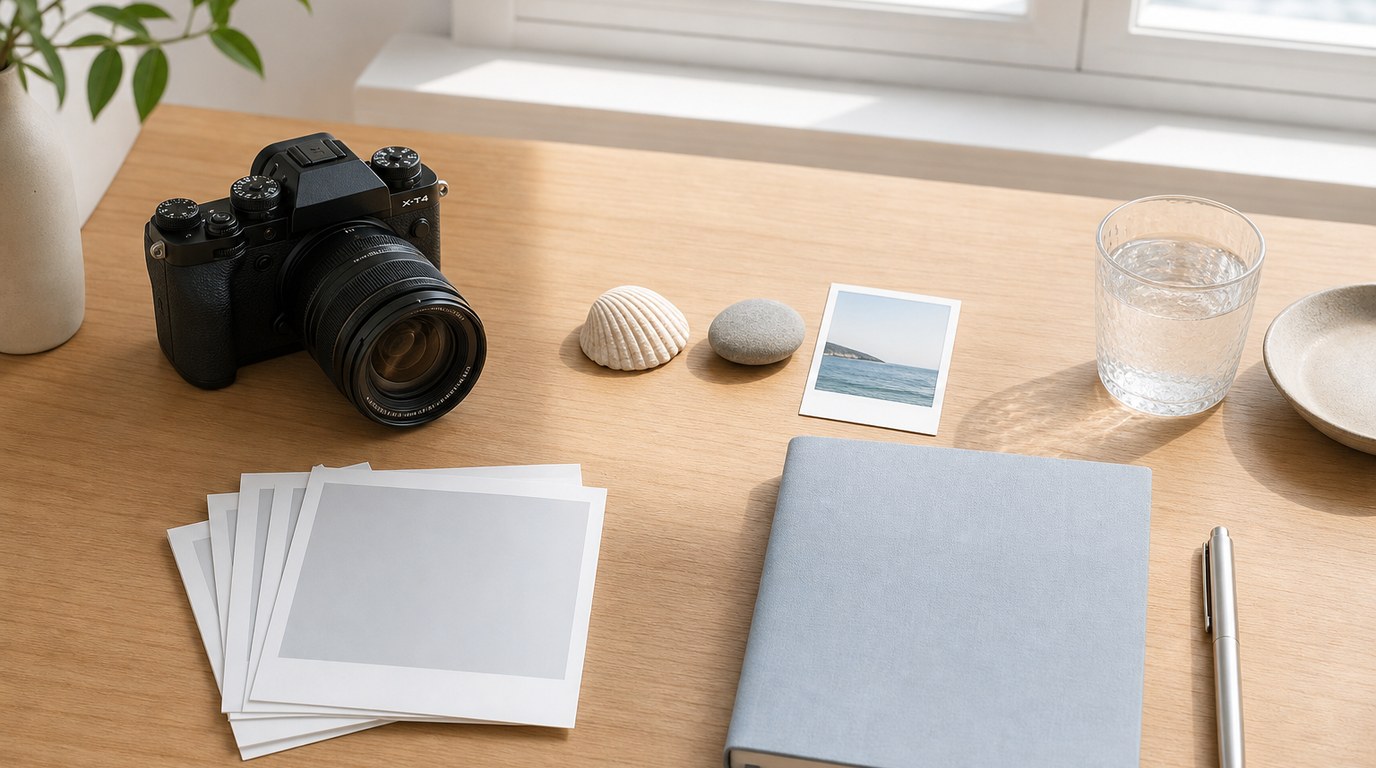
Subject idea: photograph small summer details such as leaves, insects, water drops, garden tools, flower petals, shells, or textures on outdoor furniture.
Shooting approach: work slowly. Move around the subject until the background is clean. Shade often helps because it reduces harsh highlights and makes colors richer.
Beginner settings or technique: on a phone, use macro mode if available and tap carefully to focus. With a camera, use a close-focusing lens or zoom in with your kit lens. Try f/5.6 to f/8 for more depth of field.
Final project goal: make a 9-image grid based on color, texture, or shape. This is a strong project for days when you cannot travel.
3. Summer food and drink story
Subject idea: photograph lemonade, ice cream, grilled food, berries, picnic setups, farmers market finds, or cold drinks on a hot day.
Shooting approach: use window light, porch shade, or a picnic table out of direct sun. Add one or two props, not a cluttered scene. A napkin, hand, cutting board, or condensation on a glass can make the image feel seasonal.
Beginner settings or technique: shoot from overhead for flat lays and from table level for drinks or stacked food. Use exposure compensation if white plates look gray. Keep backgrounds simple.
Final project goal: create a 5-photo recipe or picnic sequence: ingredients, preparation, close-up, serving, and final scene.
4. Water motion project
Subject idea: photograph sprinklers, pool jumps, waves, fountains, rain puddles, or kids running through water.
Shooting approach: decide whether you want to freeze motion or show blur. Freezing captures droplets sharply. Blur shows movement and energy.
Beginner settings or technique: for frozen water, use shutter priority around 1/1000 second if your camera allows it. For blur, try 1/30 to 1/125 second and pan with the subject. On a phone, use burst mode for jumps and splashes.
Final project goal: choose 8 images that show different water shapes: spray, reflection, ripple, splash, stream, wave, puddle, and droplet.
5. Sunset silhouettes
Subject idea: photograph people, trees, bikes, lifeguard chairs, boats, pets, or hands against a bright sunset sky.
Shooting approach: put your subject between the camera and the sky. Keep the outline clear. Avoid overlapping shapes, such as a person standing directly in front of a tree.
Beginner settings or technique: expose for the sky, not the subject. On a phone, tap the bright sky and lower exposure if needed. On a camera, use exposure compensation around -1 or -2 stops if the scene looks too bright.
Final project goal: build a 6-image silhouette series using different shapes and compositions.
6. One summer place photo story
Subject idea: choose one location: a beach, local pool, boardwalk, campground, market, neighborhood park, or small-town fair.
Shooting approach: tell the story with variety. Capture an establishing wide shot, people interacting, close-up details, signs, food, weather, and an ending image.
Beginner settings or technique: use a standard zoom or your phone’s main lens. Avoid photographing only the obvious main attraction. Look for small moments: sandy shoes, melting ice, ticket stubs, towels on a fence, or lights turning on.
Final project goal: edit the shoot into a 10-photo story with a beginning, middle, and end.
7. Summer night lights
Subject idea: photograph string lights, carnival rides, city streets, campfires, fireworks, car trails, or glowing windows after sunset.
Shooting approach: stabilize the camera whenever possible. Use a railing, tripod, table, or both hands against your body. Watch for mixed light sources that create strong color.
Beginner settings or technique: on a phone, try night mode and hold still. With a camera, start around ISO 800–3200, a wide aperture, and the slowest shutter speed you can handhold. For light trails, use a tripod and several-second exposures.
Final project goal: create a moody 7-photo night set focused on color, glow, and atmosphere.
FAQ
What Should a Beginner Know First About Summer Photography Projects?
Start small. A good summer photography project does not need travel, expensive gear, or perfect weather. Pick one subject, one skill, and one final goal. For example, photograph backyard details for one week and finish with your best 9 images.
What Matters Most When Evaluating Summer Photography Projects?
The best project is one you can actually complete. Consider access, time, light, and difficulty. A simple idea you repeat three times will teach more than an ambitious idea you abandon. Look for projects with clear subjects and a specific finished set.
What Mistakes Should Readers Avoid with Summer Photography Projects?
Avoid trying too many ideas at once. Also avoid shooting only during harsh midday sun unless that is part of the project. Do not keep every photo. Editing down to a small final set is where you learn what worked and what needs improvement.
What Is the Next Logical Step After Learning About Summer Photography Projects?
Choose one project from the list and schedule a short shoot this week. Afterward, select your strongest images, make light edits, and arrange them as a series. Then repeat the same project once more with one improvement in mind.