
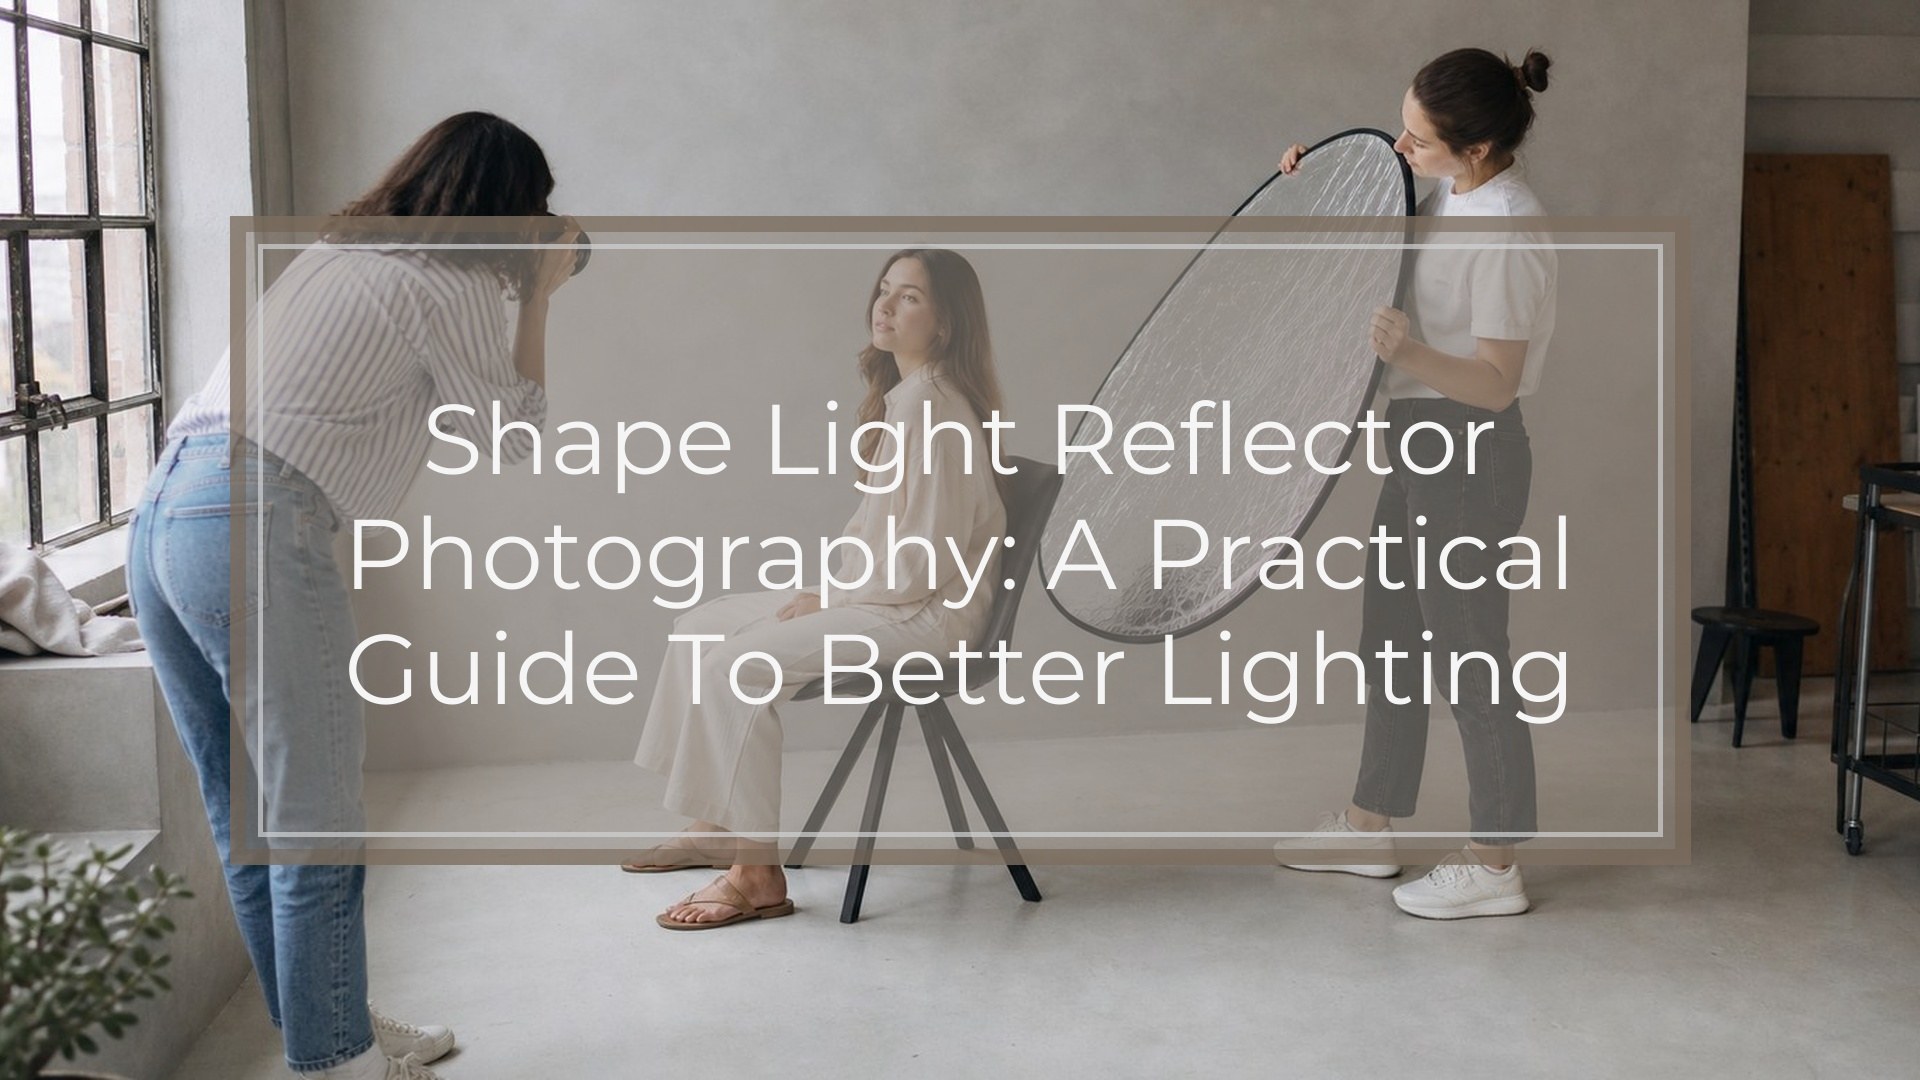
A reflector shapes light by bouncing existing light back onto your subject. It does not create light on its own; it redirects light from the sun, a window, a flash, or a lamp. The fastest way to use one is simple: place your subject near a light source, hold the reflector on the shadow side, and move it until the shadows look softer and the eyes or surface gain a clean highlight. Distance controls brightness, angle controls direction, and reflector color controls the mood. Once you understand those three controls, reflector photography becomes much easier to repeat.
What It Means to Shape Light with a Reflector
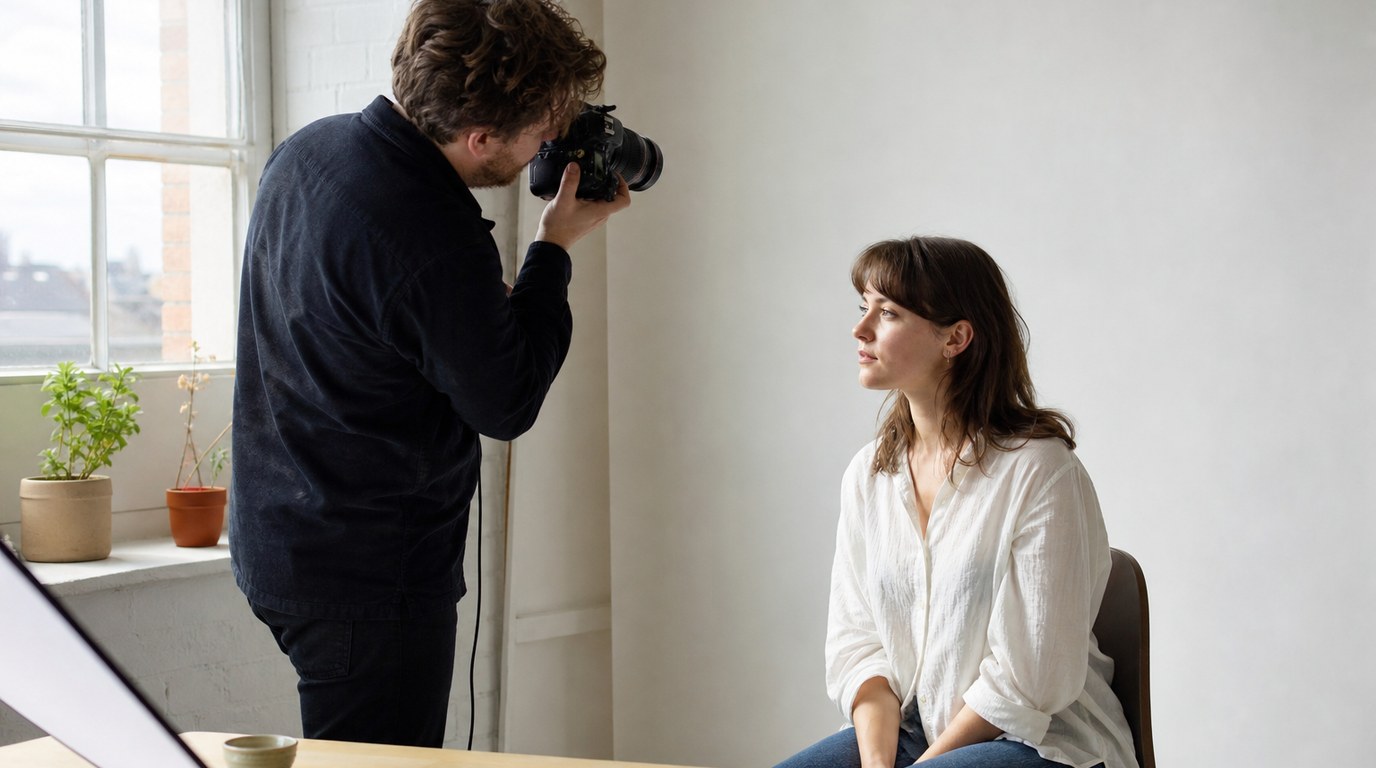
To shape light with a reflector, think of light as a ball you can bounce. The main light hits the reflector, then the reflector sends some of that light back toward the subject. You are not only “adding brightness.” You are deciding where the fill light comes from, how strong it is, and what color it feels like.
A reflector can open shadows under the eyes, reduce contrast on a face, create catchlights, brighten a product label, or add a glowing edge to hair. It can also keep shadows if you use it lightly. The goal is not always to make everything evenly bright. Good reflector use keeps the image dimensional while making the important details easier to see.
Choose the Right Reflector Surface
Reflector surfaces create different looks. A 5-in-1 reflector is popular because it usually includes white, silver, gold, black, and translucent panels. You do not need all of them at first, but knowing what each one does helps you make faster decisions.
| Reflector surface | Best for | Look it creates |
|---|---|---|
| White | Beginners, portraits, window light | Soft, natural fill |
| Silver | Low light, stronger fill, products | Bright, crisp, cooler reflection |
| Gold | Warm outdoor portraits | Warm, sunset-like color |
| Black | Reducing bounce or deepening shadows | More contrast and shape |
| Translucent | Harsh sunlight diffusion | Softer light before it hits the subject |
For most beginners, white is the safest starting point. It is forgiving, natural-looking, and less likely to create shiny skin or harsh reflections. Silver is useful when the reflector is farther away or the light source is weak. Gold should be used carefully because it can make skin look too orange.
Control Brightness with Distance
Distance is the easiest reflector control to understand: closer usually means brighter, farther usually means weaker. If you place a white reflector just outside the frame near a person’s shadow-side cheek, the fill will be obvious. Move it a few feet away, and the effect becomes more subtle.
Start close, then back up until the shadows look natural. This is better than guessing from across the room. For portraits, watch the face, not the reflector. For products, watch the darkest side of the object and any shiny highlights. If the reflected light looks too strong or fake, move the reflector away or switch from silver to white.
Control Direction with Angle
Angle decides where the bounced light lands. A reflector works best when it “sees” both the light source and the subject. If it is not catching light, it cannot bounce much back.
A simple way to find the right angle is to rotate the reflector slowly while watching the subject. You will see the fill light appear, disappear, and move across the face or object. For portraits, placing the reflector slightly below face level can brighten shadows under the chin and eyes, but too low can create an unnatural “campfire” look. Side placement keeps more shape. Higher placement can look more realistic when it matches the direction of sunlight or window light.
Small angle changes matter. Before moving your camera settings, adjust the reflector angle first.
Use a Reflector for Portrait Photography
Reflectors are especially helpful for portraits because they control contrast without making the light look complicated. A basic setup is to place your subject beside a window, with the window as the main light and a white reflector on the opposite side of the face. Move the reflector closer for softer shadows or farther away for more drama.
Outdoors in open shade, use a silver or white reflector in front of the subject and slightly to one side. This can brighten the eyes and add catchlights when the sky is acting as a large overhead light. Avoid placing the reflector directly under the face unless you want a beauty-style look.
For backlit portraits, put the sun behind the subject and use the reflector in front to bounce light back onto the face. This keeps the background glow while preventing the face from becoming too dark. If the reflected sunlight is too intense, switch to white or move the reflector farther away.
Use a Reflector for Product and Still Life Photography
Reflectors are just as useful for products, food, flowers, and still life images. In product photography, a reflector often fills the dark side of an object so the shape and label remain visible. Place your product near a window, then put a white card or reflector opposite the window. Move it closer until the shadow side has detail but still looks three-dimensional.
For shiny objects, be careful: the reflector may appear as a visible reflection. This can be good if it creates a clean white highlight, but distracting if it shows odd shapes. Try using a larger reflector or foam board for smoother reflections. Black cards are also useful because they add dark edges to glass, bottles, jewelry, or metal objects, helping define the shape.
Step-by-step Beginner Exercise
Try this short exercise near a window or outside in open shade.
- Place a person or object beside the light source.
- Take one photo with no reflector.
- Add a white reflector on the shadow side, close to the subject.
- Take a second photo.
- Move the reflector twice as far away and take a third photo.
- Change the reflector angle until the light is strongest, then weakest.
- Compare all images on a larger screen.
Look at shadow depth, catchlights, skin texture, and background separation. Do not judge only by brightness. Ask which version has the best shape. This exercise trains your eye to see reflector strength and direction, which is more useful than memorizing fixed placements.
Common Reflector Mistakes and Quick Fixes
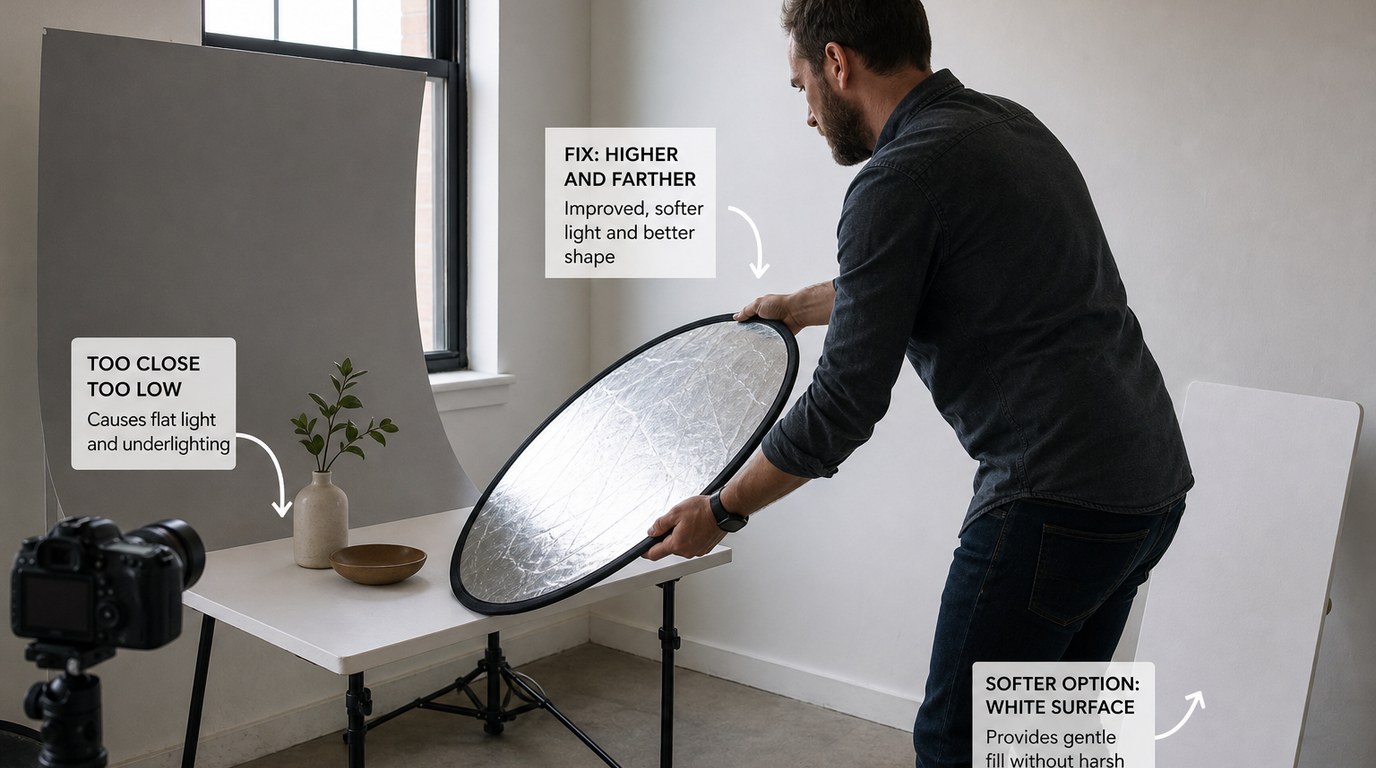
One common mistake is using too much fill. If the face or product looks flat, move the reflector away, angle it slightly off, or use a white surface instead of silver.
Another mistake is reflecting light from below too strongly. This can make portraits look unnatural. Raise the reflector or move it to the side for a more believable direction.
Beginners also forget to check color. A gold reflector in already-warm sunset light can turn skin orange. Use white instead.
Finally, do not ignore the main light. A reflector cannot fix every lighting problem. If the main light is harsh, move into shade, use the translucent panel to diffuse it, or change your subject’s position before adding fill.
FAQ
What Is the Best Reflector Color for Beginners?
White is the best reflector color for beginners. It gives soft, natural-looking fill and is less likely to create harsh highlights or strange skin tones. Once you can control white well, try silver for more brightness and black for adding contrast.
Where Should I Place a Reflector for Portraits?
Place the reflector on the shadow side of the face, just outside the frame. Start near the subject, then move it away until the fill looks natural. For a classic look, keep it slightly to the side and around chest to face height.
Can I Use a Reflector in Harsh Sunlight?
Yes, but be careful. Direct sunlight bouncing from silver can be too bright and uncomfortable. Use a white reflector for gentler fill, or use the translucent panel to soften the sunlight before it reaches the subject. Open shade is often easier.
What Can I Use Instead of a Photography Reflector?
You can use white foam board, poster board, a white wall, a sheet, cardboard wrapped in foil, or even a light-colored sidewalk. For subtracting light, use black foam board or dark fabric. The key is choosing a surface that reflects or blocks light predictably.