
A good photography learning guide should help you build skills in the right order: first understand light, then learn how your camera controls exposure, then practice focus, composition, and editing with a simple repeatable routine. You do not need to master every setting before taking better photos. You need a clear path, a few core concepts, and enough practice to connect what you see with what the camera records.
The beginner mistake is trying to learn photography as a pile of separate tips: “use this aperture,” “buy this lens,” “shoot at golden hour,” or “never use auto mode.” Those tips can help, but only after you understand the system. Photography is a decision-making process. You choose what should be bright or dark, what should be sharp or blurred, where the viewer should look, and what feeling the image should have.
This guide gives you that learning path. Start with camera setup, then exposure, focus, composition, light, practice, editing, gear, and common mistakes.
Quick Answer
The fastest way to learn photography is to follow a structured path instead of jumping between random tutorials. Start by learning how light affects a photo, then learn the exposure triangle: aperture, shutter speed, and ISO. After that, practice focus, composition, and basic editing. Use simple exercises so every shoot teaches you something specific.
Think of photography as four connected skills:
- Seeing light — noticing direction, softness, contrast, and color.
- Controlling exposure — deciding how bright the image should be.
- Directing attention — using focus, composition, and timing.
- Improving the final image — editing with restraint so the photo matches your intent.
You can begin with any camera, including a phone. A dedicated camera gives you more control, but better gear does not replace better decisions. If you have a DSLR or mirrorless camera, learn aperture priority mode, shutter priority mode, and manual mode gradually. If you use a phone, learn exposure lock, focus lock, portrait mode limits, and basic editing.
A practical beginner roadmap looks like this:
| Stage | What to Learn | Practice Goal |
|---|---|---|
| 1. Setup | File type, image size, battery, card, basic menu settings | Make your camera easy to use |
| 2. Light | Direction, softness, shadows, time of day | Notice why one scene looks better than another |
| 3. Exposure | Aperture, shutter speed, ISO | Control brightness and blur |
| 4. Focus | Focus points, autofocus modes, depth of field | Get the right subject sharp |
| 5. Composition | Framing, background, leading lines, balance | Make the photo easier to read |
| 6. Practice | Repeated exercises and review | Build reliable habits |
| 7. Editing | Crop, exposure, contrast, color | Improve without overprocessing |
| 8. Growth | Projects, feedback, printing, new genres | Move beyond beginner guesses |
If you are starting today, use this simple exercise: choose one subject near a window, take ten photos from different angles, change only one setting at a time, and compare the results. First change your position. Then change exposure. Then change focus. Finally, crop and edit lightly. This teaches more than reading ten disconnected tips because you can see cause and effect.
The main takeaway: photography improves fastest when you connect settings to visual results. Do not memorize settings as fixed recipes. Learn what each setting does, make a choice, review the image, and adjust.
How to Think About This Topic
A photography learning guide is not just a list of camera settings. It is a way to organize your attention. Beginners often ask, “What settings should I use?” A better question is, “What do I want the photo to look like, and what choices will get me there?” That shift turns photography from guessing into problem solving.
A useful mental model is: light first, camera second, composition third, editing last.
Light comes first because photography literally records light. Before you touch settings, look at the scene. Is the light hard or soft? Is it coming from the side, front, or behind the subject? Are the shadows deep? Is the subject brighter or darker than the background? These questions matter because your camera settings cannot make bad light magically interesting. They can only record and shape what is available.
For example, a portrait at noon in direct sun may create harsh shadows under the eyes. You could change exposure, but the face may still look unflattering. Moving the person into open shade may improve the photo more than any setting change. That is why learning light is the foundation.
Camera control comes second. Once you understand the light, you decide how to record it. This is where the exposure triangle matters.
Aperture is the opening inside the lens. It affects how much light enters and how much of the image appears sharp from front to back. A low f-number like f/1.8 creates a wider opening and can blur the background. A higher f-number like f/8 or f/11 keeps more of the scene sharp, which is useful for landscapes or group photos.
Shutter speed controls how long the camera records light. A fast shutter speed, such as 1/1000 second, freezes motion. A slow shutter speed, such as 1/15 second, can blur motion or cause camera shake unless the camera is stabilized. If you photograph a running dog, shutter speed becomes a priority. If you photograph a still cup of coffee, you have more freedom.
ISO controls how sensitive the camera is to light. A low ISO, such as ISO 100, usually gives cleaner image quality. A higher ISO, such as ISO 3200, helps in darker scenes but can add noise or grain. ISO is not “bad”; it is a tool. A sharp noisy photo is often better than a clean blurry one.
These three settings work together. If you make the aperture wider, more light enters, so you may be able to use a faster shutter speed or lower ISO. If you choose a faster shutter speed to freeze action, less light reaches the sensor, so you may need a wider aperture or higher ISO. This is why beginners should not memorize one “correct” setting. The correct setting depends on the subject, light, and creative goal.
Composition comes third because it decides how the viewer reads the image. Composition is not about following rules perfectly. It is about arranging the frame so the subject is clear and distractions are reduced. The rule of thirds, leading lines, symmetry, negative space, and framing are all tools for directing attention. A simple composition often works better than a busy one.
A beginner-friendly composition checklist is:
- What is the main subject?
- Is anything distracting near the edges?
- Does the background help or hurt?
- Would moving closer make the photo stronger?
- Would a lower, higher, or side angle improve it?
- Is the viewer’s eye guided toward the subject?
Notice that most of these questions involve moving your body, not changing your camera. Many photos improve when you step left, crouch down, wait for a clean moment, or simplify the background.
Editing comes last. Editing should support the photo, not rescue every mistake. Basic editing includes cropping, straightening, adjusting exposure, adding contrast, correcting white balance, and controlling highlights and shadows. A strong beginner edit usually looks natural. The goal is to make the image closer to what you saw or intended, not to use every slider.
This learning order matches what beginners actually need. If you start with advanced editing before understanding light, you may overprocess weak files. If you buy more gear before understanding composition, you may take the same confusing photos with a more expensive camera. If you shoot in manual mode before understanding aperture and shutter speed, you may become frustrated and miss moments.
That does not mean auto modes are useless. Program mode, aperture priority, shutter priority, and even full auto can help when used intentionally. The goal is not to prove you are “real” by using manual mode all the time. The goal is to know when control matters.
Use aperture priority when depth of field is your main concern. For portraits, you may choose a wider aperture to soften the background. For landscapes, you may choose a narrower aperture to keep more detail sharp.
Use shutter priority when motion is your main concern. For sports, wildlife, children, or moving water, shutter speed affects the result more than aperture.
Use manual mode when the light is stable and you want consistent exposure, such as indoor portraits, studio work, product photos, or night photography with a tripod.
Use auto or program mode when the moment matters more than technical control, especially while you are still learning. You can still practice composition, light, and timing.
A good photography learning guide also separates knowledge from skill. Reading about aperture gives you knowledge. Taking the same photo at f/2, f/5.6, and f/11 gives you skill. Watching a composition video gives you knowledge. Photographing the same street corner from five angles gives you skill. Reviewing your images and noticing patterns gives you judgment.
Judgment is the real goal. Over time, you begin to predict results before you take the photo. You know that a backlit subject may need exposure compensation. You know that a slow shutter speed may blur a moving hand. You know that a bright background can distract from a portrait. That predictive ability is what makes photography feel less random.
So, when using this photography learning guide, do not rush to “finish” the topics. Move through them in order, but return often. Light, exposure, focus, composition, and editing are not one-time lessons. They are layers you revisit with better eyes each time.
Practical Guidance
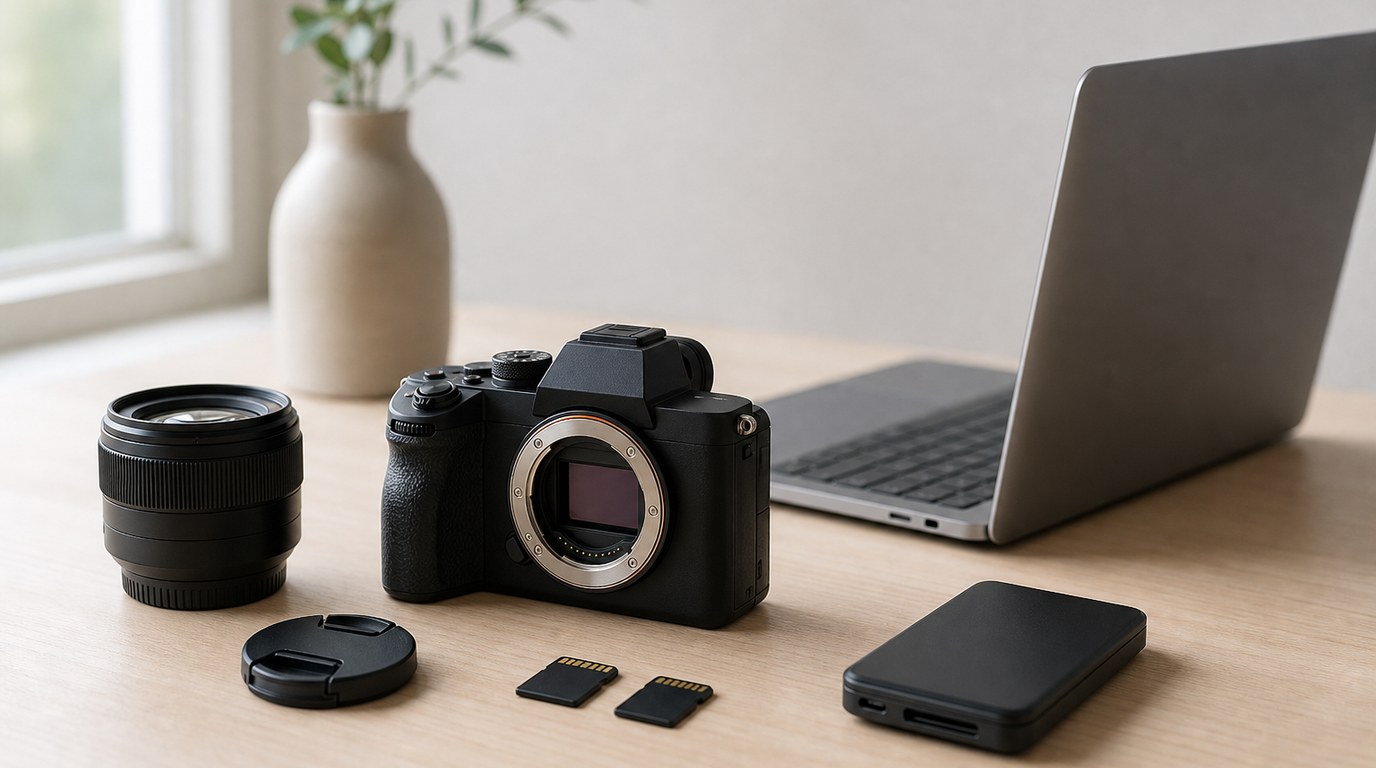
Start with a simple camera setup. If you use a dedicated camera, set the image quality to RAW+JPEG if you want editing flexibility, or JPEG if you want simplicity. RAW files hold more editing information, but they require processing. JPEG files are easier to share and good enough for learning. Make sure your date, time, memory card, battery, and diopter are set correctly. The diopter is the small viewfinder adjustment that makes the viewfinder sharp for your eye; if it is wrong, you may think the camera is not focusing.
Turn on grid lines if your camera offers them. They help with horizons and framing. Set autofocus to a simple mode at first. For still subjects, use single autofocus. For moving subjects, use continuous autofocus. Learn how to move your focus point so the camera focuses where you want, not just on the closest object.
Then begin with light practice. For one week, photograph ordinary subjects in different light: a chair near a window, a plant outdoors, a person in shade, a building at sunset. Do not worry about making portfolio images. Ask what the light is doing. Side light reveals texture. Front light reduces shadows. Backlight creates glow or silhouettes. Soft light from clouds or window shade is forgiving. Hard light from direct sun creates strong contrast.
Next, practice exposure. Choose one subject and shoot it in aperture priority mode. Take a photo at the widest aperture your lens allows, then at f/4, f/8, and f/11. Compare the background and sharpness. This teaches depth of field faster than reading definitions.
On another day, practice shutter speed. Photograph moving water, passing cars, pets, or someone walking. Try 1/30, 1/125, 1/500, and 1/1000 second. Notice when motion blurs and when it freezes. If the image becomes too dark at fast shutter speeds, raise ISO or use a wider aperture.
Then practice ISO. Shoot the same indoor scene at ISO 100, 800, 3200, and 6400. Zoom in and compare noise. This teaches you your camera’s limits. More importantly, it teaches you not to fear ISO. In low light, raising ISO may be the difference between a sharp image and a blurry one.
After exposure, focus on focusing. Many beginner photos fail because the camera focused on the wrong thing. For portraits, focus on the eye closest to the camera. For groups, avoid using an extremely wide aperture unless everyone is on the same plane. For landscapes, focus roughly one-third into the scene or use a smaller aperture like f/8 for more depth.
If your camera has face or eye detection, use it, but still check results. Technology helps, but it is not perfect. Busy backgrounds, low light, glasses, hair, and fast movement can confuse autofocus. Review your images at high magnification occasionally, not obsessively after every shot.
Now build composition habits. Before pressing the shutter, pause for two seconds. Identify the subject. Check the edges of the frame. Look behind the subject. Remove distractions by changing position, zooming, waiting, or simplifying. If a tree appears to grow out of someone’s head, move. If a bright sign pulls attention away, reframe. If the subject is too small, step closer.
Use composition tools as questions rather than rules. The rule of thirds asks, “Would the image feel better if the subject were off-center?” Leading lines ask, “Is there a path for the eye to follow?” Negative space asks, “Would empty space make the subject feel more isolated or calm?” Symmetry asks, “Would centering make this stronger?” The best composition depends on the message.
Practice with small projects. Projects give your learning direction. Try “one subject, ten ways,” where you photograph a single object from ten angles. Try “window light portraits,” where you photograph a person near a window at different distances. Try “one focal length walk,” where you use one lens or one phone zoom setting for an hour. Limits force creativity.
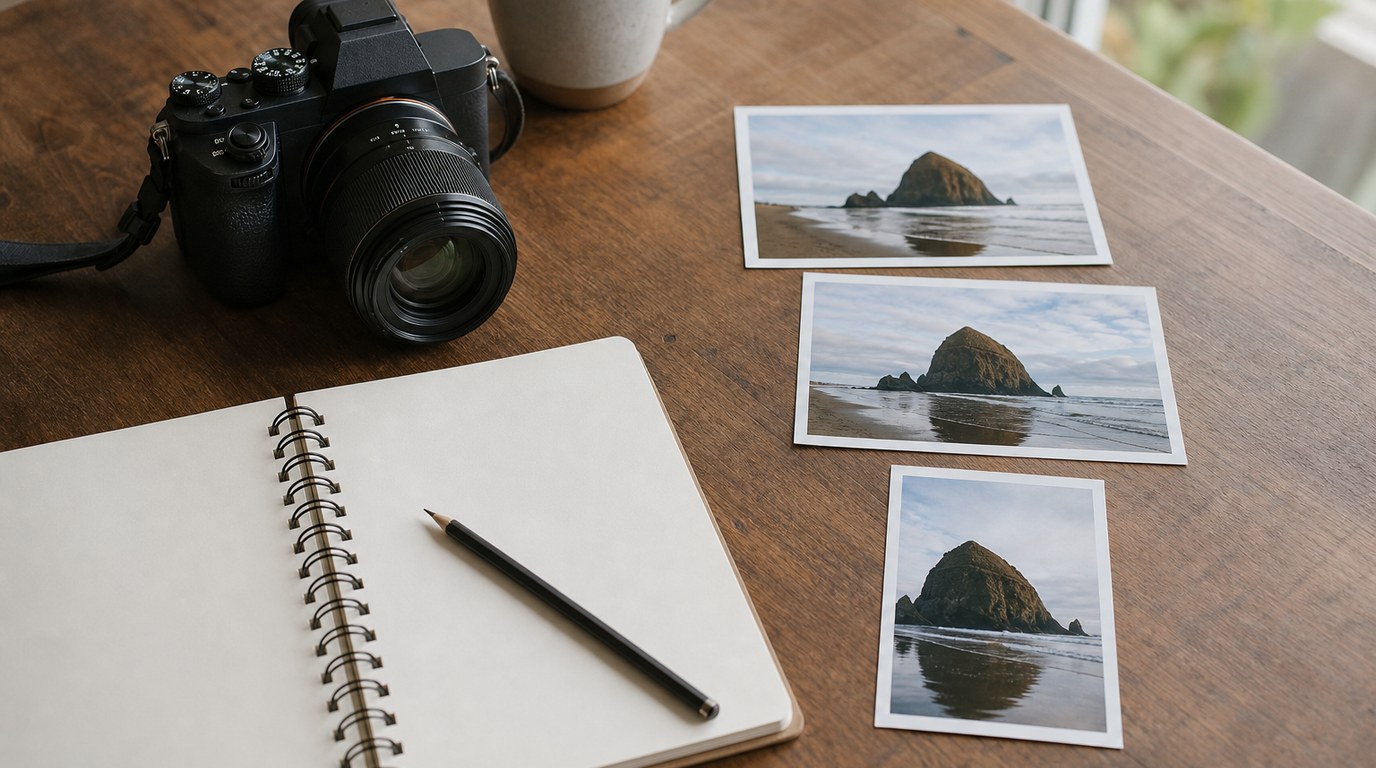
Review your photos after each practice session. Choose three images that worked and three that did not. For each, write one sentence: “This worked because…” or “This failed because…” Keep it practical. Maybe the shutter speed was too slow. Maybe the background was messy. Maybe the light was flat. This review loop is where improvement happens.
Editing should begin with the basics. First crop and straighten. Then adjust exposure. Recover highlights if bright areas are distracting. Lift shadows only if important details are too dark. Add contrast carefully. Adjust white balance so colors feel natural. If skin looks orange or blue, white balance may be the issue. If the image looks dull, contrast or clarity may help, but use them lightly.
Avoid heavy editing early on. Extreme saturation, aggressive sharpening, strong HDR effects, and over-smoothed skin can make photos look artificial. A useful rule is to edit, take a short break, then look again. If the edit calls attention to itself more than the subject, reduce it.
Gear comes after skill, not before it. You can learn exposure, light, and composition with a phone, compact camera, DSLR, or mirrorless camera. If you already have a camera, use it until you can clearly explain what limits you. “I need better low-light performance for indoor events” is a real reason to upgrade. “My photos are boring” is usually a practice issue.
For beginners with interchangeable-lens cameras, a basic kit lens is enough to start. A 50mm or similar fast prime lens can be useful for portraits and low light, but it is not required. A tripod helps with landscapes, night scenes, product photography, and slow shutter speeds. A spare battery and memory card are more important than many accessories.
A simple 30-day learning plan can keep you moving:
- Days 1–3: Set up your camera and learn focus controls.
- Days 4–7: Photograph the same subject in different light.
- Days 8–12: Practice aperture and depth of field.
- Days 13–17: Practice shutter speed and motion.
- Days 18–20: Test ISO in low light.
- Days 21–24: Practice composition with one subject.
- Days 25–27: Edit ten photos with only basic adjustments.
- Days 28–30: Review your best and weakest images, then repeat the plan with a new subject.
As you practice, avoid common beginner mistakes. Do not change every setting at once; you will not know what caused the result. Do not shoot everything from eye level; changing height often improves the image. Do not ignore backgrounds. Do not assume blurry backgrounds make every photo better. Do not use manual mode just to feel advanced. Do not delete too quickly in the field; some images are easier to judge on a larger screen.
Also avoid comparing your early work to polished professional portfolios. Experienced photographers benefit from better light, careful selection, editing skill, strong lenses, and years of practice. Compare your current photos to your photos from last month. Look for progress in sharpness, exposure, cleaner backgrounds, stronger timing, and more intentional framing.
The best way to use this photography learning guide is to turn each concept into a small assignment. Learn aperture, then shoot aperture examples. Learn shutter speed, then shoot motion examples. Learn composition, then photograph one scene five ways. Learn editing, then re-edit an old image with a lighter touch.
When you feel comfortable with the basics, choose one direction for deeper learning. Portrait photography will push you toward posing, expression, skin tones, and soft light. Landscape photography will push you toward tripods, depth of field, weather, and timing. Street photography will push you toward observation, layers, and quick reactions. Product photography will push you toward controlled light and precision. The fundamentals stay the same, but each genre emphasizes different decisions.
Your goal is not to know every photography term. Your goal is to make intentional choices. If you can explain why you chose a shutter speed, why your subject is placed where it is, why the light works, and what you changed in editing, you are no longer guessing. You are learning photography the right way.
FAQ
What Should a Beginner Know First About Photography Learning Guide?
A beginner should know that photography is mainly about light, exposure, focus, and composition. Start by learning how light changes a scene, then learn aperture, shutter speed, and ISO. Practice one idea at a time so you can clearly see what each choice changes.
What Matters Most When Evaluating Photography Learning Guide?
The best photography learning guide has a clear order. It should move from camera setup to exposure, focus, composition, light, practice, and editing. It should also include exercises, not just definitions, because beginners improve by connecting camera settings to visible results.
What Mistakes Should Readers Avoid with Photography Learning Guide?
Avoid jumping between random tips, buying gear too early, and changing too many settings at once. Do not treat manual mode as the only serious option. Also avoid ignoring light and backgrounds, because those two things often affect beginner photos more than camera settings.
What Is the Next Logical Step After Learning About Photography Learning Guide?
The next step is structured practice. Pick one topic, such as aperture or shutter speed, and shoot a short exercise around it. Review the results, write down what changed, and repeat. After that, explore related guides on camera settings, composition, and beginner editing.