

The 7 most common beginner photography mistakes you should avoid are ignoring light, missing focus, forgetting composition, using shutter speeds that are too slow, overediting, relying completely on auto mode, and not reviewing your photos critically. These mistakes are normal because beginners are trying to notice many things at once. The good news: each one has a simple fix. Better photos usually come from small habits repeated consistently, not from buying a more expensive camera.
| Mistake | What It Looks Like | Quick Fix |
|---|---|---|
| Ignoring the light | Harsh shadows, dull colors, flat images | Move your subject or change your angle |
| Wrong focus | Background sharp, subject soft | Choose your focus point deliberately |
| Weak composition | Cluttered or awkward framing | Check subject, edges, and background |
| Slow shutter speed | Blurry photos | Raise shutter speed or stabilize the camera |
| Overediting | Unnatural colors and crunchy detail | Edit lightly and compare before/after |
| Avoiding settings | Camera makes all decisions | Learn one setting at a time |
| Not reviewing | Same mistakes repeat | Study what worked and what failed |
Why Beginner Photography Mistakes Happen
Beginner photography mistakes happen because a good photo depends on several things working together: light, focus, composition, exposure, timing, and review habits. When you are new, it is easy to think the camera should handle most of that for you. Sometimes it can, but not always.
A useful mental model is this: your camera records light, but you decide what matters in the frame. The camera can calculate exposure and autofocus, but it does not know your creative intent. Improvement starts when you stop simply taking pictures and begin making decisions before pressing the shutter.
Mistake 1: Ignoring the Light
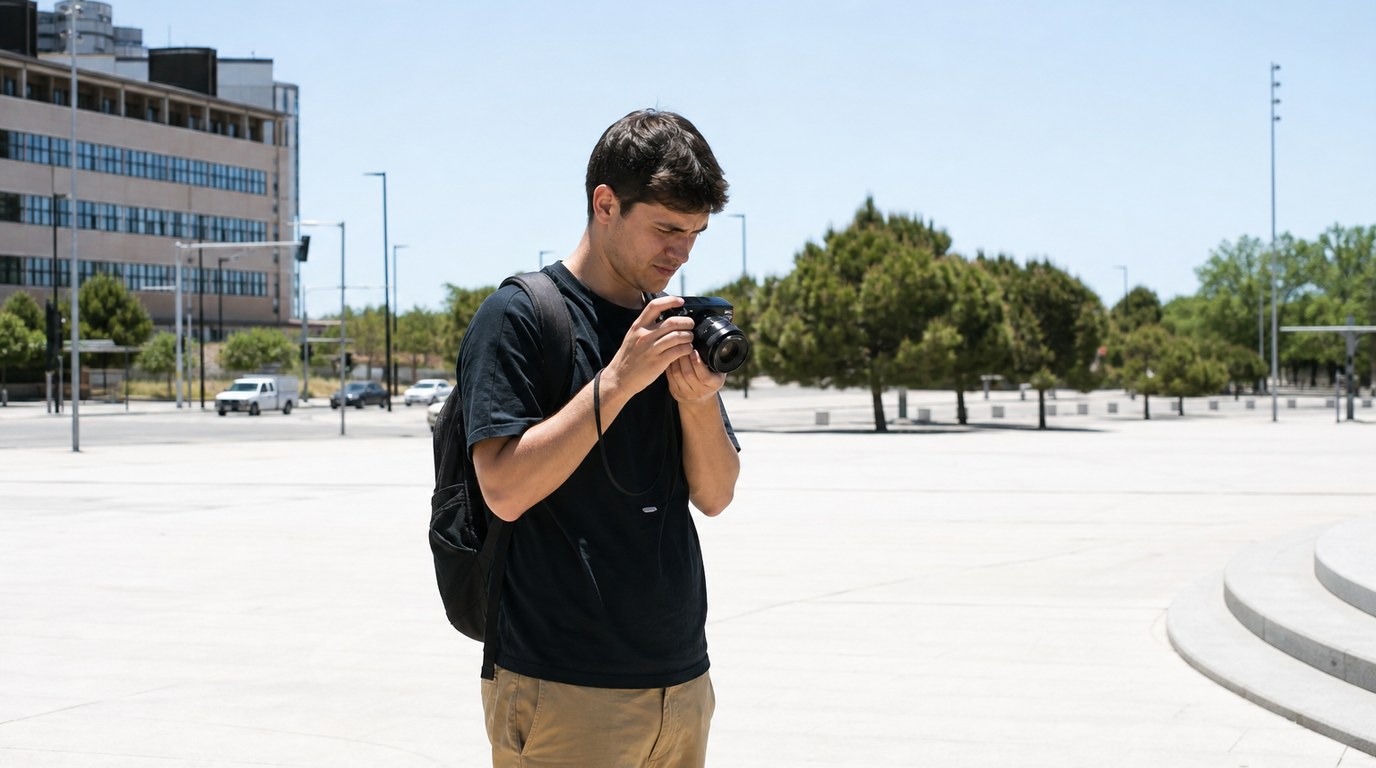
Light matters more than camera gear. A beginner with a basic camera in good light can often make a stronger image than someone using expensive gear in poor light.
This mistake looks like portraits with deep shadows under the eyes, washed-out midday scenes, or indoor photos with muddy colors. It happens because beginners often notice the subject first and the light second.
The fix is simple: before shooting, ask, “Where is the light coming from?” For portraits, try open shade, window light, or golden hour instead of harsh noon sun. For landscapes, shoot early or late when the light has direction and texture. If the light is ugly, move your subject, change your angle, or wait.
Mistake 2: Letting the Camera Focus on the Wrong Thing
Autofocus is helpful, but it can choose the wrong target. This mistake often shows up as a sharp background with a soft face, or a flower where the leaves are sharp but the blossom is blurry.
It happens because many cameras focus on the nearest high-contrast object or use a wide autofocus area. The camera does not know that your child’s eye, not the fence behind them, is the most important part of the photo.
To fix it, learn how to select a single focus point or use touch focus if your camera has it. For portraits, focus on the eye closest to the camera. For still subjects, slow down, place the focus point where you want sharpness, then shoot.
Mistake 3: Forgetting About Composition
Composition is not just memorizing rules like the rule of thirds. It is the intentional placement of your subject, background, and edges of the frame.
This mistake looks like a person’s head cut off awkwardly, a tree growing out of someone’s shoulder, or a beautiful subject lost in clutter. It happens because beginners often point the camera at what interests them without checking everything around it.
The practical fix is to pause for two seconds before taking the photo. Ask: “What is my subject? Is anything distracting behind it? Are the edges clean?” Try moving closer, stepping sideways, shooting vertically, or lowering your angle. Small changes in position can make a photo feel much more deliberate.
Mistake 4: Using a Shutter Speed That Is Too Slow
Blur is one of the most frustrating beginner problems. Sometimes blur comes from camera shake, where your hands move during the exposure. Other times it comes from subject motion, such as kids running, pets moving, or leaves blowing in the wind.
This mistake happens because the camera may choose a slow shutter speed in low light, especially indoors. The photo might look fine on the camera screen, then appear soft when viewed larger.
A simple fix is to watch your shutter speed. For handheld shots, many beginners should aim for at least 1/125 second or faster. For moving subjects, try 1/250, 1/500, or faster. If the photo becomes too dark, raise ISO, use a wider aperture, add light, or brace the camera against something stable.
Mistake 5: Overediting Every Photo
Editing should improve a photo, not rescue every problem or create an unnatural result. Beginner overediting often looks like oversaturated colors, extreme contrast, heavy sharpening, orange skin, or skies that look unrealistic.
It happens because editing apps make every slider feel like an improvement at first. The more you adjust, the more dramatic the image looks, but dramatic is not always better.
A good fix is to edit with restraint. Start with exposure, white balance, contrast, and cropping. Then stop and compare the edited version with the original. If skin looks strange, shadows have no detail, or the photo no longer feels believable, pull the adjustments back. Strong editing starts with a good image, not a damaged one.
Mistake 6: Avoiding Aperture, Shutter Speed, and Iso
Many beginners stay in full auto because aperture, shutter speed, and ISO seem technical. Auto mode is fine when you are starting, but avoiding these settings forever limits your control.
This mistake looks like portraits with distracting backgrounds, action photos that blur, or low-light images that are either too dark or too noisy. It happens because the camera is making decisions based on exposure, not necessarily on your creative goal.
You do not need to learn everything at once. Start with aperture priority mode if you want to control background blur. Use shutter priority mode when motion matters, such as sports or pets. Learn ISO as the setting that helps brighten the image when there is not enough light, with the tradeoff of more noise. One setting at a time is enough.
Mistake 7: Not Reviewing Your Photos Critically
Taking lots of photos helps, but only if you learn from them. A common beginner mistake is deleting bad images immediately or only looking for favorites without asking why they worked.
This mistake causes the same problems to repeat: missed focus, cluttered backgrounds, crooked horizons, or blurry indoor shots. Without review, practice becomes guessing.
After each shoot, choose five photos you like and five that failed. For each one, ask: “Is the subject clear? Is it sharp where it should be? Is the light helping? What distracts me?” Look at the settings too. If every blurry photo used 1/30 second, you have found a pattern you can fix next time.
A Simple Pre-shot Checklist for Better Photos
Before pressing the shutter, run through a quick checklist:
- Light: Is the light flattering, harsh, dim, or coming from the wrong direction?
- Focus: What exactly should be sharp?
- Composition: Is the subject clear, and are the edges clean?
- Shutter speed: Is it fast enough for my hands or my subject?
- Background: Is anything distracting behind the subject?
- Exposure: Is the photo too bright or too dark?
- Intent: What do I want the viewer to notice first?
This takes only a few seconds with practice. The goal is not perfection; it is awareness before the shot.
How to Practice Without Feeling Overwhelmed

Do not try to fix all seven mistakes in one afternoon. Pick one skill per practice session.
For one walk, focus only on light. On another day, practice choosing a focus point. Later, photograph moving subjects while watching shutter speed. This approach makes learning easier because you know what you are testing.
A simple weekly routine works well: shoot for 20 minutes, review 20 photos, and write down one thing to improve next time. Small, focused practice beats random shooting.
FAQ
What Should a Beginner Know First About the 7 Most Common Beginner Photography Mistakes You Should Avoid?
Beginners should know that these mistakes are normal and fixable. Most come from not yet noticing light, focus, composition, shutter speed, editing choices, camera settings, or review habits. You do not need perfect gear; you need better awareness and repeatable shooting habits.
What Matters Most When Evaluating the 7 Most Common Beginner Photography Mistakes You Should Avoid?
The most important question is whether the mistake affects the viewer’s understanding of the photo. If the subject is unclear, blurry, badly lit, or lost in distractions, the image becomes weaker. Start by fixing the problems that most directly affect clarity.
What Mistakes Should Readers Avoid with the 7 Most Common Beginner Photography Mistakes You Should Avoid?
Avoid trying to solve everything with new gear or heavy editing. Also avoid staying in full auto forever, ignoring bad light, and deleting failed photos without learning from them. The fastest improvement comes from identifying patterns and making one practical change at a time.
What Is the Next Logical Step After Learning About the 7 Most Common Beginner Photography Mistakes You Should Avoid?
The next step is deliberate practice. Choose one mistake, such as slow shutter speed or missed focus, and spend a short session working only on that issue. Then review your photos carefully. Once that habit improves, move to the next skill.