
Quick Answer
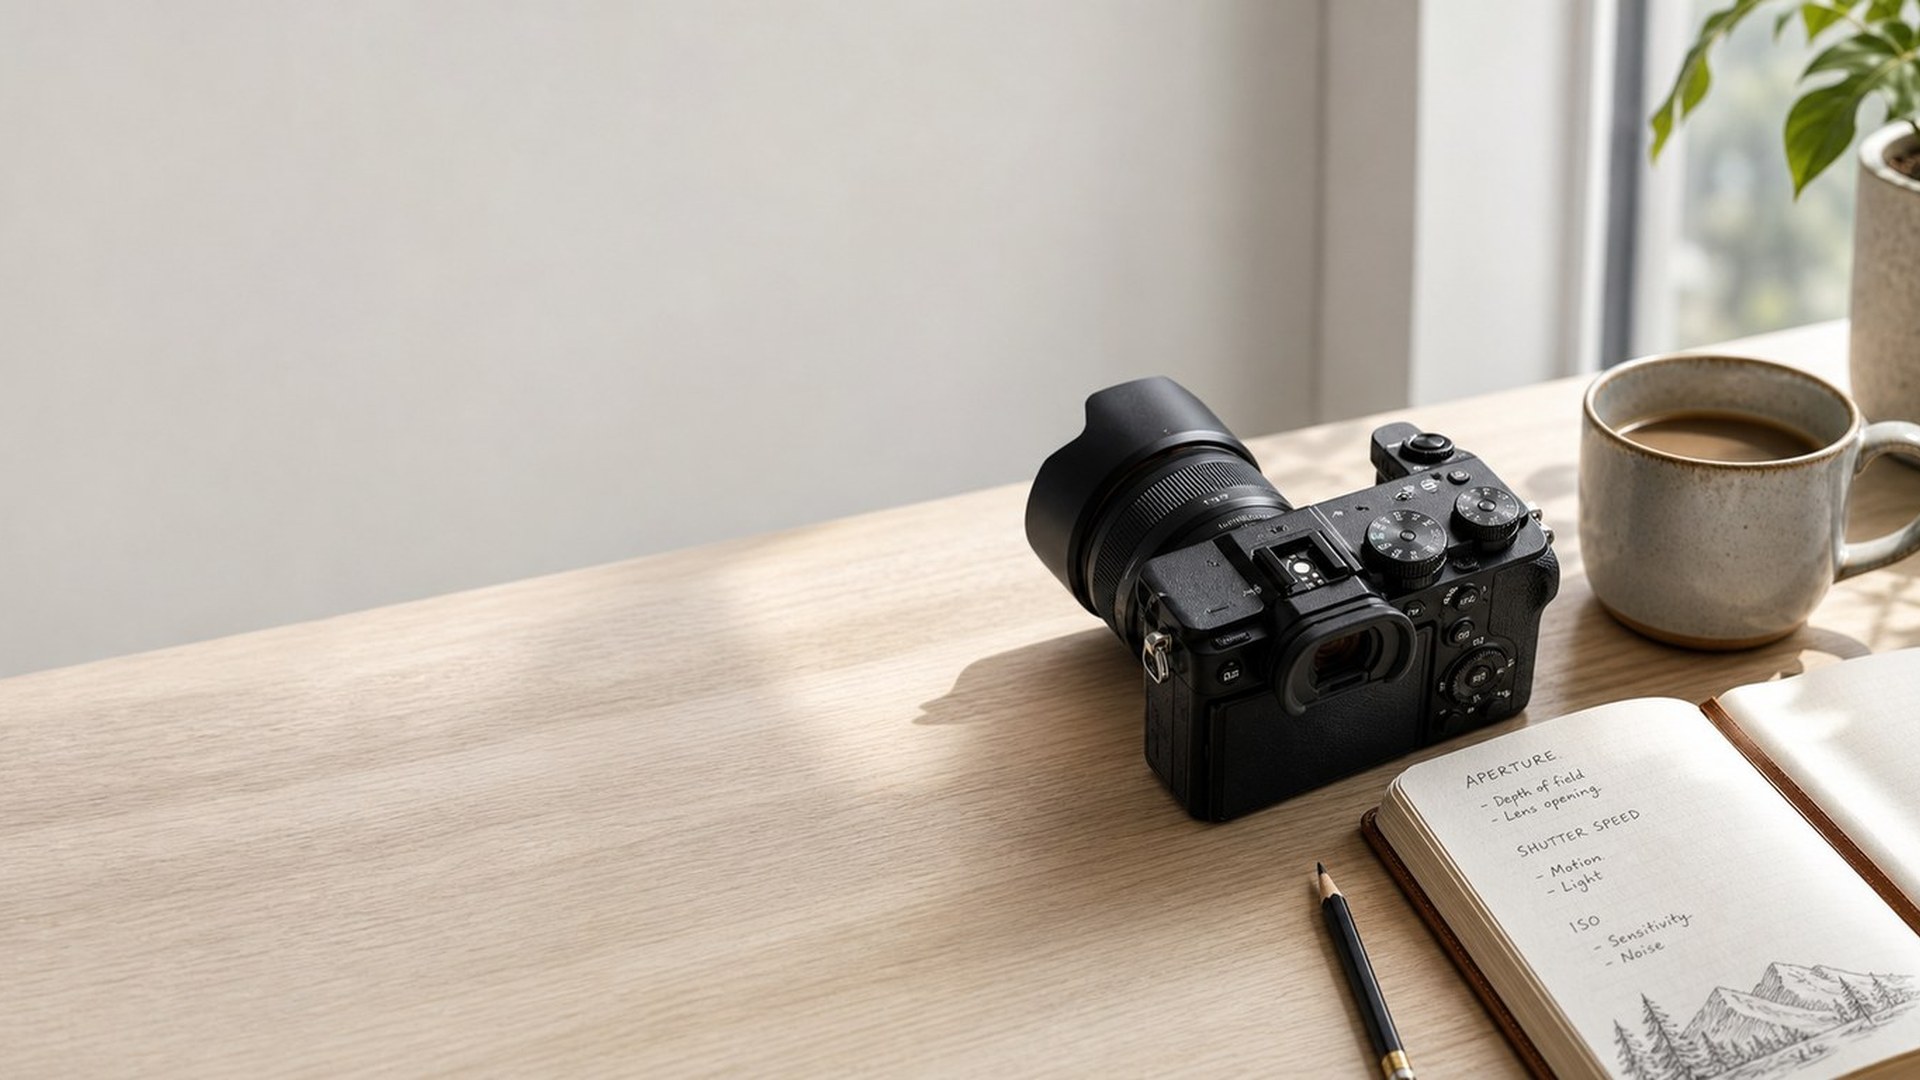
Manual mode camera settings let you choose the three exposure controls yourself: aperture, shutter speed, and ISO. The main takeaway is simple: aperture controls depth of field, shutter speed controls motion, and ISO controls brightness sensitivity/noise. Manual mode gives you full control when the camera’s automatic choices do not match the photo you want.
A good beginner starting point for manual mode is:
- Aperture: f/4 to f/5.6 for general photos
- Shutter speed: 1/125s or faster for handheld still subjects
- ISO: 100–400 in bright light, 800–3200 indoors
- White balance: Auto, unless colors look wrong
- Focus mode: Single AF for still subjects, continuous AF for moving subjects
- File type: RAW if you plan to edit, JPEG if you want ready-to-share files
To set manual mode, turn your camera mode dial to M. Then adjust one setting based on what matters most. If you want a blurry background, choose a wider aperture like f/1.8 or f/2.8. If you want to freeze motion, choose a faster shutter speed like 1/500s or 1/1000s. If the image is still too dark after choosing aperture and shutter speed, raise ISO.
Use the camera’s light meter as a guide, but do not treat it as a rule. The meter shows whether the camera thinks the photo is too dark, balanced, or too bright. Take a test shot, check the brightness, and adjust from there.
Manual mode is not about using “perfect” settings every time. It is about making deliberate choices. Once you understand how aperture, shutter speed, and ISO work together, manual mode becomes a practical tool instead of a confusing menu of numbers.
How to Think About This Topic
The easiest way to understand manual mode camera settings is to think of exposure as a trade-off. Your camera needs a certain amount of light to make a usable photo. In manual mode, you decide how that light is gathered.
The three main settings form the exposure triangle:
- Aperture controls how wide the lens opening is.
- Shutter speed controls how long the sensor is exposed to light.
- ISO controls how strongly the camera amplifies the captured light.
Changing any one of these affects brightness, but each also changes the look of the photo.
Aperture is written as an f-number, such as f/1.8, f/4, f/8, or f/11. A smaller f-number means a wider opening and more light. It also creates a shallower depth of field, which helps blur the background in portraits. A larger f-number means a smaller opening and less light, but more of the scene appears sharp, which is useful for landscapes or group photos.
Shutter speed is written as a fraction or number of seconds, such as 1/60s, 1/250s, or 2s. A faster shutter speed freezes movement but lets in less light. A slower shutter speed lets in more light but can cause blur if the camera or subject moves. For handheld shooting, many beginners should avoid going below about 1/60s, and faster is safer with longer lenses or moving subjects.
ISO values include 100, 200, 400, 800, 1600, 3200, and higher. Lower ISO gives cleaner images with less noise, but it needs more light. Higher ISO helps in dim scenes, but it can add grain or reduce detail. Modern cameras handle high ISO better than older cameras, so do not be afraid to raise it when needed.
A practical mental model is to ask: What must be protected in this photo?
If you are photographing a child running, protect shutter speed first. Motion blur will ruin the shot faster than a little ISO noise. If you are shooting a portrait, protect aperture first because background blur may be the whole point. If you are photographing a landscape on a tripod, protect ISO and aperture first, then let the shutter speed become slower.
Manual mode is not simply “more professional.” It is useful when you want consistency or creative control. For example, if you photograph someone standing near a bright window, automatic modes may keep changing exposure as you recompose. Manual mode lets you lock the brightness so every frame stays consistent.
The camera’s meter is your starting guide. In the viewfinder or on the screen, you will usually see an exposure scale with marks such as -2, -1, 0, +1, +2. When the indicator is near zero, the camera believes the exposure is balanced. If it is toward the minus side, the image may be dark. If it is toward the plus side, the image may be bright.
However, meters can be fooled. Snow, white walls, dark clothing, backlighting, and stage lighting can all confuse the camera. That is why manual mode works best when you combine the meter with a test photo and the histogram or highlight warning. If important highlights are blown out, reduce exposure. If shadows are too dark and you need detail there, increase exposure.
Once you see manual mode this way, the numbers feel less random. You are not memorizing settings for every possible scene. You are choosing which visual priority matters most, then balancing the other settings around it.
Practical Guidance
Start manual mode by choosing the setting that controls the most important part of your photo. Then balance the other two settings for brightness.
For portraits, begin with aperture. If you want a soft background, choose f/1.8 to f/2.8 on a fast prime lens, or the widest aperture your lens allows. Use a shutter speed around 1/125s to 1/250s for a still person, faster if they are moving. Keep ISO as low as the light allows, but raise it if the photo is too dark.
For landscapes, begin with aperture and ISO. Choose f/8 to f/11 for good depth of field and sharpness. Set ISO to 100 if you are on a tripod. Shutter speed can be slower because the camera is stable. If you are handheld, use a shutter speed fast enough to prevent camera shake, such as 1/125s or faster.
For action, begin with shutter speed. Sports, pets, and children often need 1/500s to 1/1000s. Birds or very fast movement may need even faster speeds. Use a wider aperture if needed, then raise ISO until the exposure is bright enough. A sharp noisy photo is usually better than a clean blurry one.
For indoor photos, light is usually the limitation. Open the aperture, use a shutter speed that avoids blur, and raise ISO. For example, try f/2.8, 1/125s, ISO 1600. If the image is still dark, raise ISO to 3200 or add light from a window, lamp, or flash.
Here are quick starting points for common situations:
| Situation | Aperture | Shutter Speed | ISO | Notes |
|---|---|---|---|---|
| — | —: | —: | —: | — |
| Outdoor portrait | f/2.8–f/4 | 1/250s | 100–400 | Use wider aperture for more background blur. |
| Indoor portrait | f/1.8–f/2.8 | 1/125s | 800–3200 | Raise ISO before letting shutter speed get too slow. |
| Landscape on tripod | f/8–f/11 | As needed | 100 | Use a tripod if shutter speed is slow. |
| Walking subject | f/4 | 1/500s | 400–1600 | Prioritize shutter speed. |
| Sports or pets | f/2.8–f/5.6 | 1/1000s | 800–3200 | Use continuous autofocus if available. |
| Night street photo | f/1.8–f/2.8 | 1/125s | 1600–6400 | Watch for motion blur and blown highlights. |
After choosing starting settings, take a test photo. Look at the image and ask one question at a time.
If the photo is too dark, you have three options: open the aperture, slow the shutter speed, or raise ISO. Choose based on what you can afford to sacrifice. Do not slow the shutter speed if your subject is moving. Do not open the aperture if you need more of the scene sharp. Raise ISO when the other two settings are already where they need to be.
If the photo is too bright, do the opposite: use a smaller aperture, faster shutter speed, or lower ISO. In bright sunlight, you may hit your camera’s maximum shutter speed when using a wide aperture. If that happens, lower ISO to its base value or use a neutral density filter.
Focus settings also matter in manual mode, even though they do not control exposure. Use single autofocus for still subjects, such as posed portraits or products. Use continuous autofocus for moving subjects, such as sports, wildlife, pets, or children. Manual exposure will not save a photo that is focused on the wrong place.
White balance is another supporting setting. Auto white balance is fine for most beginners. If your photos look too orange indoors or too blue in shade, choose a preset such as Daylight, Cloudy, Shade, or Tungsten. If you shoot RAW, white balance is easier to correct later.
A simple manual mode workflow looks like this:
- Decide what matters most: background blur, motion freezing, depth of field, or image cleanliness.
- Set aperture, shutter speed, or ISO based on that priority.
- Adjust the remaining settings until the meter is close.
- Take a test shot.
- Check brightness, blur, focus, and important highlights.
- Adjust one setting at a time.
Common mistakes are easy to fix once you know what caused them. If your photo is blurry, your shutter speed may be too slow, your focus may have missed, or the subject moved. If your photo is noisy, ISO may be high, but the image may also be underexposed and brightened too much later. If your background is not blurry enough, use a wider aperture, move closer to the subject, or increase the distance between subject and background.
Practice in stable light first. A room with window light or an outdoor scene in open shade is easier than a concert, wedding, or fast sports game. Photograph the same subject at different apertures, then at different shutter speeds, then at different ISO values. Seeing the differences in your own photos teaches manual mode faster than memorizing charts.
The goal is not to adjust every setting constantly. The goal is to know which setting to change when the photo does not look right. That is the real power of manual mode camera settings.
FAQ
What Are the Best Manual Mode Camera Settings for Beginners?
Start with f/4, 1/125s, and ISO 400 in decent light. For indoor photos, try f/2.8, 1/125s, and ISO 1600. These are not universal settings, but they give beginners a practical baseline for learning exposure adjustments.
Should I Use Auto Iso in Manual Mode?
Yes, Auto ISO can be very useful in manual mode. You choose aperture and shutter speed for the look you want, and the camera adjusts ISO for brightness. It is especially helpful for events, street photography, wildlife, and changing light.
Why Are My Manual Mode Photos Too Dark?
Your photo is too dark because not enough light reached the sensor. Open the aperture, slow the shutter speed, or raise ISO. If you are photographing a bright background, your subject may also be backlit and need exposure compensation, flash, or repositioning.
Why Are My Manual Mode Photos Blurry?
Blur usually comes from slow shutter speed, missed focus, or subject movement. Use a faster shutter speed, hold the camera steadier, turn on stabilization if available, and choose the correct autofocus mode. Moving subjects often need 1/500s or faster.
Is Manual Mode Better Than Aperture Priority?
Manual mode is better when you need consistent exposure or full control. Aperture priority is often faster when light changes and depth of field matters most. Neither is always better. Use manual mode for control and aperture priority for speed.