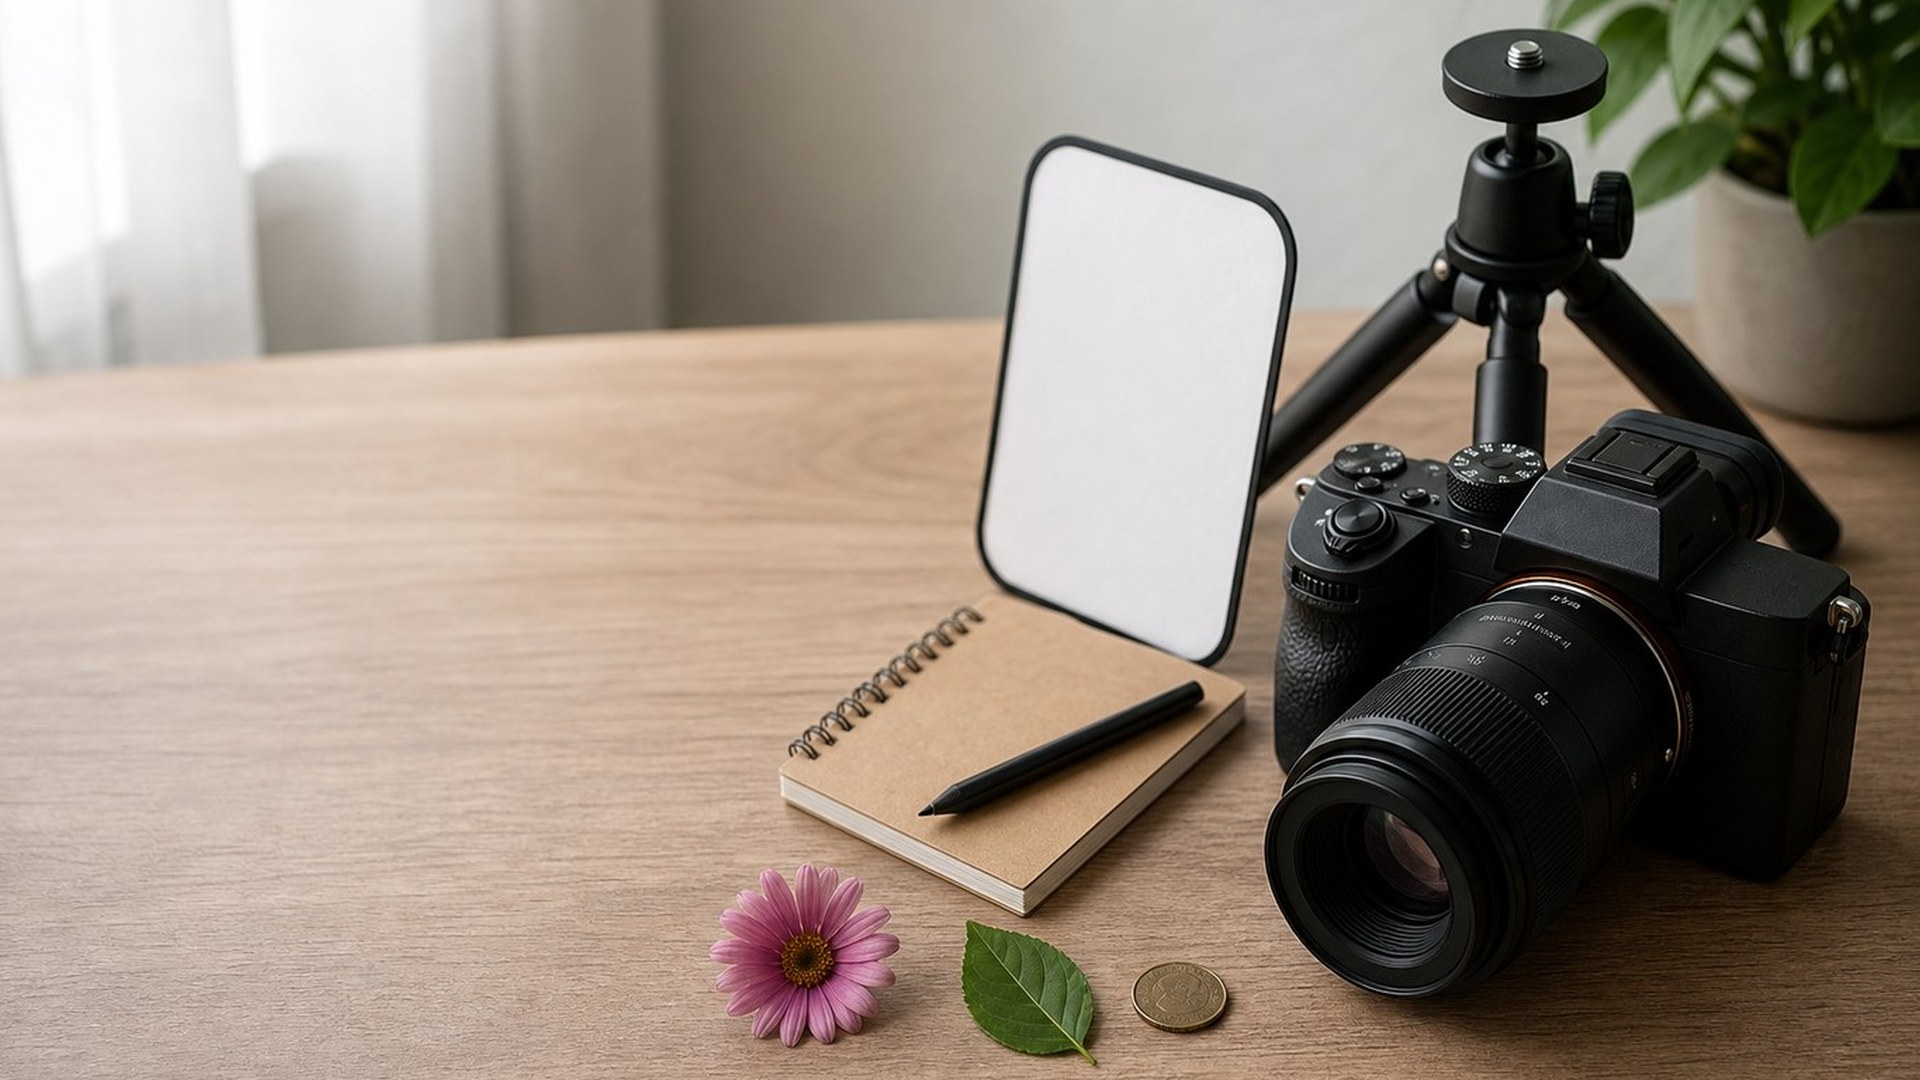
To get started with macro photography, begin with a simple close-up setup, choose still subjects, use settings that give you enough depth of field, and learn to focus carefully at short distances. You do not need an expensive dedicated macro lens on day one. A smartphone macro mode, close-up filter, extension tube, or budget macro lens can all teach the same core skills: steady camera position, precise focus, clean backgrounds, and controlled light. Start with coins, leaves, flowers, fabric, food texture, or small household objects before chasing insects. Once you can make sharp, well-lit close-ups of easy subjects, upgrade gear only when you know what is limiting you.
What Macro Photography Means for Beginners
Macro photography is close-up photography where small subjects appear large in the frame. True macro usually means a 1:1 reproduction ratio, where the subject is projected onto the camera sensor at life size. Beginners do not need to obsess over that definition at first.
The useful mental model is this: as you move closer, everything becomes more sensitive. Focus gets thinner, camera shake becomes more obvious, light becomes harder to manage, and tiny background distractions become huge. Macro is not just “zooming in.” It is a slower, more deliberate way of photographing small details with control.
Your first goal is not maximum magnification. It is a sharp, well-lit close-up with a clear subject.
Step 1: Choose a Simple Macro Setup
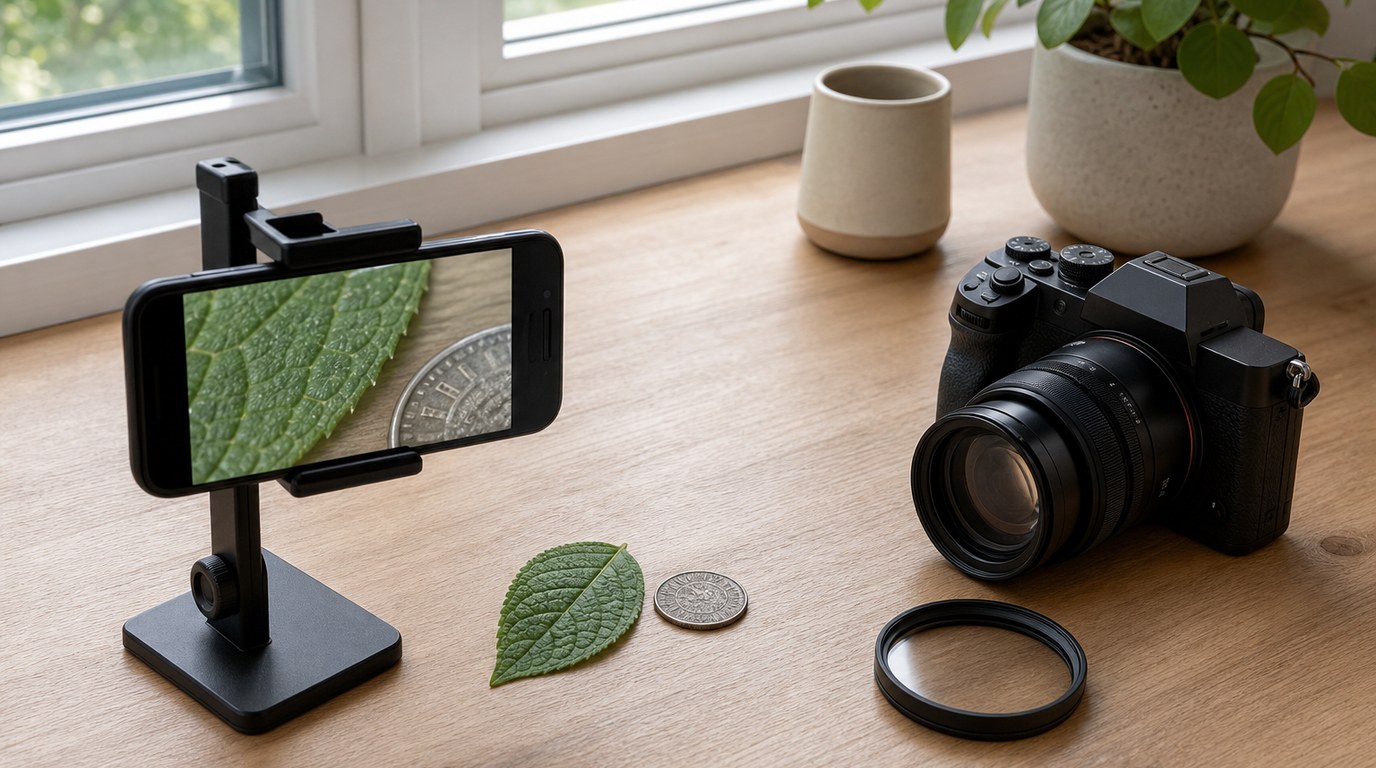
Start with the camera you already have if possible. Many phones have a macro mode or an ultra-wide lens that focuses very close. This is the cheapest way to learn composition, lighting, and subject choice.
If you use a mirrorless or DSLR camera, you have several affordable options. A close-up filter screws onto the front of a lens and works like a magnifying glass. It is inexpensive and simple, but image quality varies. Extension tubes fit between the camera and lens, letting the lens focus closer. They can produce strong results for the price, especially with a standard prime or short telephoto lens.
A dedicated macro lens is the best long-term tool, but it costs more. Look for a lens that offers 1:1 magnification if you want true macro capability. Focal lengths around 60mm to 105mm are common. Shorter macro lenses are compact and often cheaper; longer ones give more working distance, which helps with insects and lighting.
Avoid buying too much at once. A stable shooting method, good light, and practice will improve your results more than a bag full of accessories.
Beginner Macro Gear Comparison
Use this table to match your budget and patience level to a starting setup. The “best” choice depends on what you already own and what you want to photograph. If you are unsure, begin with the cheapest option that works with your camera, then upgrade after a few practice sessions.
| Macro option | Best for | Pros | Tradeoffs |
|---|---|---|---|
| Smartphone macro mode | Trying macro for free | Always available, simple, great for practice | Limited control and image quality |
| Close-up filter | Very low-cost camera setup | Cheap, easy to attach, lightweight | Softer edges, quality depends on filter |
| Extension tubes | Budget DSLR/mirrorless users | Good magnification for the price | Less light, autofocus may struggle |
| Dedicated macro lens | Serious beginners | Sharp, flexible, true macro options | Higher cost |
| Tripod or mini tripod | Still subjects | Improves sharpness and framing | Slower to use outdoors |
Step 2: Pick Easy Subjects First
The fastest way to get discouraged is to start with fast insects in wind. Choose subjects that stay still and let you experiment. Good beginner subjects include coins, watch faces, leaves, shells, flowers, coffee beans, feathers, fabric, jewelry, and water droplets.
Look for texture, shape, pattern, or color. A dried leaf with veins, a pencil tip, or condensation on a glass can be more useful for learning than a rare insect that will not sit still.
Start indoors or in shade outdoors. Calm conditions help you judge your technique. Once you can make sharp images of stationary subjects, move to flowers outside, then slow insects, and finally more unpredictable subjects.
Step 3: Use Camera Settings That Make Macro Easier
Macro settings are about balancing three things: depth of field, sharpness, and light. At close distances, depth of field becomes extremely shallow, so a wide aperture like f/2.8 may leave only a tiny slice sharp.
For most beginner macro photos, start around f/8 to f/11 on a DSLR or mirrorless camera. This gives more of the subject in focus without making the image too soft from diffraction. If you are using a smaller-sensor camera or phone, you may not need to think about aperture as much, but you still need steady light and careful focus.
Use a shutter speed fast enough to stop camera shake. Handheld macro often needs at least 1/125 second, and faster is better for moving subjects. If your subject is still and the camera is on a tripod, you can use a slower shutter speed.
Set ISO as low as practical, but do not be afraid to raise it when needed. A slightly noisy sharp photo is better than a clean blurry one.
A good starting point is:
- Aperture: f/8 to f/11
- Shutter speed: 1/125 second or faster handheld
- ISO: 100 to 800, higher if needed
- Mode: aperture priority for still subjects, manual for consistent lighting
- File type: RAW if you plan to edit
Check your photos at full magnification on the camera screen. In macro, an image can look sharp when zoomed out but miss focus where it matters.
Step 4: Learn to Focus at Close Distances
Focusing is the main challenge in macro photography. At close range, tiny movements shift the focus plane. If you lean forward or backward even slightly, the sharpest area can move from an insect’s eye to its wing, or from a flower’s center to a petal edge.
For still subjects, try manual focus. Set the focus roughly, then move the camera slowly forward and backward until the important detail becomes sharp. This is often easier than turning the focus ring repeatedly. Use live view or your camera’s magnified view if available.
For handheld subjects, use continuous shooting and take several frames. One frame may land focus perfectly even if the others miss. For insects or moving subjects, autofocus can help, but use a single focus point and place it on the most important detail, usually the eye or leading texture.
Focus stacking, where multiple images are combined for more depth of field, is useful later. For now, learn to place one sharp plane exactly where you want it.
Step 5: Control Light Before Buying More Gear
Macro photography needs light because small apertures and close focusing reduce brightness. Before buying a flash system, learn to shape the light you already have.
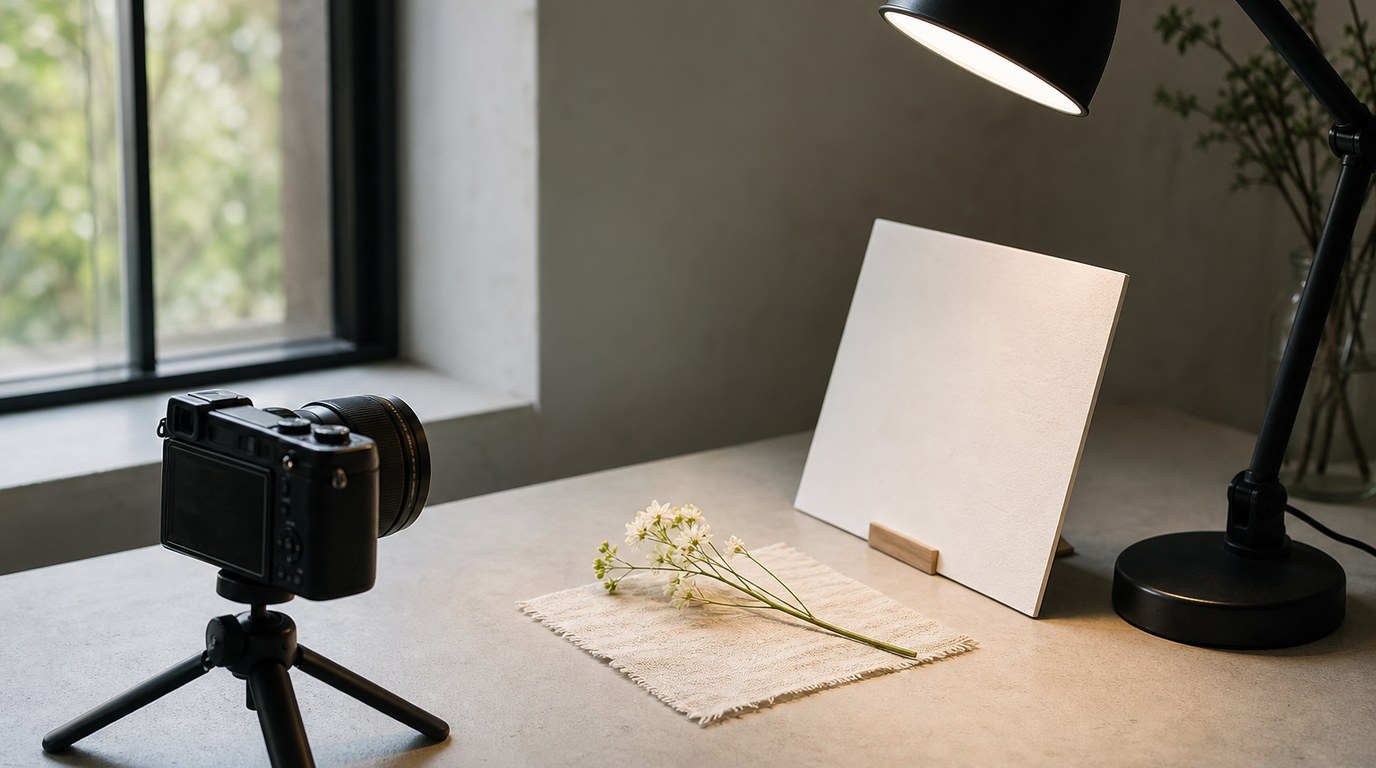
Window light is excellent for indoor macro. Place the subject near a window and use white paper, foam board, or cardboard wrapped in foil to bounce light into shadows. Outdoors, open shade often works better than harsh midday sun because it gives softer highlights and fewer blown-out spots.
If you use a small LED light or flashlight, diffuse it. Shine it through white paper, a thin cloth, or a small plastic diffuser so the light spreads instead of creating harsh glare. This matters especially on shiny subjects like coins, jewelry, water droplets, and insect shells.
A simple reflector and diffuser can make more difference than a new lens. Good macro light should reveal texture without creating distracting bright spots.
Step 6: Compose Macro Photos with Clean Details
Macro composition is about removing clutter. Because small objects fill the frame, tiny distractions become important. Before pressing the shutter, check the edges of the frame, the background, and any bright spots that pull attention away from the subject.
Use simple backgrounds. A leaf, colored paper, dark fabric, or distant shaded area can work well. Move your subject or your camera angle slightly to separate the main detail from the background.
Decide what the photo is about. Is it the eye of an insect, the spiral of a shell, the texture of a leaf, or the pattern in fabric? Place that detail deliberately. Centering can work for symmetry, while off-center framing often feels more natural.
Do not try to show everything. Strong macro images often show one clear detail with everything else supporting it.
A Simple First Macro Photography Practice Plan
Try this 30-minute exercise before buying more gear.
Choose one still subject, such as a coin, flower, or leaf. Place it near a window or in open shade. Take five photos at different angles. Then take five more with different backgrounds. Next, shoot the same subject at f/5.6, f/8, and f/11 if your camera allows aperture control.
Review the images at full size. Ask three questions: Is the most important detail sharp? Is the light soft enough? Is the background clean? This simple review teaches you what to change on the next attempt.
Common Macro Photography Mistakes to Avoid
Do not start with subjects that move too quickly. Learn on still objects first. Avoid shooting everything at the widest aperture, because depth of field may be too thin. Do not ignore light; dim lighting forces slow shutter speeds and blur.
Another common mistake is getting closer than your setup can handle. If the lens cannot focus, back up slightly and crop later. Also, avoid buying advanced accessories before solving basic problems. Many beginner macro issues come from missed focus, camera shake, poor light, or messy backgrounds—not from lack of expensive gear.
FAQ
What Should a Beginner Know First About How to Get Started with Macro Photography?
Begin with simple close-up photos, not maximum magnification. Macro makes focus, light, and movement harder to control, so practice with still subjects first. A phone, close-up filter, extension tube, or basic macro lens is enough to learn the core skills.
What Matters Most When Evaluating How to Get Started with Macro Photography?
The most important factors are working distance, focus control, light, and subject choice. Gear matters, but a clean background, steady camera, and sharp focus on the key detail will improve your macro photos more than buying the most expensive lens immediately.
What Mistakes Should Readers Avoid with How to Get Started with Macro Photography?
Avoid starting with fast insects, using too little light, shooting handheld at slow shutter speeds, and assuming every close-up needs the widest aperture. Also avoid buying too many accessories before you understand whether your real problem is focus, lighting, stability, or composition.
What Is the Next Logical Step After Learning About How to Get Started with Macro Photography?
After you can make sharp close-ups of still subjects, practice outdoors with flowers and slow insects. Then consider a dedicated macro lens, diffused flash, or focus stacking. Upgrade only when you know exactly what limitation your current setup is creating.