To plan a fall photoshoot, start by deciding what the photos are for, then build every choice around that purpose: timing, location, outfits, props, camera settings, and shot list. Fall gives you strong visual ingredients—warm leaves, soft light, layered clothing, and cozy details—but it also changes quickly. The best sessions are planned around peak color, comfortable weather, and a location that matches the mood you want.
A simple mental model helps: define the shoot, schedule it well, choose the look, prepare your gear, then arrive with a short shot list. You do not need a complicated production plan. You need clear decisions before shoot day so you can spend the session photographing instead of guessing.
Start with the Purpose of the Photoshoot
Before choosing a park or outfit, decide why you are taking the photos. A family session, engagement shoot, senior portrait, product shoot, and casual Instagram session all need different planning.
Ask three questions:
- Who or what is the subject?
- Where will the photos be used?
- What should the images feel like?
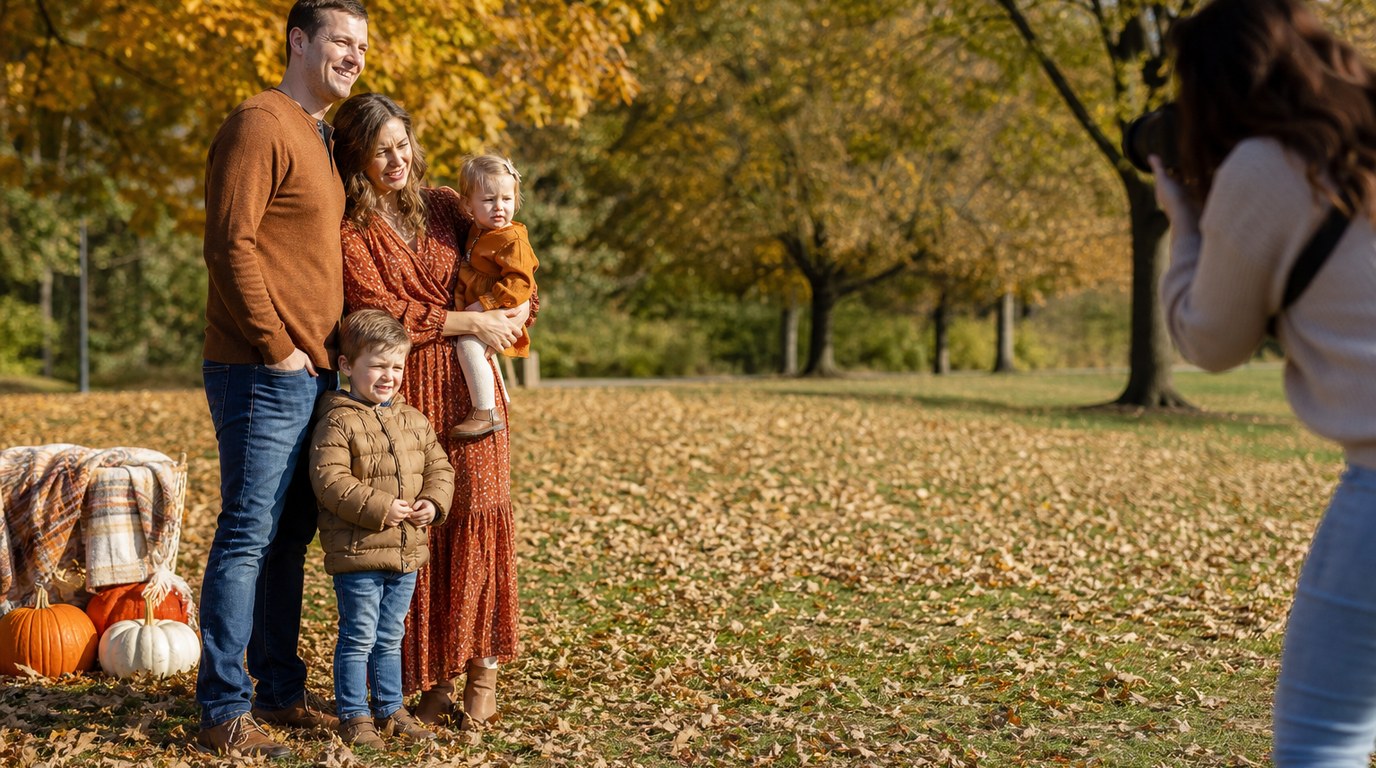
For example, a family fall photoshoot may need warm, relaxed group images with children moving naturally. A senior portrait session may need more variety: close-ups, full-body poses, and a few creative environmental shots. A brand shoot may need clean space for text or product details.
Once the purpose is clear, the rest of your planning becomes easier because every decision has a reason.
Choose the Best Time for Fall Color and Light
Fall color does not peak at the same time everywhere, so check local foliage reports, park social media pages, or recent photos from your area. In many places, the best window lasts only one or two weeks. If the session matters, schedule a main date and a backup date.
For flattering light, aim for early morning or late afternoon. Golden hour—the hour after sunrise or before sunset—is popular because the light is soft, warm, and directional. It works especially well with orange, yellow, and red leaves. Midday can still work, but open shade is usually better than harsh direct sun.
Also consider weather. Overcast skies can be excellent for portraits because clouds act like a giant softbox. Wind, rain, and sudden temperature drops are bigger problems, especially with kids or clients. Check the forecast two days before and again on shoot day.
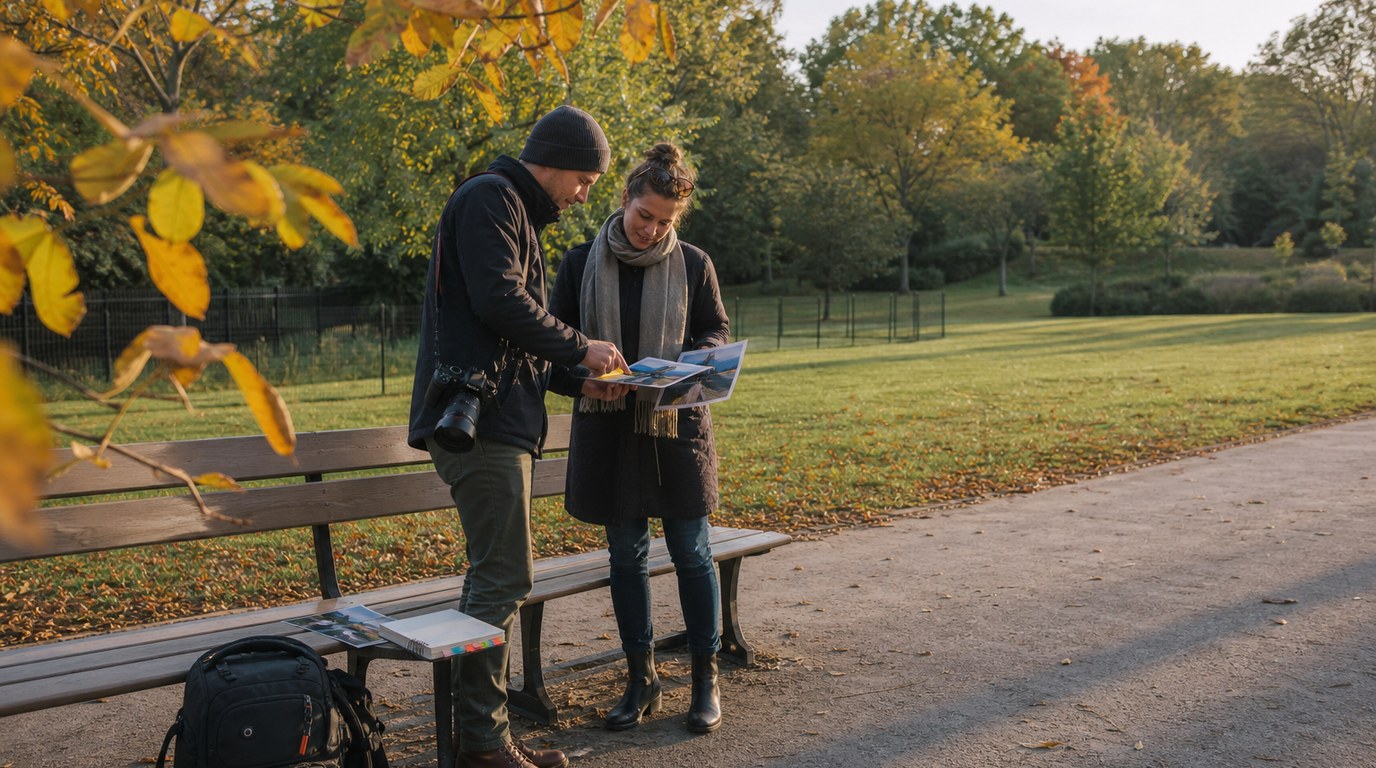
Pick a Location That Matches the Mood
Choose a location that supports the story of the photos instead of simply picking the most colorful place nearby. A wooded trail feels natural and quiet. A pumpkin patch feels playful and seasonal. A downtown street with fall trees feels polished and modern. An open field can create soft, airy portraits with lots of background blur.
Look for variety within walking distance: trees, paths, fences, benches, tall grass, water, or an interesting wall. This gives you more shot options without moving cars or losing time.
Practical details matter too. Check parking, restrooms, entrance fees, photo permits, and crowd levels. If you are photographing young children, avoid locations that require long hikes or steep paths. If you are shooting close to sunset, make sure you know how quickly the area gets dark.
Fall Photoshoot Planning Checklist
Use this checklist a few days before your session so nothing important is left to the last minute.
| Planning Item | What to Decide | Quick Tip |
|---|---|---|
| Purpose | Family, portrait, couple, brand, or casual | Let the goal guide every choice |
| Date and time | Peak color, weather, golden hour | Choose a backup date if possible |
| Location | Park, field, street, orchard, trail | Look for variety and easy access |
| Outfits | Colors, layers, shoes, accessories | Coordinate instead of matching exactly |
| Props | Blanket, basket, mug, pumpkins, leaves | Use only what supports the mood |
| Gear | Camera, lenses, batteries, cards | Pack the night before |
| Settings | Aperture, shutter speed, ISO, white balance | Test before the session starts |
| Shot list | Must-have poses and detail shots | Keep it short and realistic |
Plan Outfits, Colors, and Styling
Fall outfits should complement the background, not fight it. Earth tones usually work well: cream, camel, olive, rust, burgundy, mustard, denim, brown, and charcoal. Avoid neon colors, tiny busy patterns, and large logos because they pull attention away from faces.
For groups, coordinate colors instead of putting everyone in the same outfit. A family might use cream, olive, denim, and rust across different pieces. This creates harmony without looking too uniform.
Layers photograph beautifully in fall. Think sweaters, cardigans, scarves, jackets, boots, and textured fabrics like knit, corduroy, wool, or denim. Texture adds depth even when the color palette is simple.
Also plan for movement and comfort. Shoes should match the location. A long dress may look great in a field but feel awkward on a muddy trail. If children are involved, bring backup clothes and avoid outfits they will constantly tug at.
Use Props Without Making the Photos Look Overdone
Fall props work best when they feel natural, not staged. A neutral blanket, a basket, a simple mug, a few pumpkins, or leaves already on the ground can add seasonal detail without taking over the image.
Choose one or two props that match the purpose of the shoot. For a couple, a blanket can create cozy seated poses. For kids, leaves can encourage movement and laughter. For a product shoot, a small pumpkin or warm drink may add context.
Avoid filling every frame with props. The subject should still be the first thing viewers notice.
Prepare Camera Gear and Beginner-friendly Settings
Pack your gear the night before. Charge batteries, format memory cards, clean your lens, and bring a microfiber cloth in case of mist, dust, or light rain. If you have more than one lens, choose based on the look you want.
For portraits, a 50mm lens or 85mm lens is great for soft background blur. A kit lens can also work well, especially if you zoom in and keep your subject away from the background. For wider environmental shots, use a 24mm or 35mm focal length.
Beginner-friendly starting settings:
- Portraits with blurred background: aperture around f/1.8 to f/3.5, shutter speed 1/250 or faster, ISO adjusted for brightness.
- Families or groups: aperture around f/4 to f/5.6 so more faces stay sharp.
- Kids moving or leaves being tossed: shutter speed 1/500 or faster.
- Overcast light: raise ISO if needed rather than letting shutter speed get too slow.
Use single-point autofocus for still portraits and continuous autofocus for movement. If your photos look too orange, try Auto White Balance first, then adjust later if you shoot RAW.
Create a Simple Shot List Before You Arrive
A shot list keeps the session moving and helps you avoid forgetting important images. Keep it short enough to remember and flexible enough to follow the light.
For a portrait or family session, plan a mix of:
- Wide location shots
- Full-body portraits
- Half-body portraits
- Close-up faces
- Walking shots
- Sitting poses
- Detail shots of hands, outfits, or seasonal textures
- One playful action shot, such as throwing leaves
Start with the most important photos while everyone is fresh. If you are photographing children, begin with simple poses, then move into games and movement before they lose patience.
Think in small sets. For example, at one tree-lined path, photograph a wide walking shot, a close portrait, a seated image, and a detail. Then move to the next background. This gives variety without making the shoot feel rushed.
Plan for Weather, Comfort, and Timing on Shoot Day
Fall weather can change quickly, so prepare for comfort as much as composition. Bring warm layers, tissues, water, hand warmers, snacks for children, and a towel or blanket for sitting poses. If the ground is damp, a waterproof picnic blanket can save outfits.
Arrive early. Give yourself time to park, find the best light, test settings, and choose your first background. If you are shooting near sunset, remember that usable light can disappear fast under trees or in valleys.
Have a simple rain plan. Light drizzle may work for moody photos, but heavy rain, strong wind, or cold conditions can make the session miserable.
Common Fall Photoshoot Mistakes to Avoid
The biggest mistake is planning only for pretty leaves and ignoring light, comfort, and timing. Colorful trees will not save harsh shadows, cold children, or a rushed session.
Other common mistakes include choosing outfits that blend too closely with the leaves, bringing too many props, waiting until after peak color, and arriving without a shot list. Beginners also often use shutter speeds that are too slow, causing blurry images when subjects move.
Finally, avoid overscheduling. A short, focused fall photoshoot with good light and clear ideas is better than a long session where everyone gets tired.
FAQ
What Should a Beginner Know First About Plan Fall Photoshoot?
A beginner should know that planning a fall photoshoot is mostly about making decisions before shoot day. Choose the purpose, date, location, outfits, and basic shot list in advance. Fall color helps, but good light, comfort, and preparation matter more than perfect leaves.
What Matters Most When Evaluating Plan Fall Photoshoot?
The most important factors are timing, location, light, and subject comfort. A strong plan matches peak foliage with flattering light and a practical location. If people feel comfortable and you have a simple shot list, the photos will usually look more natural.
What Mistakes Should Readers Avoid with Plan Fall Photoshoot?
Avoid waiting too long for peak color, shooting in harsh midday sun without shade, overloading the scene with props, and choosing uncomfortable outfits. Also avoid arriving without charged batteries, empty memory cards, or camera settings that can handle movement.
What Is the Next Logical Step After Learning About Plan Fall Photoshoot?
The next step is to choose your shoot purpose and scout one or two nearby locations. Check recent foliage updates, pick a date with a backup option, and write a short shot list. Then test your camera settings before the session.