
No, you do not always need to meter to 0 in manual mode. The 0 mark on your camera’s light meter is a useful starting point, not a rule.
When the meter is at 0, your camera is saying, “Based on what I am measuring, this exposure should average out to a medium brightness.” That often works for balanced scenes, such as a person in even daylight or a typical landscape.
But some scenes should not be exposed to 0. Snow, bright beaches, black clothing, dark rooms, sunsets, silhouettes, and backlit portraits can all fool the meter. In manual mode, your job is to decide whether 0 makes sense or whether the photo should be brighter or darker.
What Does 0 on the Camera Meter Actually Mean?
The exposure meter compares the light in the scene to what it thinks should look like a middle tone, often called “middle gray.” It does not truly know whether you are photographing white snow, a black dog, or a gray wall. It only measures brightness and tries to place the scene near an average exposure.
In manual mode, the meter scale usually shows marks such as -2, -1, 0, +1, and +2. If the indicator sits at 0, the camera thinks your chosen shutter speed, aperture, and ISO create a normal exposure. Below 0 means the camera expects a darker image. Above 0 means it expects a brighter image.
That reading is advice, not a verdict. The right exposure depends on the subject, light, and the look you want.
When Metering to 0 Works Well
Metering to 0 works best when the scene contains a natural mix of light and dark tones. For example, a street scene with sky, buildings, people, and shadows may meter well at 0. A portrait in soft window light can also look good centered at 0, especially if the background is not extremely bright or dark.
For beginners, 0 is a good starting point in normal lighting. It helps you learn how shutter speed, aperture, and ISO affect exposure without guessing wildly. Take a test photo, review it, then adjust if needed.
When You Should Not Meter to 0
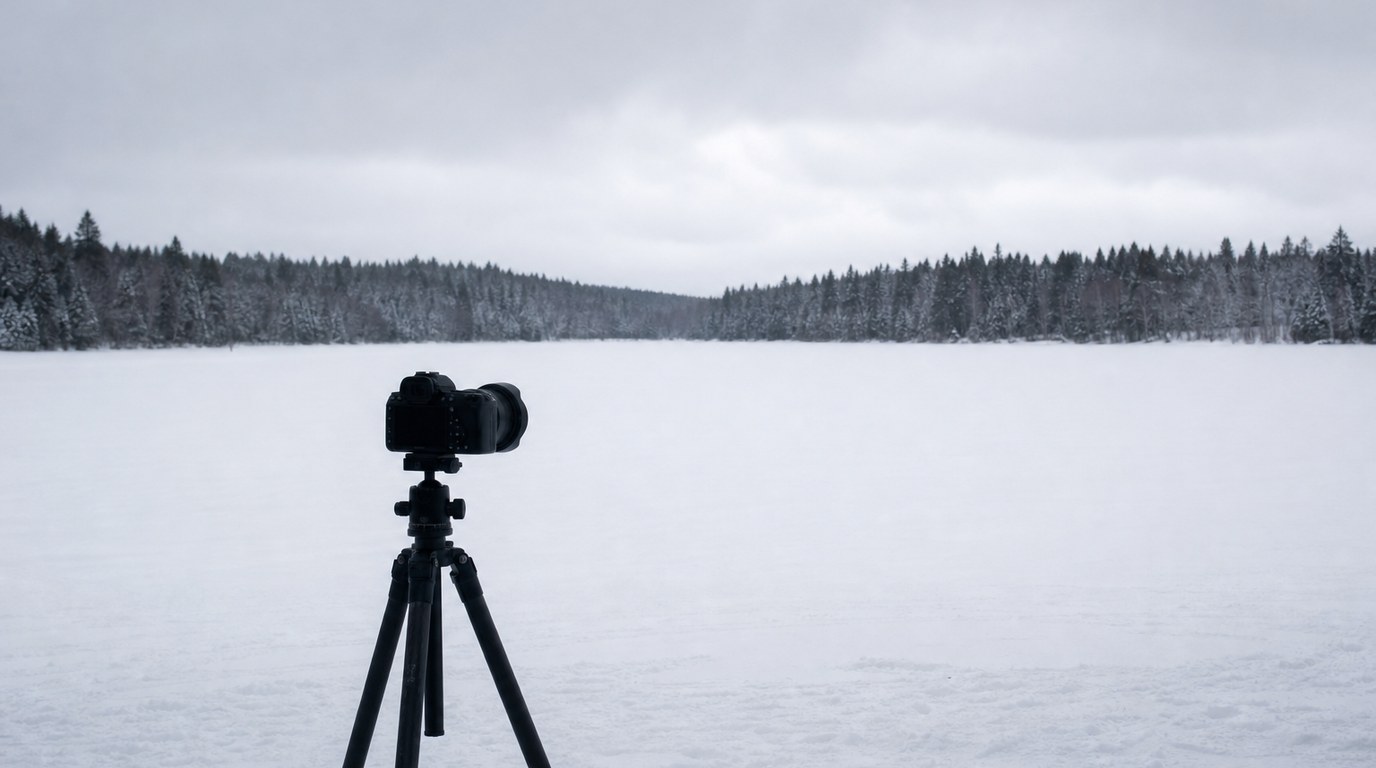
You should not blindly meter to 0 when the scene is much brighter or darker than average. The camera meter tends to make bright scenes darker and dark scenes brighter.
Snow is a classic example. If you meter snow to 0, the camera may turn it gray instead of white. In that case, you may need to expose above 0, such as +1 or +2, while still protecting important highlights.
The opposite happens with very dark scenes. If you photograph a black cat on a dark sofa and force the meter to 0, the camera may brighten everything too much. The scene can look washed out instead of naturally dark, so a reading below 0 may be more accurate.
Backlighting is another common problem. If a person stands in front of a bright window, the meter may favor the bright background and make the face too dark. You may need to expose for the face, even if the meter no longer sits at 0. Creative choices matter too: silhouettes, moody shadows, and bright airy images often require moving away from 0 intentionally.
Quick Reference: Meter Reading Choices by Scene
Use this table as a practical starting guide, not a strict formula. The exact setting depends on your camera, metering mode, subject, and how bright or dark you want the final image to feel.
| Scene type | Meter reading to consider | Why |
|---|---|---|
| — | —: | — |
| Average daylight scene | Around 0 | Mixed tones usually meter well |
| Snow, beach, white wall | Above 0 | Keeps bright subjects from turning gray |
| Dark room or black subject | Below 0 | Keeps dark scenes looking naturally dark |
| Backlit portrait | Often above 0 for the face | Prevents the subject from becoming too dark |
| Sunset silhouette | Below 0 | Preserves color and shadow shape |
| High-key bright style | Above 0 | Creates a lighter, airy look |
| Moody low-key style | Below 0 | Keeps shadows deep and intentional |
How to Decide Where to Put the Meter in Manual Mode
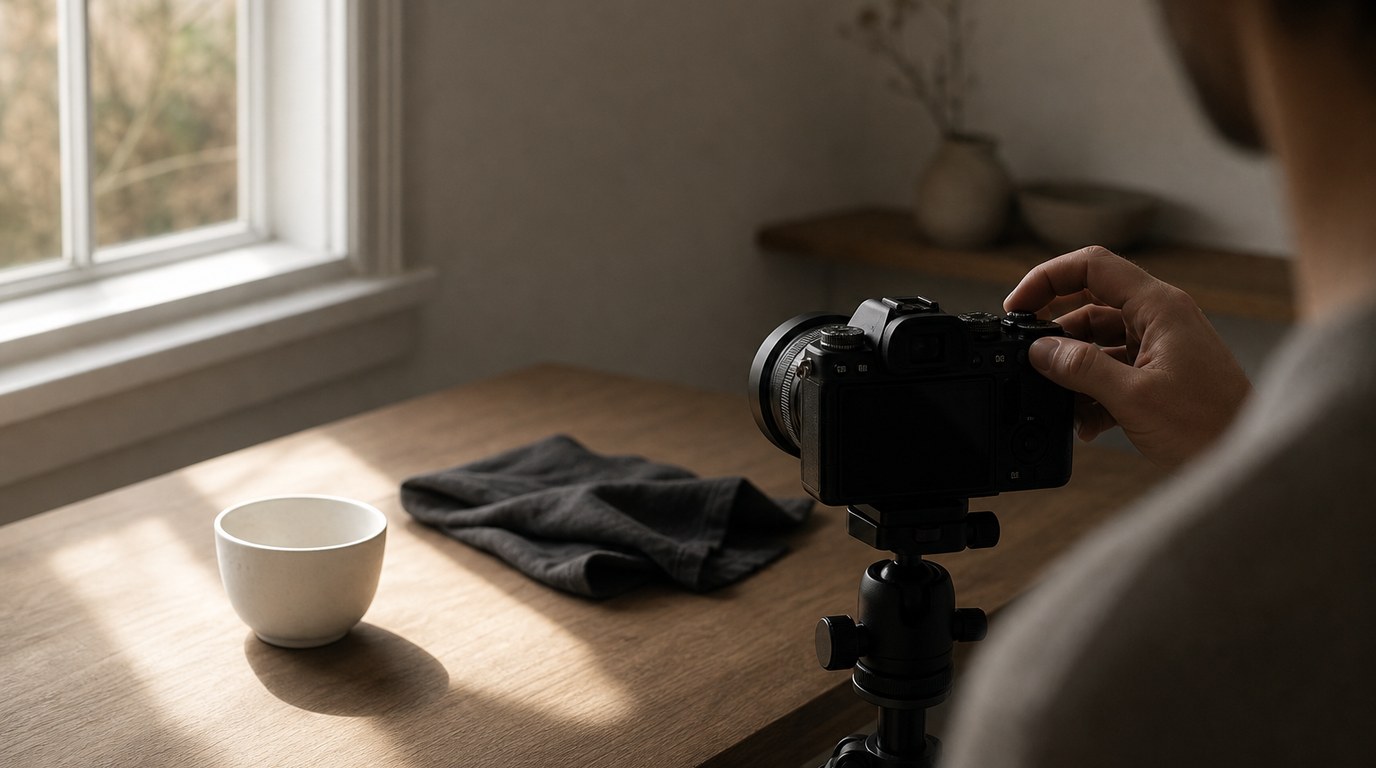
Use the meter as a guide, then make a decision based on the subject.
- Choose what matters most. Is it the person’s face, the white dress, the sunset sky, or the dark atmosphere? Exposure should serve the subject, not just the meter.
- Set aperture, shutter speed, and ISO. Use 0 as a first suggestion if the scene looks average.
- Adjust for the scene brightness. If the scene is unusually bright, consider placing the meter above 0. If it is unusually dark, consider placing it below 0.
- Take a test photo and check it. Do not rely only on the tiny preview image, which can mislead you in bright sunlight or dark rooms.
- Use the histogram if available. If the graph is smashed against the right edge, you may be clipping highlights. If it is crushed against the left edge, you may be losing shadow detail.
If the subject is too dark, let in more light by slowing the shutter speed, opening the aperture, or raising ISO. If it is too bright, do the opposite. In manual mode, the meter suggests; you decide.
Does Metering Mode Change Whether 0 Is Correct?
Yes. Metering mode changes what part of the scene the camera uses to create the meter reading.
Evaluative or matrix metering looks at much of the frame and tries to make a smart overall judgment. It is useful for general shooting, but it can still be fooled by bright backgrounds or dark surroundings.
Center-weighted metering gives more importance to the middle of the frame. It can work well for portraits if your subject is near the center.
Spot metering reads a very small area. This is powerful but less forgiving. If you spot meter from a white shirt and set it to 0, the shirt may turn gray. Spot metering works best when you understand what tone you are measuring.
Manual Mode Vs Exposure Compensation: What Changes?
In aperture priority or shutter priority, exposure compensation tells the camera to aim brighter or darker than its normal meter reading. For example, +1 exposure compensation tells the camera to expose one stop brighter than 0.
In manual mode, you usually make that decision yourself by changing shutter speed, aperture, or ISO. Moving the meter to +1 in manual mode is similar in effect, but you control the settings directly.
One exception is manual mode with auto ISO. In that case, exposure compensation may still work because the camera can adjust ISO automatically.
A Simple Beginner Rule to Remember
Here is the easiest rule: meter to 0 when the scene is average, meter above 0 when the scene should look bright, and meter below 0 when the scene should look dark.
Do not think of 0 as “correct” and everything else as “wrong.” Think of 0 as the camera’s neutral suggestion. Your final exposure should match the subject and mood you want.
FAQ
Is a Photo Underexposed If the Meter Is Below 0?
Not always. A meter reading below 0 only means the camera thinks the image will be darker than average. That may be correct for night scenes, silhouettes, black clothing, or moody portraits. It is underexposed only if important details are darker than you intended.
Is a Photo Overexposed If the Meter Is Above 0?
Not necessarily. A reading above 0 means you are exposing brighter than the camera’s neutral suggestion. That can be correct for snow, white walls, bright portraits, or high-key images. It becomes overexposed when important highlights lose detail you wanted to keep.
Should Beginners Always Start at 0 in Manual Mode?
Beginners can start at 0 for normal scenes because it gives a useful baseline. But they should quickly learn to adjust from there. If the scene is very bright, very dark, backlit, or creatively styled, 0 may not give the best exposure.
What Should I Use to Check Exposure Besides the Meter?
Use the histogram, highlight warning, and test shots. The histogram helps show whether tones are pushed too far left or right. Highlight warnings can reveal clipped bright areas. The meter helps you start, but reviewing the actual image helps you finish the exposure decision.