
To kickstart creativity in photography, stop waiting for a perfect idea and give yourself a small, clear assignment. Choose one constraint, change your viewpoint, follow interesting light, and experiment with one camera setting at a time. Then review your photos for variety, intention, and surprise. Creativity improves fastest when you make many simple attempts, not when you search for one amazing concept. Use the steps below as a practical reset whenever your photos feel repetitive, flat, or uninspired.
Before You Start: What You Need to Kickstart Creativity
You do not need a new camera, expensive lens, or dramatic location to become more creative. You need three things: a camera or phone, 20 to 30 minutes, and a willingness to make imperfect photos on purpose.
Before you begin, set a simple goal: “I am going to explore,” not “I must create a masterpiece.” This mindset matters because pressure often blocks creativity. Pick a familiar place such as your home, street, garden, office, or local park. Familiar locations are useful because they force you to notice details you usually ignore.
Also, clear your memory card or phone storage enough to shoot freely. Creativity works better when you can make many attempts without worrying about every frame.
Step 1: Pick One Creative Constraint
A creative constraint is a limit you choose before shooting. Instead of reducing creativity, it gives your brain a problem to solve. Start with one constraint only.
Try one of these:
- Photograph only one color.
- Use only vertical compositions.
- Shoot only shadows.
- Stay within one room.
- Use one focal length or one lens.
- Make 20 photos of the same object.
For example, if your constraint is “only blue,” you start looking for blue signs, clothing, reflections, packaging, or evening light. Suddenly, an ordinary place becomes a visual hunt.
Avoid choosing too many rules at once. If your constraint feels confusing, simplify it until you can explain it in one sentence.
Step 2: Change Your Point of View
When photos look boring, the camera is often at eye level by default. To kickstart creativity in photography quickly, move your body before you change your settings.
Take the same subject from at least five positions:
- Eye level.
- Low to the ground.
- From above.
- Very close.
- From behind something.
You can photograph through leaves, glass, doorways, fabric, or railings to create depth. Crouch down for pets, children, flowers, shoes, puddles, and street details. Stand on stairs or a safe raised area for patterns and layouts.
Practical warning: do not put yourself in unsafe positions for a photo. Avoid roads, unstable ledges, private property, and spots where you cannot watch your surroundings.
Step 3: Follow the Light Instead of the Subject
Many beginners search for an interesting subject first. A more creative approach is to search for interesting light, then place a subject inside it.
Look for:
- Window light crossing a wall.
- Long shadows in early morning or late afternoon.
- Reflections from cars, water, or glass.
- Bright spots in an otherwise dark scene.
- Backlight around hair, leaves, smoke, or steam.
Once you find good light, ask, “What can I put here?” It could be a person, a cup, a plant, your hand, or a simple object from your bag.
If the light is harsh, use it intentionally. Strong sunlight can create bold shadows, graphic shapes, and high contrast images. Do not fight the light before you explore what it can do.
Step 4: Build a Mini Photo Challenge
A mini challenge turns vague creative effort into a clear task. Keep it short enough to finish today. The goal is to build momentum, not create a long-term project you abandon.
Try this 30-minute challenge:
- Choose one location.
- Pick one theme, such as “circles,” “quiet,” “movement,” or “contrast.”
- Make 30 photos.
- Do not delete anything while shooting.
- Select your best five afterward.
The number matters. Your first five photos may be obvious. Around photo 15 or 20, you usually start trying stranger angles, tighter crops, or unusual subjects. That is where creativity often begins.
If 30 photos feels too much, shoot 12. If it feels too easy, shoot 50. The important part is completing the challenge.
Step 5: Experiment with One Camera Setting
Camera settings are not just technical controls; they are creative tools. Choose one setting and push it further than usual.
Start with one of these experiments:
- Shutter speed: Use a slow shutter speed to blur moving people, water, cars, or hands.
- Aperture: Use a wide aperture for soft backgrounds or a narrow aperture for more detail.
- ISO: Raise ISO in low light to capture mood, even if some grain appears.
- White balance: Set a warmer or cooler look instead of relying on auto.
- Exposure compensation: Make the image intentionally darker or brighter.
Change only one setting at a time so you can see what it does. If you change shutter speed, aperture, ISO, and white balance together, you may not know which choice created the result.
Step 6: Copy a Technique, Not a Photo
Inspiration is useful, but copying an entire photo can leave you feeling less original. Instead, study a technique and apply it to your own subject.
For example, you might notice a photographer using silhouettes, reflections, centered composition, motion blur, or strong color contrast. Do not recreate their exact scene. Take the technique into your own environment.
If you like a café portrait with window light, try the same lighting idea with a family member at home. If you like a street photo with reflections, look for reflections in puddles, shop windows, or kitchen surfaces.
This keeps practice ethical and practical. You learn from others while still making your own image.
Step 7: Review Your Photos with a Simple Creativity Check
Creativity improves when you review your work with purpose. After each exercise, choose five photos and ask three questions:
- What did I try that was different from my usual style?
- Which photo has the strongest visual idea?
- What would I change if I reshot this?
Look for signs of experimentation: unusual angles, stronger light, cleaner composition, better timing, or a more deliberate mood. Do not judge only sharpness or technical perfection.
A slightly imperfect photo with a clear idea may be more creatively successful than a technically clean photo that looks like all your others. Save your best attempts in a separate folder so you can track progress over time.
Common Mistakes That Keep Photographers Stuck
The biggest mistake is waiting until you feel inspired. Creativity often appears after you start shooting, not before. Give yourself a task and begin.
Another mistake is changing gear too soon. A new lens can be fun, but it will not automatically create better ideas. First, learn to see more with what you already own.
Avoid comparing your practice photos to someone else’s portfolio. You are seeing their finished work, not their failed attempts. Shoot your experiments privately if that helps you take more risks.
Also, do not delete too quickly. A photo that looks weak on the camera screen may have an interesting crop, gesture, shadow, or color relationship. Review later with a calmer eye.
Finally, beware of over-editing. Editing can enhance a creative idea, but it cannot fully replace weak light, unclear composition, or no subject.
Troubleshooting: What to Do When Nothing Looks Creative
If nothing looks creative, reduce the task. Photograph only one object for 10 minutes. Move it near a window, place it on different backgrounds, shoot it close, far, from above, and in shadow.
If the location feels dull, look smaller. Search for textures, cracks, reflections, hands, corners, signs, or repeated shapes. If your photos feel cluttered, remove elements from the frame instead of adding more.
If every image feels predictable, set a “bad photo” round. Spend five minutes making intentionally strange compositions. This lowers pressure and often leads to one surprising idea worth developing.
A Simple 7-day Creativity Plan
Use this plan when you want structure for a full week:
- Day 1: Shoot one color for 20 minutes.
- Day 2: Make 15 photos from low angles.
- Day 3: Photograph shadows and reflections only.
- Day 4: Use one slow shutter speed experiment.
- Day 5: Make 20 photos of one ordinary object.
- Day 6: Copy one technique, such as silhouette or framing.
- Day 7: Review the week and select your best 10 images.
Keep the plan simple. You can repeat it with new themes, locations, or settings. The point is to train your eye through regular action.
Final Result Check: How to Know Your Creativity Is Improving
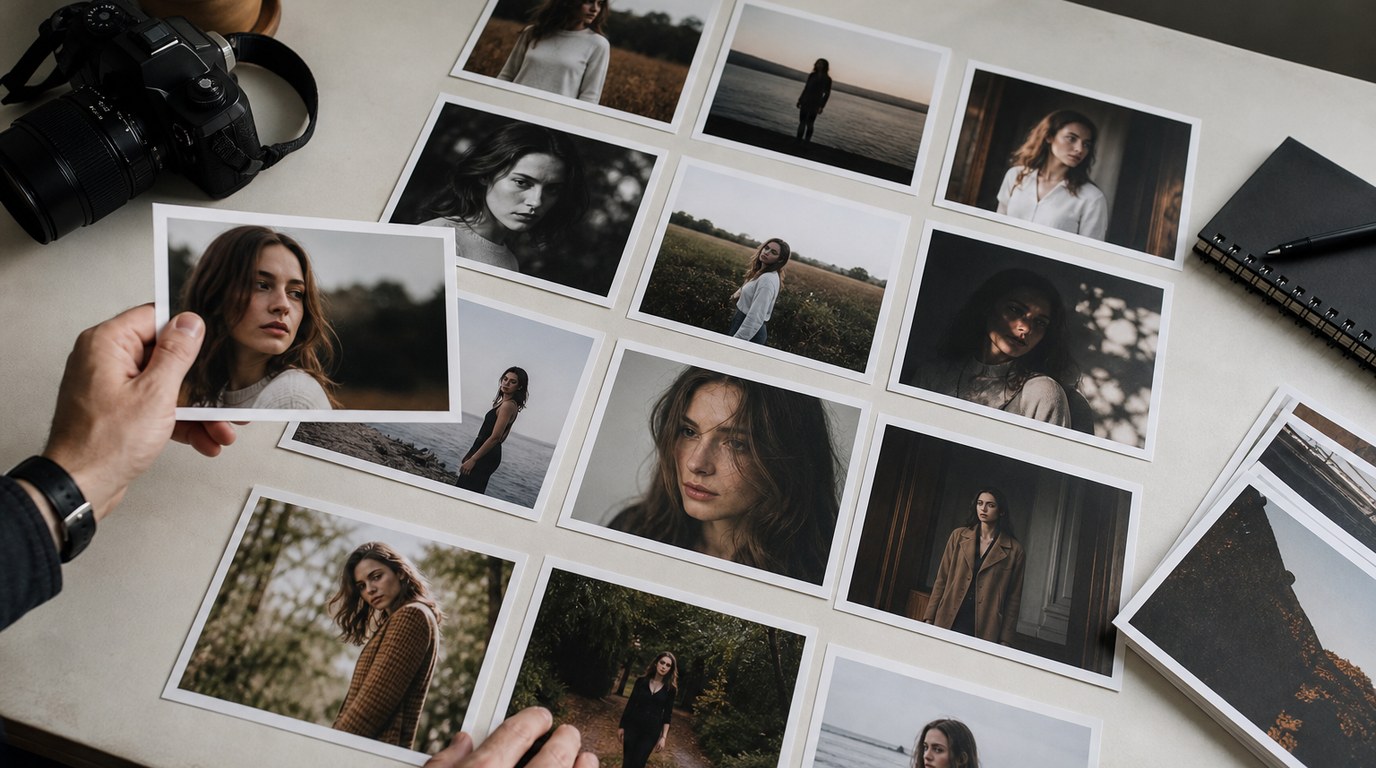
Your creativity is improving when your photos show more intention. You should see greater variety in angles, light, subjects, and mood. You may also notice that you are asking better questions while shooting, such as “What happens if I move closer?” or “What does this light make possible?”
Another good sign is that you are producing more usable ideas, even if not every photo succeeds. Creative growth is not perfection; it is a stronger habit of exploring, testing, and refining.
FAQ
How Do I Get Creative Photography Ideas When I Feel Stuck?
Start with a constraint instead of an idea. Pick one color, one object, one location, or one type of light and shoot for 20 minutes. This gives your mind a specific problem to solve and helps you move past blank-page thinking.
Do I Need a Better Camera to Be More Creative?
No. A better camera can improve image quality or give you more control, but creativity comes from choices: light, timing, viewpoint, composition, and subject. Practice those first. Even a phone camera can produce creative photos when used with intention.
What Is the Easiest Creative Photography Exercise for Beginners?
The easiest exercise is to photograph one ordinary object 20 different ways. Change the angle, distance, background, light, and crop. This teaches you that creativity is not only about finding exciting subjects; it is about seeing familiar subjects differently.
How Often Should I Practice Creative Photography?
Practice in short sessions three or four times a week if possible. Even 15 minutes helps. Frequent small exercises are better than waiting for a full free day, because creativity improves through repetition, observation, and quick experiments.
Why Do My Creative Photos Still Look Boring?
They may lack a clear visual idea. Check the light, background, subject, and angle. Remove distractions, move closer, or choose stronger light. Also, make sure you are not stopping after the first obvious photo. Creative results often come after several attempts.