
Good lighting can make a simple subject look polished, dramatic, soft, warm, or mysterious. The best part is that you do not need a full studio to start experimenting. These 8 photography lighting ideas use window light, outdoor light, lamps, reflectors, flash, and simple positioning to change the mood of your photos.
Use them as practice exercises: try one idea at a time, move your subject or light source, and compare the results. You will quickly learn how direction, softness, color, and background brightness affect the final image.
Why Lighting Changes the Look of a Photo
Lighting affects three big things: brightness, direction, and quality. Brightness controls exposure. Direction controls where shadows fall. Quality describes whether the light is soft and gentle or hard and contrasty.
Soft light wraps around a subject and creates smoother shadows, which is why it is popular for portraits. Hard light creates sharper shadow edges, which can add drama, shape, and texture. Front light can look clean and simple, while side light adds depth. Backlight can create glow, rim light, or silhouettes.
A helpful beginner mindset is this: do not only ask, “Is there enough light?” Ask, “Where is the light coming from, and what kind of shadows is it making?”
1. Use Soft Window Light for Natural Portraits
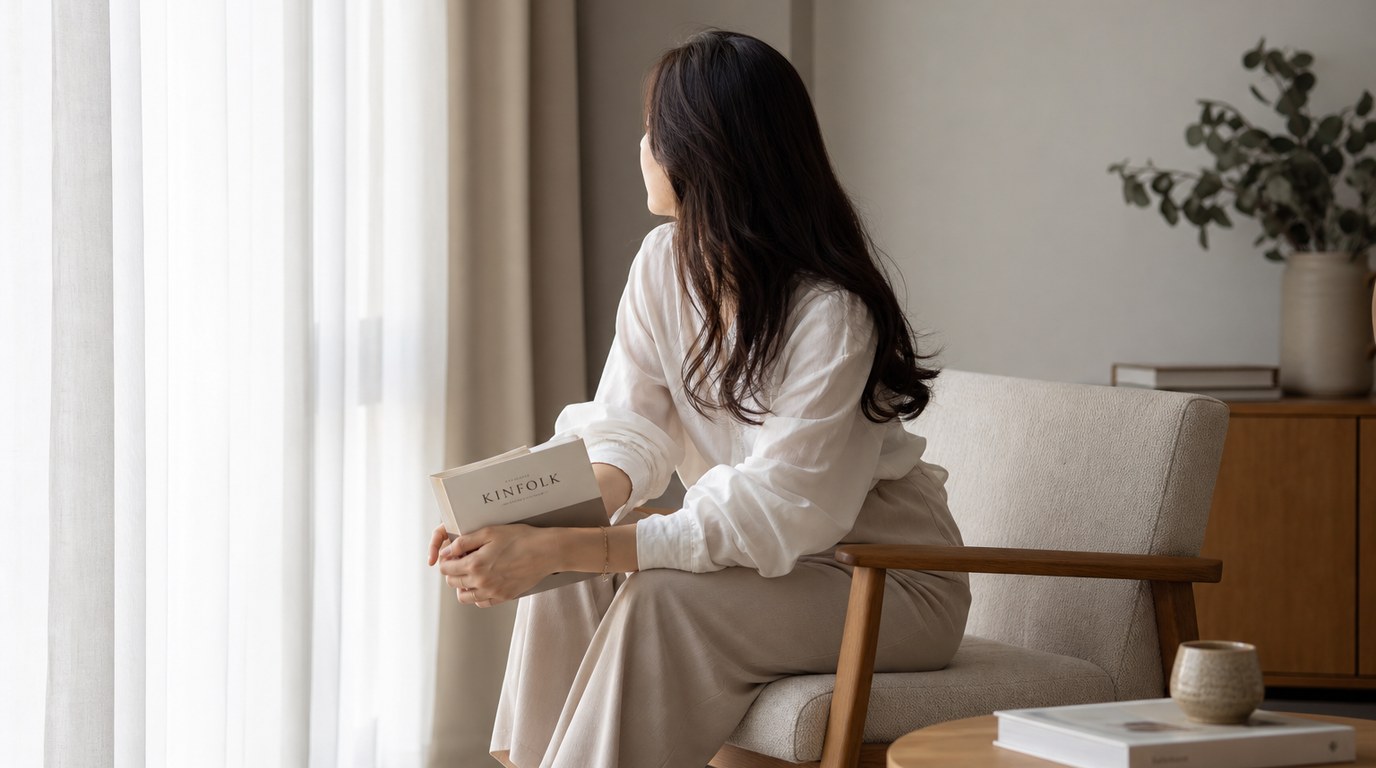
Soft window light is one of the easiest lighting ideas to try because it uses light you already have. Place your subject near a window, but not in harsh direct sun. North-facing windows, cloudy days, or sheer curtains often create soft, flattering light.
This setup works well for portraits, pets, food, crafts, and everyday lifestyle photos. Turn your subject slightly toward the window for a natural highlight on the face, or angle them away for a moodier look.
Beginner tip: turn off indoor overhead lights if they create mixed colors. Window light plus yellow room light can make skin tones harder to edit.
2. Shoot During Golden Hour for Warm Outdoor Light
Golden hour happens shortly after sunrise and before sunset, when the sun is low and warm. The light is softer than midday sun, shadows are longer, and skin tones often look more flattering.
Try placing your subject with the sun at a slight angle instead of directly in their eyes. This prevents squinting and creates more natural dimension. Golden hour is great for portraits, couples, landscapes, travel photos, and family sessions.
Beginner tip: arrive early. Golden hour changes quickly, so test a few compositions before the best light peaks. If the photo looks too orange, adjust white balance slightly cooler.
3. Add Backlighting for Glow and Separation
Backlighting means the main light source is behind your subject, pointing toward the camera. This can create a glowing edge around hair, leaves, clothing, glass, or smoke. It also helps separate the subject from the background, giving the image a more cinematic feel.
Use the sun, a lamp, or an off-camera flash behind the subject. Expose carefully: if the background is very bright, your subject may become too dark. You can add a reflector or small front light to bring detail back into the face.
Beginner tip: shade your lens with your hand or a lens hood to reduce unwanted flare.
4. Try Side Lighting to Reveal Shape and Texture
Side lighting comes from the left or right of the subject. It creates highlights on one side and shadows on the other, which reveals shape, texture, and depth. This is useful for portraits, still life, food, products, architecture, and black-and-white photography.
Place a window, lamp, or flash at roughly 90 degrees to your subject. Move it closer for softer light, or farther away for stronger contrast. For a gentler look, use a white wall, foam board, or reflector on the shadow side.
Beginner tip: watch the shadow edge. If it looks too harsh, diffuse the light with a curtain or move the subject closer to a larger light source.
5. Create Silhouettes with a Bright Background
A silhouette turns the subject into a dark shape against a bright background. It is simple but powerful because it emphasizes outline, gesture, and composition instead of detail.
Shoot toward a bright sky, sunset, window, or doorway. Expose for the background, not the subject. On a phone, tap the bright area to darken the subject. On a camera, use exposure compensation or manual exposure to keep the background from blowing out.
Beginner tip: choose a subject with a clear shape. Profiles, trees, bicycles, dancers, and hands often work better than cluttered poses.
6. Bounce Light for Softer Indoor Photos
Bouncing light means aiming a flash, lamp, or bright light at a wall or ceiling so the reflected light hits your subject. This makes the light source larger and softer, reducing harsh shadows.
If you use a speedlight, point it at a white ceiling or nearby wall instead of directly at the subject. If you use a lamp, aim it at a white poster board or foam board. This technique works well for indoor portraits, events, product photos, and casual family pictures.
Beginner tip: bounce off neutral surfaces. A green wall can add a green color cast, while a wood ceiling may make the photo too warm.
7. Use Colored Light for a Creative Mood
Colored light can instantly change the feeling of a photo. Blue can feel cool or futuristic, red can feel dramatic, and pink or purple can feel playful. You can use LED panels, RGB bulbs, colored gels, neon signs, phone screens, or even colored plastic over a small light.
Start simple: use one colored light in the background and a softer neutral light on the subject’s face. This keeps the image creative without making skin tones look unnatural. Colored light works especially well for portraits, music-themed shoots, gaming setups, and product photography.
Beginner tip: avoid mixing too many colors at first. Two colors are usually easier to control than four.
8. Build a Simple One-light Setup
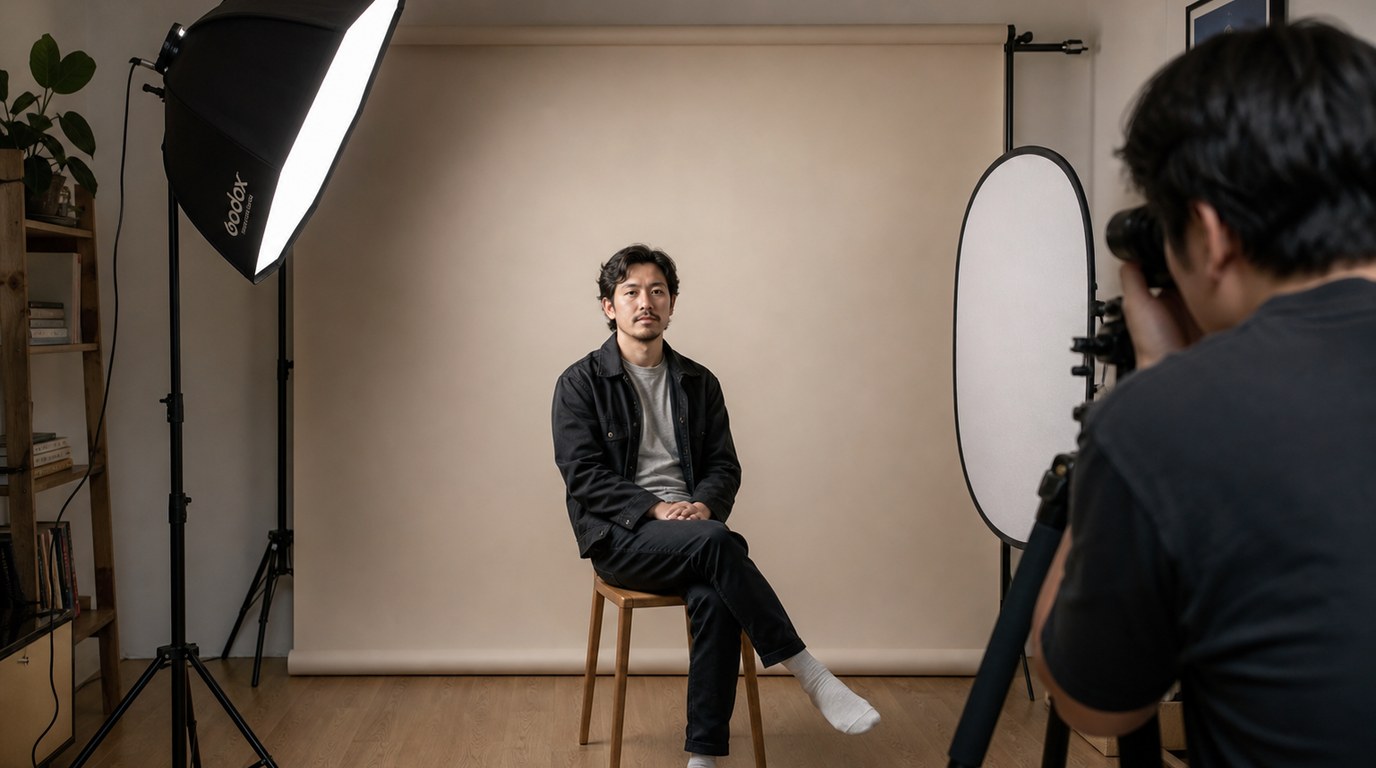
A one-light setup teaches control. Use one lamp, flash, LED panel, or window as your main light. Place it slightly above eye level and about 45 degrees to one side of the subject. This creates natural shadows and depth without becoming too complicated.
For portraits, add a white reflector opposite the light to soften the shadow side. For products, use white paper or foam board to bounce light back into dark areas. For more drama, remove the reflector and let the shadows stay deeper.
Beginner tip: change one thing at a time. Move the light closer, farther, higher, or lower, then compare the results. This builds lighting confidence faster than changing everything at once.
How to Choose the Right Lighting Idea for Your Photo
Choose the lighting idea based on the mood you want, not just the gear you own. Soft window light is safe and flattering. Side light adds texture. Backlight creates glow. Silhouettes create drama. Colored light adds style. A one-light setup gives the most repeatable control.
| Goal | Try This Lighting Idea |
|---|---|
| Natural portraits | Soft window light |
| Warm outdoor photos | Golden hour |
| Cinematic glow | Backlighting |
| Texture and depth | Side lighting |
| Bold, graphic images | Silhouettes |
| Softer indoor light | Bounce light |
| Creative mood | Colored light |
| Repeatable practice | One-light setup |
If you are unsure, start with soft window light, then try side lighting and backlighting next.
FAQ
What Should a Beginner Know First About 8 Photography Lighting Ideas?
Start by noticing light direction and shadow quality. Before changing camera settings, look at where the light is coming from, whether it is soft or harsh, and what mood it creates. Small changes in subject position can make a photo look much better.
What Matters Most When Evaluating 8 Photography Lighting Ideas?
The most important factors are mood, subject, and control. A flattering portrait may need soft light, while a dramatic product photo may need side light or color. The best lighting idea is the one that supports the story you want the image to tell.
What Mistakes Should Readers Avoid with 8 Photography Lighting Ideas?
Avoid using every idea at once. Beginners often mix too many lights, colors, and directions, which creates confusing shadows. Also watch for blown-out highlights, unflattering overhead light, and mixed color temperatures from daylight and indoor bulbs.
What Is the Next Logical Step After Learning About 8 Photography Lighting Ideas?
Pick one subject and photograph it with three lighting styles: window light, side light, and backlight. Compare the shadows, highlights, and mood. This simple exercise will teach you more than reading about lighting without testing it yourself.