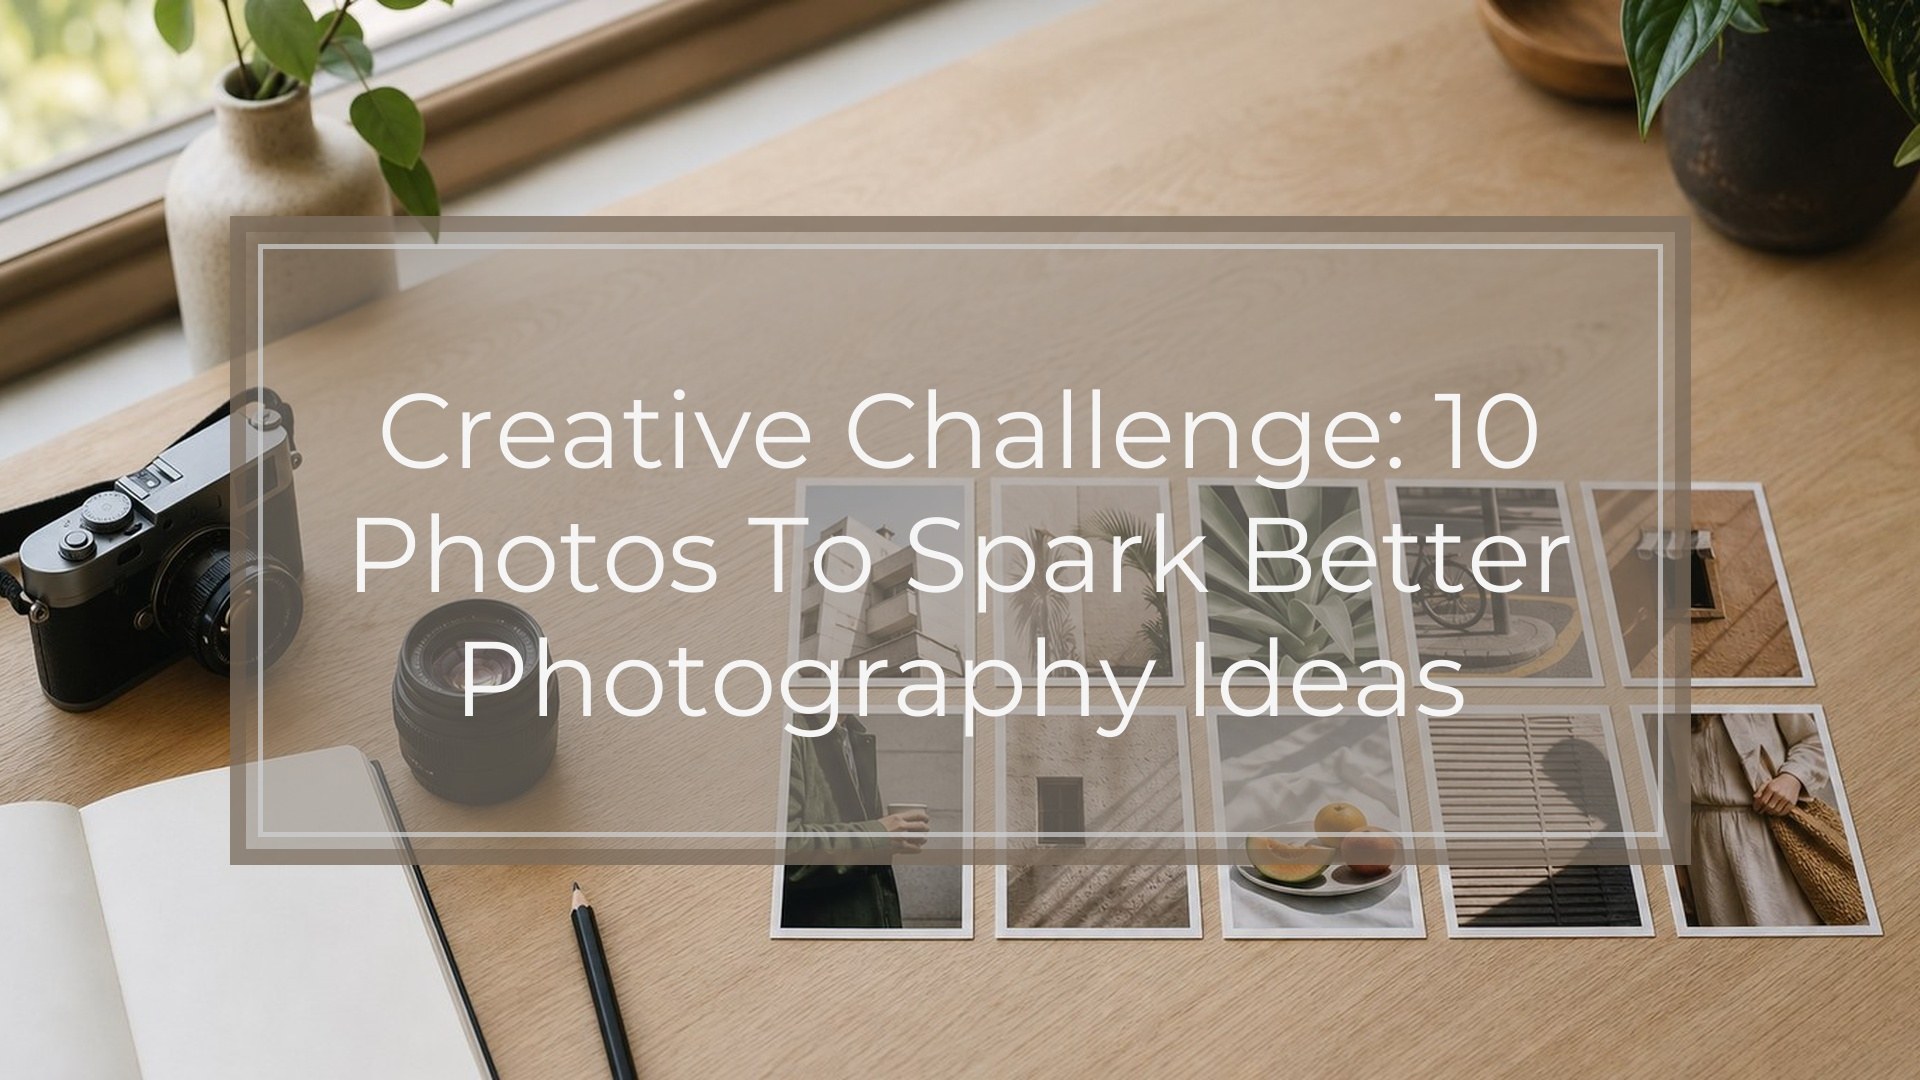
The creative challenge 10 photos exercise is simple: choose one short shooting session and make exactly 10 intentional images, each based on a different prompt. The goal is not to produce 10 perfect portfolio shots. The goal is to practice seeing, deciding, composing, and reviewing with purpose.
You can do this challenge with a phone, compact camera, mirrorless camera, or DSLR. Work at home, on a walk, in your yard, or in one room. By limiting yourself to 10 photos, you slow down and make each frame count.
Quick Answer
The main takeaway: take 10 photos, but make every photo solve a different creative problem.
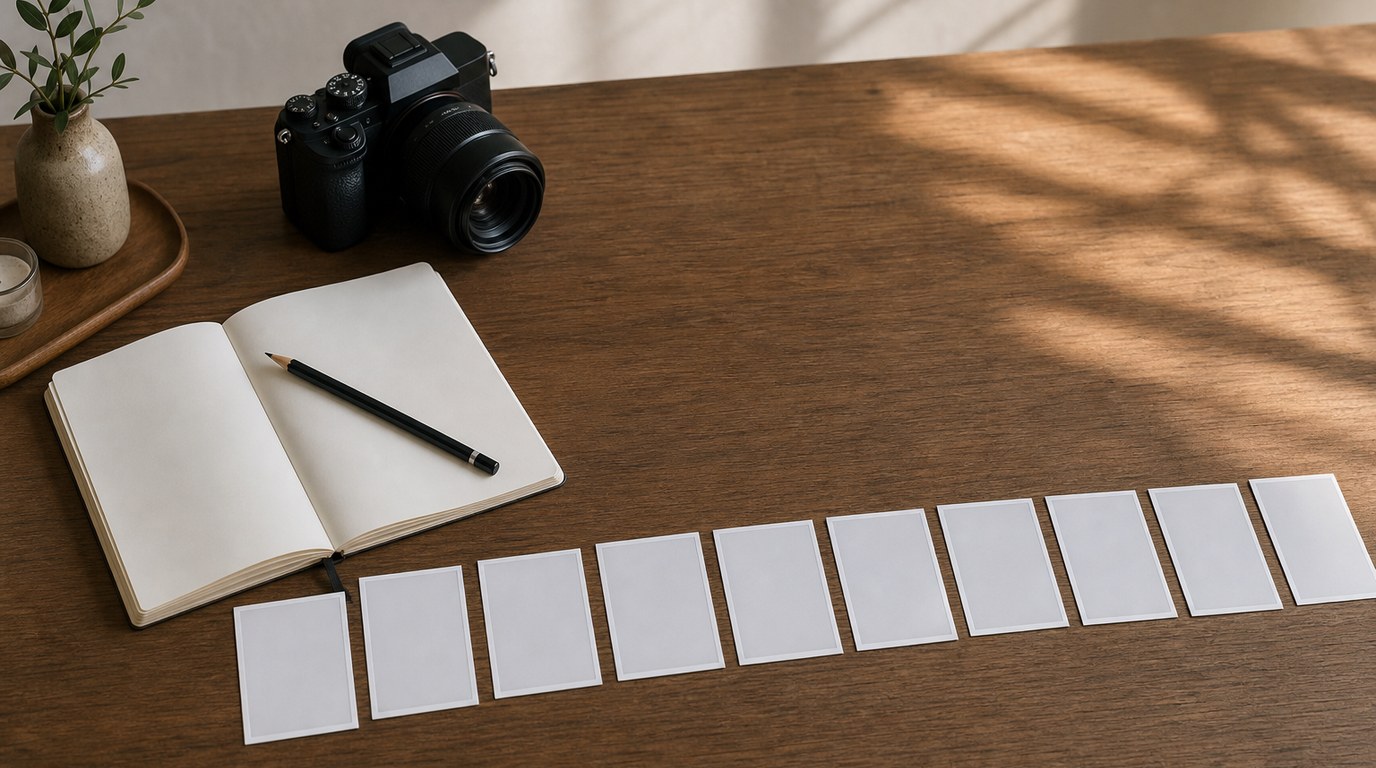
Here is the challenge:
- A photo of light — sunlight on a wall, window light, a shadow, or a reflection.
- A photo of texture — fabric, bark, concrete, paper, food, or skin.
- A photo with leading lines — a path, railing, shelf, road, hallway, or table edge.
- A photo from a low angle — shoot from near the ground or below eye level.
- A photo from above — photograph a desk, meal, shoes, tools, or a pattern.
- A photo with one strong color — make one color dominate the frame.
- A photo with negative space — leave empty space around the subject.
- A photo that shows motion — walking feet, traffic, pets, water, or hands.
- A photo of a small detail — something you normally overlook.
- A photo that tells a tiny story — an object, person, or scene that suggests what happened before or after.
Use one rule: do not take extra “backup” photos for each prompt. You get 10 final images. This makes the exercise more thoughtful and helps beginners build creative discipline.
How to Think About This Topic
A 10-photo challenge works because it gives your creativity boundaries. Without limits, it is easy to wander around taking random pictures and hoping one looks good. With 10 specific prompts, you have a clear reason to look more carefully.
Think of each prompt as a different photography muscle. Light trains you to notice brightness, direction, and shadow. Texture trains you to move closer. Leading lines train your composition. Low and high angles break the habit of shooting everything from standing height. Color, negative space, motion, details, and storytelling all push you to make stronger visual choices.
The point is not to find rare subjects. In fact, this challenge is often better when the location is ordinary. A kitchen, sidewalk, bedroom, parking lot, garden, or bus stop can all work. The challenge teaches you that creative photography is less about access to amazing places and more about how you notice what is already there.
Before you start, choose a time limit. Thirty to sixty minutes is enough for most beginners. A time limit prevents overthinking and keeps the session active. If you are using a phone, clean the lens and turn on the grid if available. If you are using a camera, choose a simple mode such as aperture priority, program mode, or auto if you are still learning.
Also decide whether your 10 photos must be in color or black and white. Color is usually better for the first attempt because one prompt depends on color, but black and white can be a good variation later.
The mental model is this: observe, choose, simplify, shoot, review. First, observe the scene. Then choose one subject. Simplify the frame by removing distractions or changing your angle. Take the photo. After all 10 are complete, review them as a set instead of judging each one too quickly.
This approach matches the intent of a creative challenge 10 photos exercise: it gives you structure, but leaves enough freedom for personal style.
Practical Guidance

Start with easy subjects so you build momentum. For the light prompt, look near windows, doorways, shiny surfaces, or places where sunlight creates a shape. A plain wall with a strong shadow can be more interesting than a busy scene with no clear light.
For texture, move close enough that the surface fills much of the frame. Try a towel, leaf, brick, cutting board, sweater, or gravel. Side light often makes texture stronger because it creates small shadows.
For leading lines, stand where lines naturally point toward something. A hallway can lead to a door. A fence can lead to a tree. A row of books can lead to a coffee cup. The subject does not need to be dramatic; it just needs to give the lines a destination.
The angle prompts are especially useful for beginners. For the low-angle photo, place the camera near the ground and aim slightly upward. This can make shoes, plants, pets, bicycles, or street scenes feel more dynamic. For the overhead photo, keep the camera parallel to the surface if possible. This works well for flat lays, meals, notebooks, tools, or patterns.
For the strong color prompt, remove competing colors. If you photograph a red mug, place it against a simple background. If the scene is green, let green dominate. This teaches you to control visual attention.
Negative space means the subject does not fill the whole frame. Place a small subject against a plain sky, wall, table, or floor. The empty area should feel intentional, not accidental.
For motion, choose between freezing and blurring. To freeze motion, use bright light or a faster shutter speed if you know how. To show blur, move the camera slightly, photograph flowing water, or capture someone walking. Phone users can simply experiment in lower light or use motion/photo modes if available.
For the small detail, look for evidence of use: worn corners, crumbs, scratches, fingerprints, folded fabric, or a single flower petal. Details often feel stronger when the background is simple.
For the tiny story, include clues. A half-finished cup beside an open book suggests a break. Muddy shoes by a door suggest a walk. A toy under a chair suggests a child nearby. You do not need a full documentary scene; one clear clue is enough.
After shooting, review your 10 images and ask three questions: Which photo has the clearest subject? Which one feels the most original? Which prompt was hardest? The answers show what to practice next.
If you want to repeat the challenge, change one variable. Shoot only indoors, only outdoors, only in black and white, only with a 50mm lens, only with your phone, or only within 10 steps of your front door. Repeating the same structure with a new limit is how the exercise becomes real creative training.
FAQ
What Should a Beginner Know First About Creative Challenge 10 Photos?
A beginner should know that the challenge is about intention, not perfection. You are practicing how to see light, shape, color, motion, and story. Use any camera, keep the prompts simple, and focus on making 10 thoughtful photos rather than technically perfect images.
What Matters Most When Evaluating Creative Challenge 10 Photos?
The most important thing is whether each photo clearly answers its prompt. A good challenge set should show variety: different angles, subjects, compositions, and moods. Also look for clean framing, a clear subject, and fewer distractions around the edges of the image.
What Mistakes Should Readers Avoid with Creative Challenge 10 Photos?
Avoid rushing through the prompts like a checklist. Also avoid taking many backup shots for each idea, because that weakens the purpose of the limit. Do not worry too much about advanced settings; composition, observation, and subject choice matter more for this exercise.
What Is the Next Logical Step After Learning About Creative Challenge 10 Photos?
Repeat the challenge with a new restriction. Try 10 photos in one room, 10 photos during golden hour, 10 photos in black and white, or 10 photos using only reflections. Then compare the sets to see how your seeing, framing, and storytelling improve.