Macro flower photography is about getting close enough to reveal details that are easy to miss: pollen, petal texture, curled edges, tiny insects, and drops of water. You do not need a professional studio or the most expensive macro lens to begin. A camera, a close-focusing lens or accessory, steady technique, and soft light can take you a long way.
The main challenges are shallow depth of field, camera shake, and distracting backgrounds. Start by learning how aperture, focus, light, and composition work together at close distances. Once you understand that close-up photography magnifies both beauty and mistakes, your flower images will quickly become sharper, cleaner, and more intentional.
What Is Macro Flower Photography?
Macro flower photography is close-up photography that makes small flower details appear large in the frame. True macro usually means the subject is recorded at life-size magnification, or 1:1, on the camera sensor. In beginner terms, it simply means photographing flowers close enough that texture, color, shape, and tiny details become the main subject.
It is different from normal flower photography because distance changes everything. When you move very close, depth of field becomes extremely thin, so only a small slice of the flower may be sharp. Small movements from your hands, the wind, or the flower itself also become more noticeable. Good macro flower photography is not just “zooming in.” It is careful control of focus, light, and background.
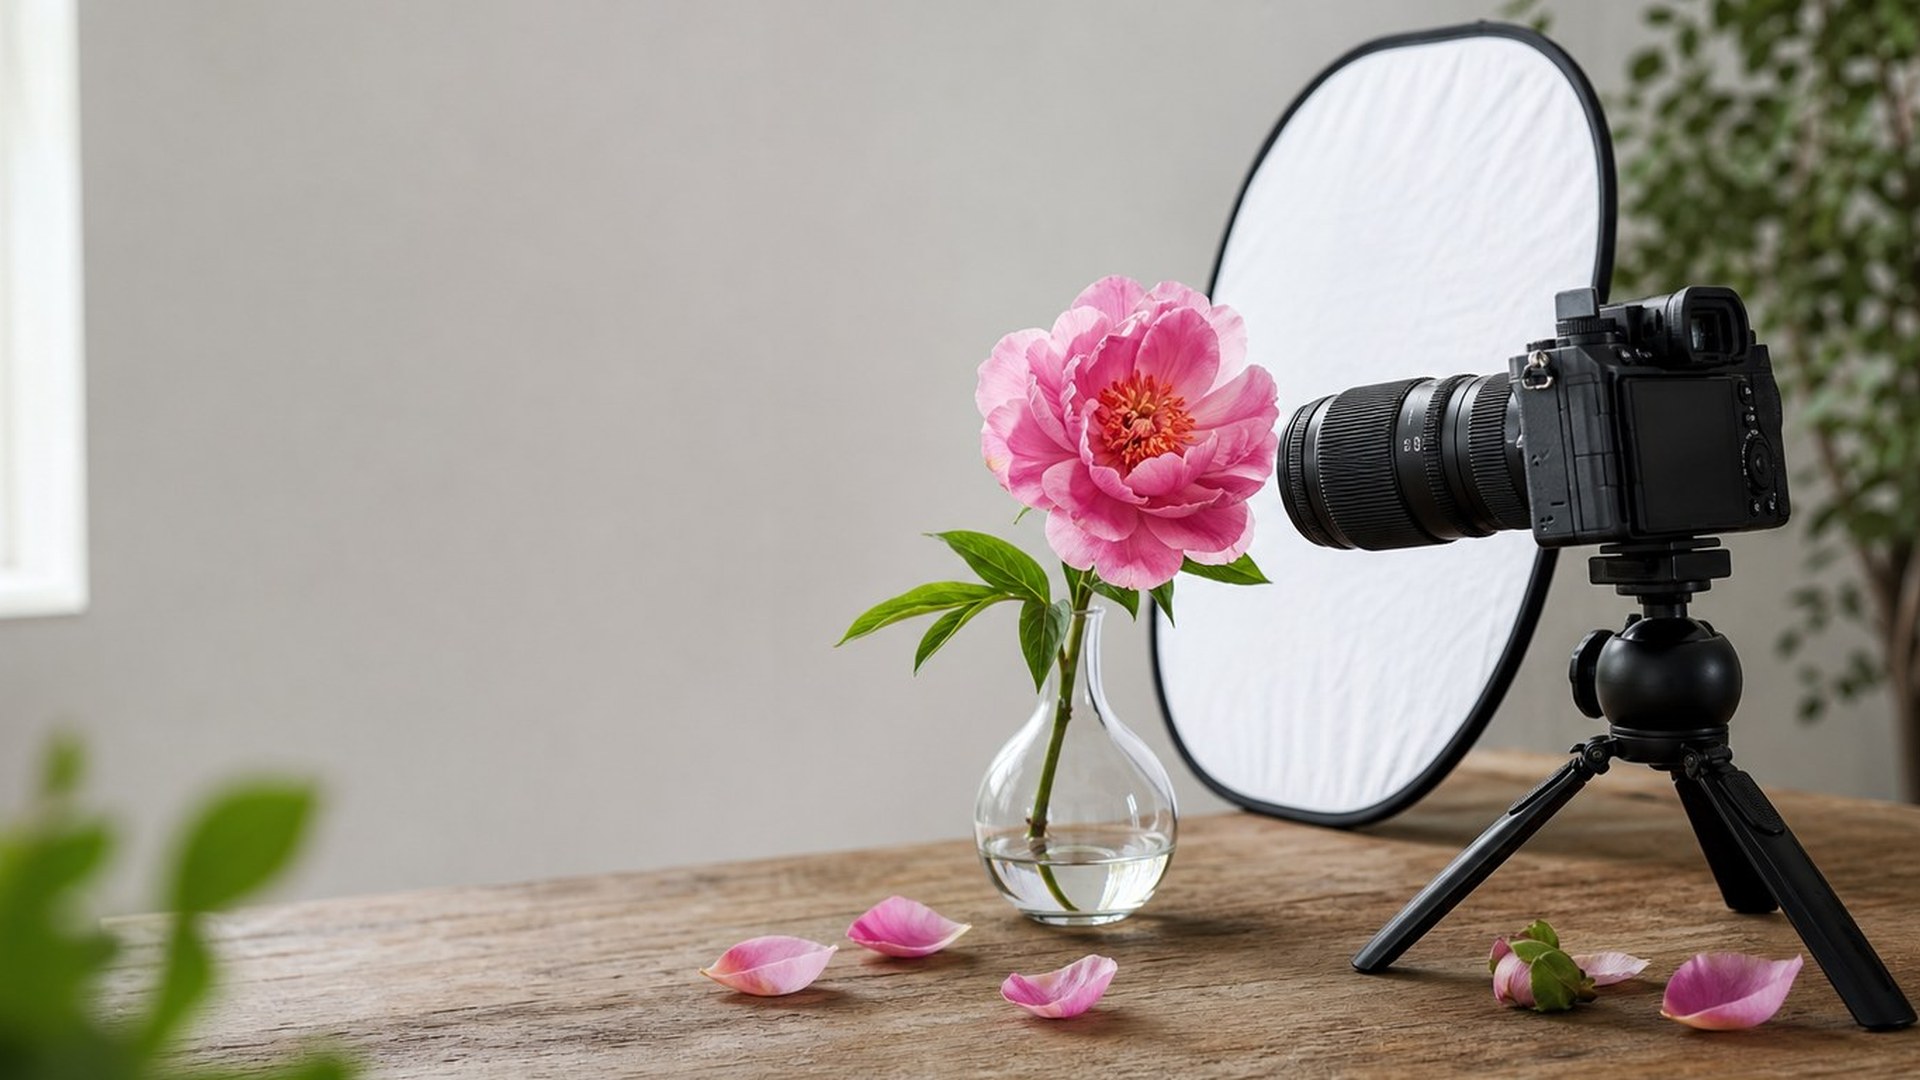
Beginner Gear for Macro Flower Photography
You can start macro flower photography with several simple setups. The best option is a dedicated macro lens, such as a 60mm, 90mm, or 100mm macro lens. These lenses focus close, stay sharp, and give you comfortable working distance from the flower.
If you are not ready to buy a macro lens, try a close-up filter, extension tubes, or the macro mode on a compact camera or phone. Close-up filters screw onto the front of a lens like a magnifying glass. Extension tubes fit between the camera and lens, letting the lens focus closer. Both are affordable ways to practice.
A tripod is helpful but not required. It slows you down and improves sharpness, especially indoors or in low light. A small reflector, white card, or diffuser can also make a big difference by softening harsh sunlight. Start with what you have, then upgrade only when you know what limits your current gear.
Best Camera Settings for Macro Flower Photography
A good beginner starting point is aperture priority mode, an aperture around f/5.6 to f/11, ISO 100 to 800, and a shutter speed fast enough to prevent blur. These are not fixed rules, but they give you a practical base.
Aperture controls depth of field. At close distances, f/2.8 may blur most of the flower, which can look artistic but is hard to control. F/5.6 gives a little more sharpness while keeping the background soft. F/8 or f/11 helps when you want more of the petals, center, or stem in focus. Avoid stopping down too far, such as f/22, unless needed, because diffraction can soften the image.
Shutter speed controls motion blur. If you are handholding, try 1/250 second or faster. If there is wind, you may need 1/500 second or more. With a tripod and a still indoor subject, you can use slower shutter speeds.
ISO brightens the image when light is limited. Keep ISO low for clean files, but do not be afraid of ISO 400 or 800 if it helps you get a sharp photo. A slightly noisy sharp photo is usually better than a clean blurry one.
Use single-point autofocus or manual focus for better control. For flowers, the focus point often belongs on the center, a petal edge, a stamen, or the most interesting texture.
How to Focus on Flowers up Close
Focus is the most important skill in macro flower photography. At close range, depth of field can be only a few millimeters, so the camera may focus on the wrong petal or leaf if you let it choose automatically.
Use a single focus point instead of a wide autofocus area. Place that point exactly where you want the viewer to look first, such as the flower’s center, a sharp petal edge, or a water droplet. If your camera struggles, switch to manual focus and use live view or focus magnification if available.
A useful technique is to set focus first, then gently move your body forward or backward until the key detail looks sharp. This is often easier than turning the focus ring repeatedly. Take several photos with tiny focus adjustments, because small changes can make a big difference.
For advanced work, photographers sometimes use focus stacking, where several images focused at different distances are combined later. Beginners do not need to master it right away, but it is helpful to know why some macro photos look sharp from front to back.
Use Light That Makes Flower Details Look Soft and Clear
Soft light is usually best for beginner macro flower photography. It shows color and texture without harsh shadows or blown-out highlights. Bright midday sun can make petals look shiny, contrasty, and difficult to expose, especially with white, yellow, or red flowers.
Look for open shade, cloudy weather, early morning, or late afternoon light. These conditions create gentle contrast and rich color. Morning is especially useful because flowers may be still, fresh, and covered with dew.
You can also shape light with simple tools. Hold a white card near the flower to bounce light into shadows. Use a translucent diffuser, thin white cloth, or even your body’s shadow to soften direct sunlight. Indoors, place a flower near a window and turn it until the side light reveals texture.
Watch the background as much as the flower. Light falling on bright leaves or soil behind the subject can create distractions. A darker or evenly lit background often makes the flower stand out more clearly.
Simple Composition Tips for Stronger Flower Macro Photos
Strong macro flower photos are not only sharp; they also guide the viewer’s eye. Before pressing the shutter, decide what the photo is about. Is it the center pattern, a single curved petal, a color contrast, or a droplet on the edge?
Fill the frame when the detail is interesting, but leave space when the flower shape needs room to breathe. Try placing the main detail slightly off-center for a more natural composition. Centering can also work well with symmetrical flowers such as daisies, sunflowers, or tulips viewed from above.
Simplify the background. Move around the flower until distracting stems, bright patches, or messy leaves disappear. A small change in camera angle can turn a cluttered background into soft color. Wider apertures help blur backgrounds, but composition still matters.
Shoot from different heights. Eye-level views can feel intimate, while overhead shots emphasize patterns. Side views show petal layers and curves. Also pay attention to edges of the frame; clipped petals can look accidental unless you crop boldly and intentionally.
Color is another useful tool. A red flower against green leaves creates energy, while pastel petals against a soft background feel calm. Let the flower’s natural shape and color guide the composition.
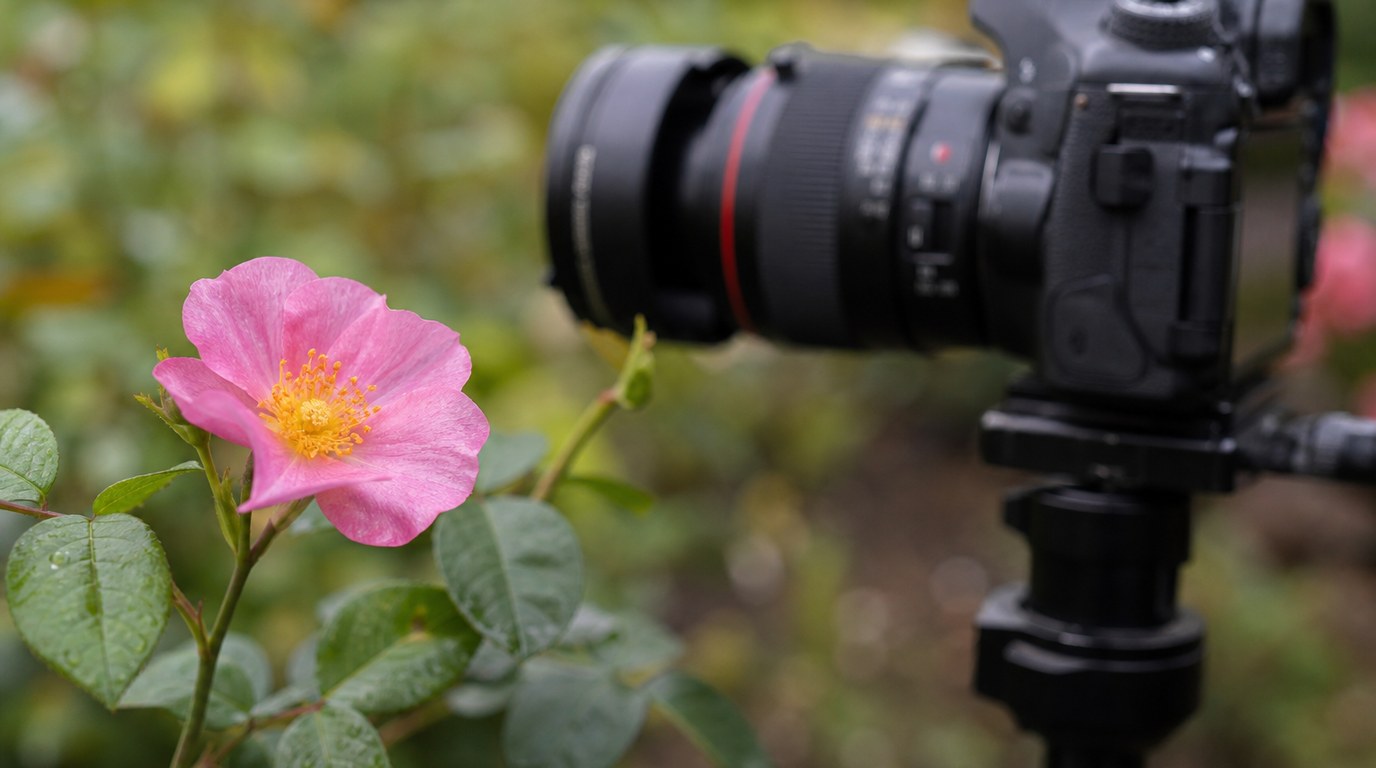
How to Avoid Blur in Macro Flower Photos
Blur is common in macro flower photography because close-up work magnifies movement. The camera, the flower, and even your breathing can shift the focus point.
Start with a faster shutter speed. If you are handholding, use at least 1/250 second, and go faster when using longer lenses or shooting in wind. Turn on image stabilization if your camera or lens has it. Brace your elbows against your body, kneel, or lean against something stable.
Wind is a major problem outdoors. Shoot early in the morning when air is calmer, wait for pauses between gusts, or gently shield the flower with your body or a reflector. Avoid damaging the plant.
A tripod helps with still subjects, but it will not stop a flower from moving in the wind. Use a remote shutter, self-timer, or electronic shutter to reduce vibration. Finally, take multiple frames. In macro photography, one frame may be slightly soft while the next is sharp.
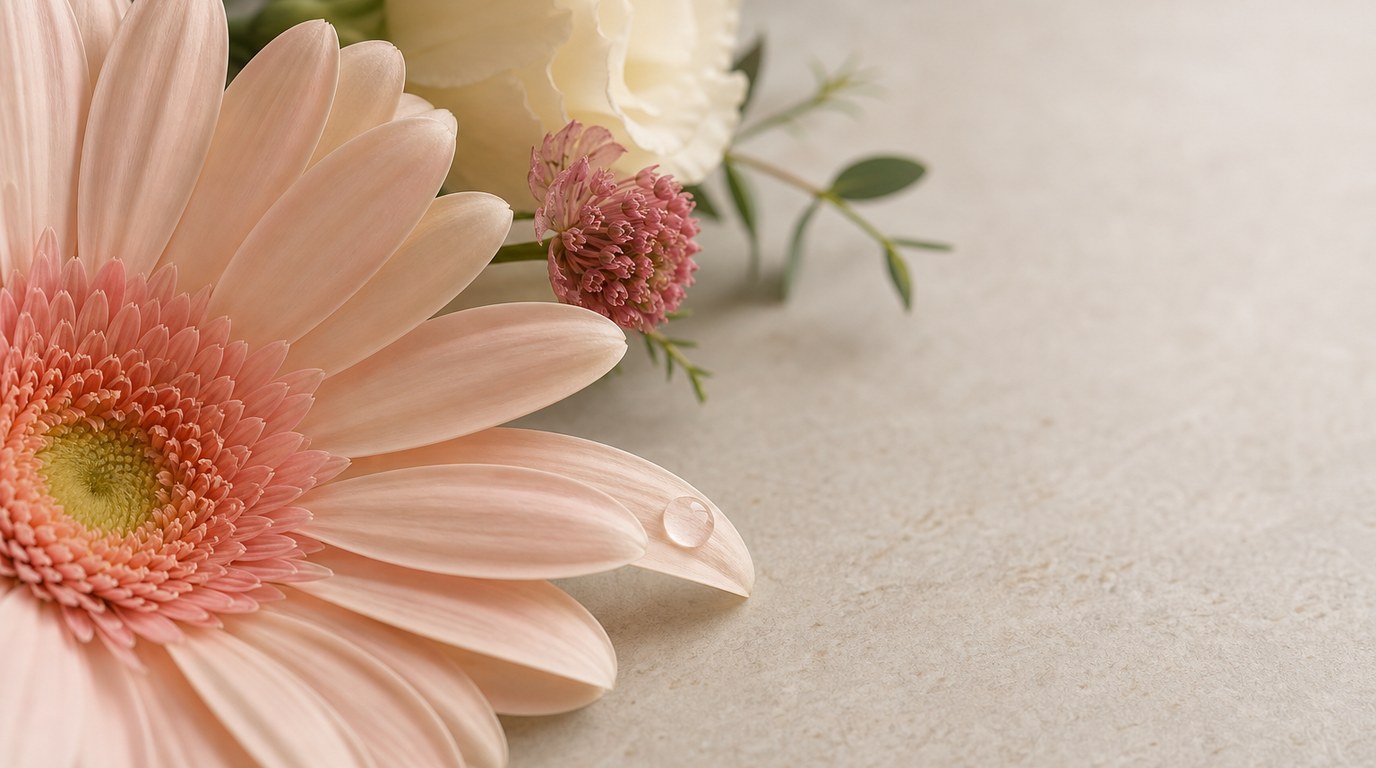
Easy Macro Flower Photography Ideas to Practice
Practice improves faster when you give yourself small assignments. Start with one flower and photograph only its center. Try different apertures, such as f/4, f/8, and f/11, and compare how much is sharp.
Next, photograph the same flower from three angles: overhead, side view, and low angle. Notice how the background and shape change. Then try a color exercise by finding a flower with a clean contrasting background, such as purple petals against green leaves.
You can also practice texture. Look for veins in petals, pollen, curled edges, or dew drops. Indoors, place a cut flower near a window and use a white card to bounce light into the shadows. These simple exercises teach focus, light, and composition without pressure.
Common Beginner Mistakes to Avoid
The most common mistake is getting too close without enough depth of field. If only a random petal is sharp, stop down to f/8 or refocus on the most important detail.
Another mistake is ignoring the background. A sharp flower can still feel messy if bright stems or leaves pull attention away. Move your camera before changing settings.
Beginners also often shoot in harsh sunlight, use shutter speeds that are too slow, or let the camera choose the focus point. Slow down, check the edges of the frame, and review sharpness on the camera screen. Small corrections make a big difference in macro work.
Conclusion: Start Simple and Practice One Skill at a Time
Macro flower photography becomes easier when you keep the process simple. Choose one flower, find soft light, steady the camera, and place focus carefully on the most interesting detail. Do not worry about mastering every technique at once.
Start with aperture, focus, and background control. Once those feel natural, experiment with reflectors, tripods, different lenses, and creative compositions. The best way to improve is to photograph often and review what worked.
FAQ
What Should a Beginner Know First About Macro Flower Photography?
Beginners should know that close-up photography has very shallow depth of field. Focus must be placed carefully, and small movements can cause blur. Start with soft light, a steady camera, and a clear subject, then practice controlling one setting at a time.
What Matters Most When Evaluating Macro Flower Photography?
Sharp focus on the intended detail matters most, followed by pleasing light and a clean background. A macro flower photo does not need every petal sharp, but the important part should look intentional. Good composition should make the viewer know where to look.
What Mistakes Should Readers Avoid with Macro Flower Photography?
Avoid shooting too quickly, using slow shutter speeds in wind, and letting the camera choose focus automatically. Also watch for harsh sunlight and distracting backgrounds. Macro rewards patience, so make small adjustments to angle, focus, and light before taking the final shot.
What Is the Next Logical Step After Learning About Macro Flower Photography?
The next step is structured practice. Photograph the same flower with different apertures, focus points, and lighting conditions. After that, try simple accessories like a reflector, tripod, extension tubes, or a true macro lens to expand your creative control.