
Quick Answer
The main low light photography tip is simple: collect more usable light while keeping the camera steady enough to avoid blur. In dim rooms, at night, or during events, blurry photos usually come from a shutter speed that is too slow, while noisy photos usually come from ISO being pushed high. Your job is to balance aperture, shutter speed, ISO, stabilization, focus, and available light for the scene.
Start by opening your aperture as wide as your lens allows, such as f/1.8, f/2.8, or f/4. Then choose a shutter speed fast enough for your subject. A still object may work at 1/30 second with stabilization, but a person talking, walking, or dancing may need 1/125 second or faster. Raise ISO only as much as needed to get a bright enough exposure.
Useful habits make a big difference:
- Use a fast lens when possible.
- Brace your body, use image stabilization, or use a tripod.
- Focus on a high-contrast edge or a person’s eye.
- Shoot in RAW if your camera supports it.
- Add light when the scene is too dark, even with a small LED or bounced flash.
- Take several frames because tiny camera movements matter more in low light.
Think of low light photography as a trade-off: more light, more stability, or more ISO. If you cannot add light, you must use a wider aperture, slower shutter speed, or higher ISO. If your subject is moving, you cannot rely on a very slow shutter speed. If depth of field matters, you may not want the widest aperture. The best low light images come from choosing the least damaging compromise for the scene.
Here are practical starter settings:
| Situation | Aperture | Shutter Speed | ISO | Extra Tip |
|---|---|---|---|---|
| — | —: | —: | —: | — |
| Indoor portrait | f/1.8–f/2.8 | 1/125 | 800–3200 | Focus on the eye |
| Still object indoors | f/2.8–f/5.6 | 1/15–1/60 | 400–1600 | Use stabilization or tripod |
| Night street scene | f/2–f/4 | 1/60–1/250 | 1600–6400 | Watch bright signs and lamps |
| Event or party | f/1.8–f/2.8 | 1/125–1/250 | 1600–6400 | Use burst mode for safer shots |
| Night landscape | f/5.6–f/11 | 5–30 sec | 100–800 | Use tripod and timer |
How to Think About This Topic
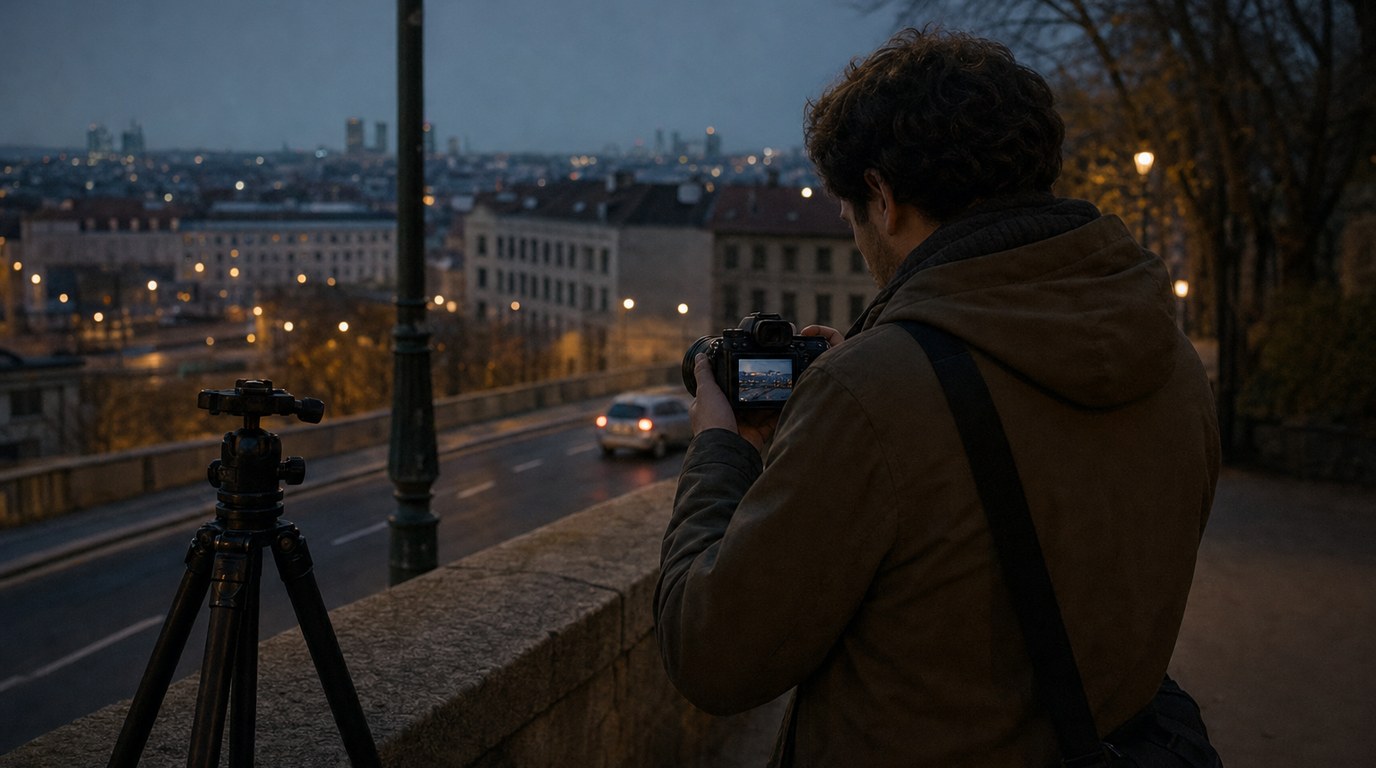
Low light photography is not just “make the photo brighter.” It is about managing three problems at the same time: camera shake, subject motion, and image noise. Once you identify which problem is hurting your photo, your settings become easier to choose.
Camera shake happens when your hands move during the exposure. In bright light, the shutter opens and closes so quickly that small hand movements do not show. In low light, the shutter may stay open longer, so every tiny movement can soften the image. This is why a photo of a lamp, table, or building can look blurry even if nothing in the scene moved. The fix is stability: a faster shutter speed, better handholding, image stabilization, a tripod, or a surface to rest the camera on.
Subject motion is different. If a person turns their head, a child runs, or a musician moves on stage, a tripod will not freeze them. The camera may be steady, but the subject changes position while the shutter is open. This is one of the most important low light photography tips for beginners: stabilization helps with camera movement, not subject movement.
Noise appears when the camera has to amplify a weak signal, usually at higher ISO settings. Noise can look like grain, colored speckles, or muddy detail. Modern cameras handle high ISO better than older models, and editing software can reduce noise, but ISO still has a cost. The goal is not always to use the lowest ISO. The goal is to use the lowest ISO that still gives you the shutter speed and aperture you need.
The exposure controls work together:
- Aperture controls how much light enters through the lens and affects depth of field.
- Shutter speed controls how long light hits the sensor and affects motion blur.
- ISO controls how much the camera amplifies the captured light and affects noise.
In low light, start with aperture because it can give you more light without adding noise or blur. A lens at f/1.8 lets in much more light than the same lens at f/5.6. That is why fast prime lenses, such as a 35mm f/1.8 or 50mm f/1.8, are useful indoors. The trade-off is shallower depth of field, meaning less of the scene appears sharp from front to back.
Next, think about shutter speed. For handheld photos of still subjects, a common starting point is around 1 over your focal length. With a 50mm lens, that suggests about 1/50 second or faster. With image stabilization, you may be able to go slower. But for people, animals, or events, subject movement often requires 1/125, 1/250, or more.
Then adjust ISO. Many beginners are afraid of ISO, but a noisy sharp photo is usually better than a clean blurry one. If raising ISO from 800 to 3200 gives you a shutter speed that freezes a person’s face, that is usually the right decision. Noise can be reduced later; motion blur is much harder to fix.
Autofocus also becomes less reliable in dim conditions. Cameras need contrast, texture, or recognizable subject detail to focus accurately. A plain dark wall is difficult. A bright eye, an edge of clothing, a candle, a window frame, or a street sign is easier. If your camera hunts back and forth, aim at a stronger contrast point at the same distance, lock focus, then recompose.
Finally, remember that light quality matters as much as quantity. A tiny overhead bulb may be dim and unflattering, while a window, lamp, neon sign, candle, or bounced flash can shape the photo. Better light can reduce ISO, improve focus, add direction, and make skin tones more natural.
Practical Guidance
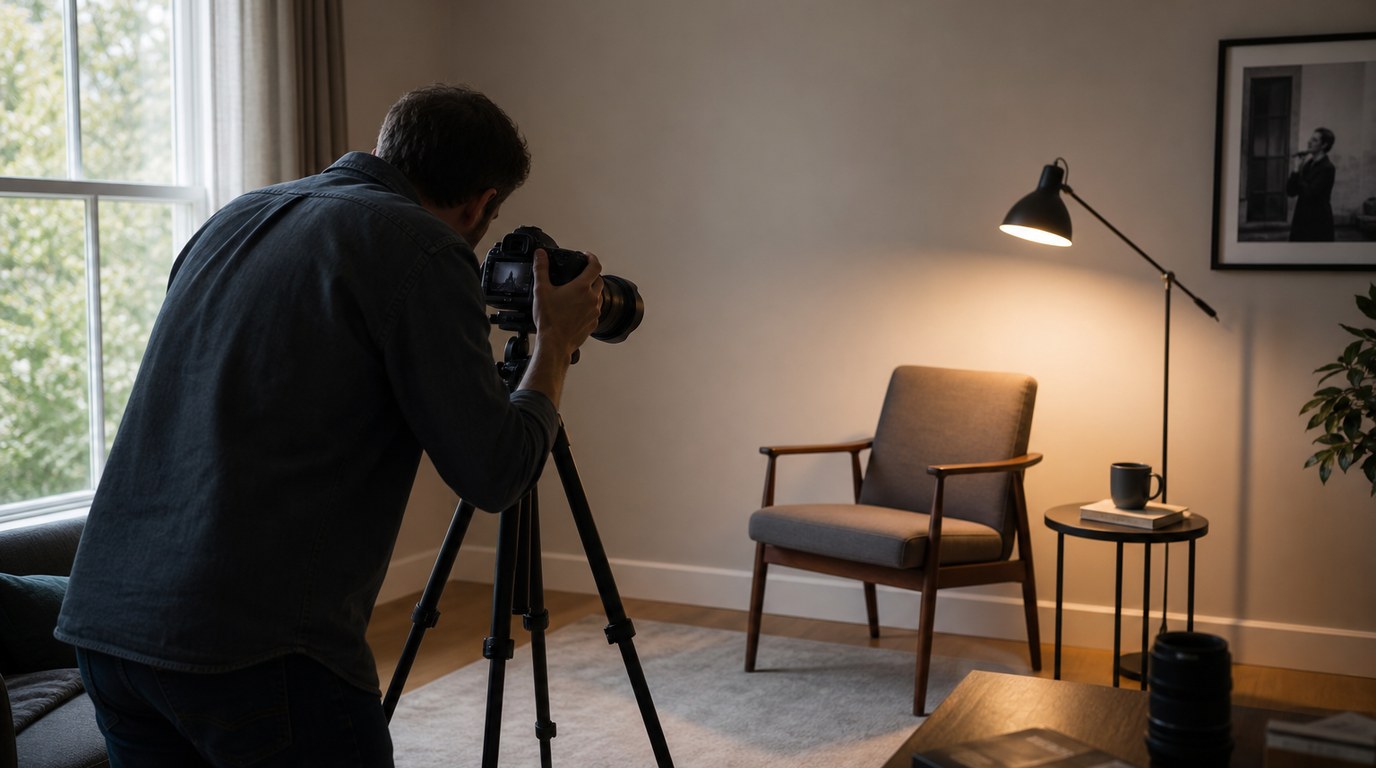
Start each low light situation with a quick diagnosis: Is the subject moving? Can I add light? Can I stabilize the camera? How much depth of field do I need? These questions prevent random setting changes and help you choose the right compromise.
For indoor portraits, use the widest practical aperture, often f/1.8 to f/2.8. Focus on the eye closest to the camera. If the person is posing still, try 1/125 second. If they are laughing, turning, or interacting, move toward 1/250. Raise ISO until the exposure is bright enough. If the light is from a ceiling bulb, move the person near a window, lamp, or doorway when possible. Side light from a lamp often looks better than flat overhead light.
For events, prioritize shutter speed. People rarely stay still at parties, concerts, receptions, or family gatherings. A safe starting point is f/1.8 to f/2.8, 1/125 to 1/250, and ISO 1600 to 6400. Use continuous shooting for important moments because one frame may catch blur or a blink while the next is sharper. If flash is allowed, bounce it off a ceiling or wall instead of pointing it straight at faces.
For still objects, you have more freedom. Food, products, books, flowers, or decorations do not move, so you can use a slower shutter speed if the camera is stable. Turn on image stabilization, brace your elbows, exhale gently, and press the shutter smoothly. Better yet, use a tripod or place the camera on a table. This lets you use ISO 100 to 800 and preserve detail. Use the self-timer or a remote release so pressing the shutter does not shake the camera.
For night street photography, watch your highlights. Street lamps, shop signs, car headlights, and neon can fool your meter or blow out bright areas. Slight underexposure is often acceptable if it protects important highlights. Try aperture priority with exposure compensation, or manual mode if the lighting is consistent. A setting like f/2.8, 1/125, ISO 3200 is a practical start for handheld street scenes. If people are walking through the frame, avoid dropping the shutter too low.
For landscapes and cityscapes at night, use a tripod. This changes the whole problem. Since buildings, skylines, and mountains do not move much, you can use low ISO, a smaller aperture, and a long exposure. Try ISO 100, f/8, and a shutter speed from several seconds to 30 seconds. Use manual focus or focus carefully with live view. Turn off stabilization when the camera is locked on a tripod, because some systems can introduce tiny corrections when none are needed.
For focusing in low light, avoid letting the camera choose from every focus point if it keeps grabbing the wrong subject. Use single-point autofocus or eye detection when it works well. Aim at contrast: eyelashes, glasses frames, logos, bright edges, or textured fabric. If autofocus fails, switch to manual focus and use magnification or focus peaking if your camera has it. Take a test shot and zoom in to check sharpness, not just exposure.
White balance also deserves attention. Low light scenes often mix warm lamps, cool LED lights, phone screens, candles, and street lighting. Auto white balance may shift from frame to frame. For consistent color, use a preset like tungsten, set a custom Kelvin value, or shoot RAW and adjust later. RAW files give you more flexibility for exposure, highlights, shadows, noise reduction, and white balance.
When editing low light photos, start gently. Raise exposure only if needed, recover highlights, lift shadows carefully, and apply noise reduction without destroying detail. Oversharpening noisy images can make grain look worse. If the image is slightly dark but sharp, it may edit well. If it is badly blurred, editing will not truly repair it.
Avoid the most common mistakes. Do not use a very slow shutter speed for moving people and expect stabilization to save the image. Do not shoot every low light photo wide open if you need multiple faces sharp. Do not underexpose heavily and assume RAW will fix everything; brightening a very dark file can reveal severe noise. Do not ignore your light source. Moving a subject three feet closer to a lamp can improve the photo more than changing cameras.
A simple workflow helps in the field:
- Open the aperture as much as your depth of field allows.
- Set shutter speed based on subject movement.
- Raise ISO until the image is bright enough.
- Stabilize the camera whenever possible.
- Focus on a high-contrast or important detail.
- Take multiple frames and check sharpness.
- Add or improve light if the settings are still not enough.
Follow that order and low light photography becomes less frustrating. You stop guessing and start solving the specific reason the image is failing.
FAQ
What Should a Beginner Know First About Low Light Photography Tips?
Beginners should know that low light problems usually come from blur, noise, or missed focus. Start by opening the aperture, choosing a shutter speed fast enough for the subject, and raising ISO as needed. A sharp noisy photo is usually better than a clean blurry photo.
What Matters Most When Evaluating Low Light Photography Tips?
The best tip depends on the scene. For moving people, shutter speed matters most. For still subjects, stabilization matters more. For portraits, aperture and focus accuracy are critical. For night landscapes, a tripod and low ISO usually produce the cleanest results.
What Mistakes Should Readers Avoid with Low Light Photography Tips?
Avoid using shutter speeds that are too slow for moving subjects, relying on stabilization to freeze people, and underexposing too much. Also avoid focusing on plain dark areas. Choose contrast, add light when possible, and check sharpness by zooming in on the image.
What Is the Next Logical Step After Learning About Low Light Photography Tips?
Practice in three situations: an indoor portrait, a still object, and a night street scene. Compare different shutter speeds, ISO values, and apertures. Review the results at full size so you can see what caused blur, noise, or missed focus.