
Most camera settings mistakes happen when one setting is changed without checking how it affects the rest of the photo. A shutter speed that is too slow causes blur. ISO that is too high adds noise, while ISO that is too low can force unsafe exposure choices. Aperture affects both brightness and depth of field, not just light. Focus mode, metering, white balance, file format, and review habits also shape the final image.
The goal is not to memorize every camera menu. It is to build a simple field routine: check motion, brightness, depth of field, focus, color, and saved file type before important shots. Once you know the common symptoms, most problems become easy to diagnose and fix.
Why Camera Settings Mistakes Happen
Camera settings are connected. Changing one setting often creates a new problem somewhere else. For example, lowering ISO may make the image cleaner, but it can also force a slower shutter speed and cause blur. Opening the aperture may brighten the photo, but it can make the background blurrier or leave part of a group portrait soft.
Beginners often think of settings one at a time: “make it brighter,” “make it sharper,” or “blur the background.” A better mental model is to ask what tradeoff the camera is making. Exposure, motion, depth of field, focus, color, and file quality all work together.
The most useful habit is simple: after changing any major setting, check what else changed with it.
Mistake 1: Using a Shutter Speed That Is Too Slow
The symptom is a blurry photo, especially when photographing people, pets, sports, or handheld low-light scenes. This happens because the shutter stays open long enough to record camera shake or subject movement.
A practical fix is to choose shutter speed based on motion first, then adjust aperture or ISO for brightness. For handheld shots, a common starting point is at least 1/focal length, such as 1/125 sec with a 100mm lens. For moving people, try 1/250 sec or faster. For action, start around 1/500 sec or higher.
Example: if a child running indoors looks blurry at 1/60 sec, raise the shutter speed to 1/250 sec and increase ISO if needed. A slightly noisy sharp photo is usually better than a clean blurry one.
Mistake 2: Raising Iso Too High—or Keeping It Too Low
The symptom of ISO that is too high is visible noise, grainy shadows, or muddy detail. The symptom of ISO that is too low is often blur, because the camera compensates with a slower shutter speed.
ISO is not a “bad” setting. It is a brightness and noise tradeoff. The mistake is treating ISO as something to always avoid or something to raise without limits. Use the lowest ISO that still lets you use the shutter speed and aperture you need.
Example: for a still landscape on a tripod, ISO 100 may be ideal. For a handheld indoor birthday photo, ISO 1600 or 3200 may be the right choice if it keeps your shutter speed fast enough to freeze people.
Mistake 3: Choosing Aperture Only for Brightness
The symptom is a photo where the exposure looks fine, but the wrong parts are sharp. A very wide aperture such as f/1.8 may make a portrait bright and nicely blurred in the background, but it can also leave one eye sharp and the other soft. A very narrow aperture such as f/16 may give more depth of field but require a slower shutter speed or higher ISO.
Aperture controls both light and depth of field. Do not choose it only to brighten or darken the image. Choose it based on how much of the scene must be acceptably sharp.
Example: for one person’s portrait, f/2.8 may work well. For a group photo with people in multiple rows, try f/5.6 or f/8, then adjust ISO or shutter speed to maintain exposure.
Mistake 4: Using the Wrong Focus Mode or Focus Area
The symptom is a soft subject even though exposure settings look correct. This often happens when the camera focuses on the background, uses the wrong autofocus mode, or tracks poorly because the focus area is too broad.
For still subjects, single autofocus mode is usually best. On many cameras this is called AF-S or One-Shot AF. For moving subjects, continuous autofocus is safer, often called AF-C or AI Servo. Focus area matters too. A wide auto-area mode may choose the wrong subject, while a single point or small zone gives you more control.
Example: if you photograph a bird on a branch and the background is sharp instead of the bird, use a smaller focus point and place it directly over the bird’s head or eye. If the subject is moving, switch to continuous autofocus.
Mistake 5: Trusting the Camera Meter in Every Lighting Situation
The symptom is a photo that is too bright or too dark even though the camera’s meter looked centered. Camera meters try to average a scene toward a middle brightness. That works often, but it can fail with snow, beaches, black clothing, bright windows, stage lighting, or strong backlight.
The fix is to review the image and use exposure compensation or manual exposure when the meter is being fooled. If snow looks gray, add positive exposure compensation. If a dark stage scene looks washed out, use negative compensation.
Example: photographing a person in front of a bright window may make their face too dark. Add exposure compensation, use spot metering on the face, or move the person away from the window for easier light.
Mistake 6: Forgetting to Reset Exposure Compensation and Other Leftover Settings
The symptom is a string of strange photos at the start of a shoot: everything is too bright, too dark, oddly colored, or saved in an unexpected format. The cause is often a leftover setting from the previous session.
Common forgotten settings include exposure compensation, ISO, white balance, drive mode, bracketing, self-timer, focus mode, and image quality. The fix is to build a reset habit before you start.
Example: you used -2 exposure compensation for a sunset, then the next morning all your family photos look too dark. Before shooting, glance at the top screen or viewfinder and reset compensation to zero unless you need it.
Mistake 7: Ignoring White Balance and Color Settings
The symptom is color that feels wrong: indoor photos look orange, shade looks too blue, or skin tones look unnatural. White balance tells the camera what should appear neutral under different light sources.
Auto white balance is often good, but it can struggle in mixed lighting, heavy shade, or scenes dominated by one strong color. Use presets such as Daylight, Cloudy, Shade, or Tungsten when auto color looks wrong. If your camera offers custom white balance, use it for consistent results in controlled lighting.
Example: if restaurant photos look too warm and yellow, try the Tungsten or Incandescent white balance preset, or shoot RAW for easier correction later.
Mistake 8: Shooting Jpeg Only When You Need Editing Flexibility
The symptom appears later: highlights cannot be recovered, shadows break apart, or color corrections look harsh. JPEG files are smaller and convenient, but they discard some image data and bake in many camera decisions.
JPEG is fine for casual photos, quick sharing, and situations with easy light. The mistake is using JPEG only in difficult scenes where you may need to fix exposure or white balance afterward. RAW files give more editing flexibility, especially in high contrast or mixed lighting.
Example: for a sunset portrait, RAW is safer because the sky may be bright and the subject may be dark. If storage allows, RAW+JPEG gives both convenience and flexibility.
Mistake 9: Not Reviewing Photos the Right Way
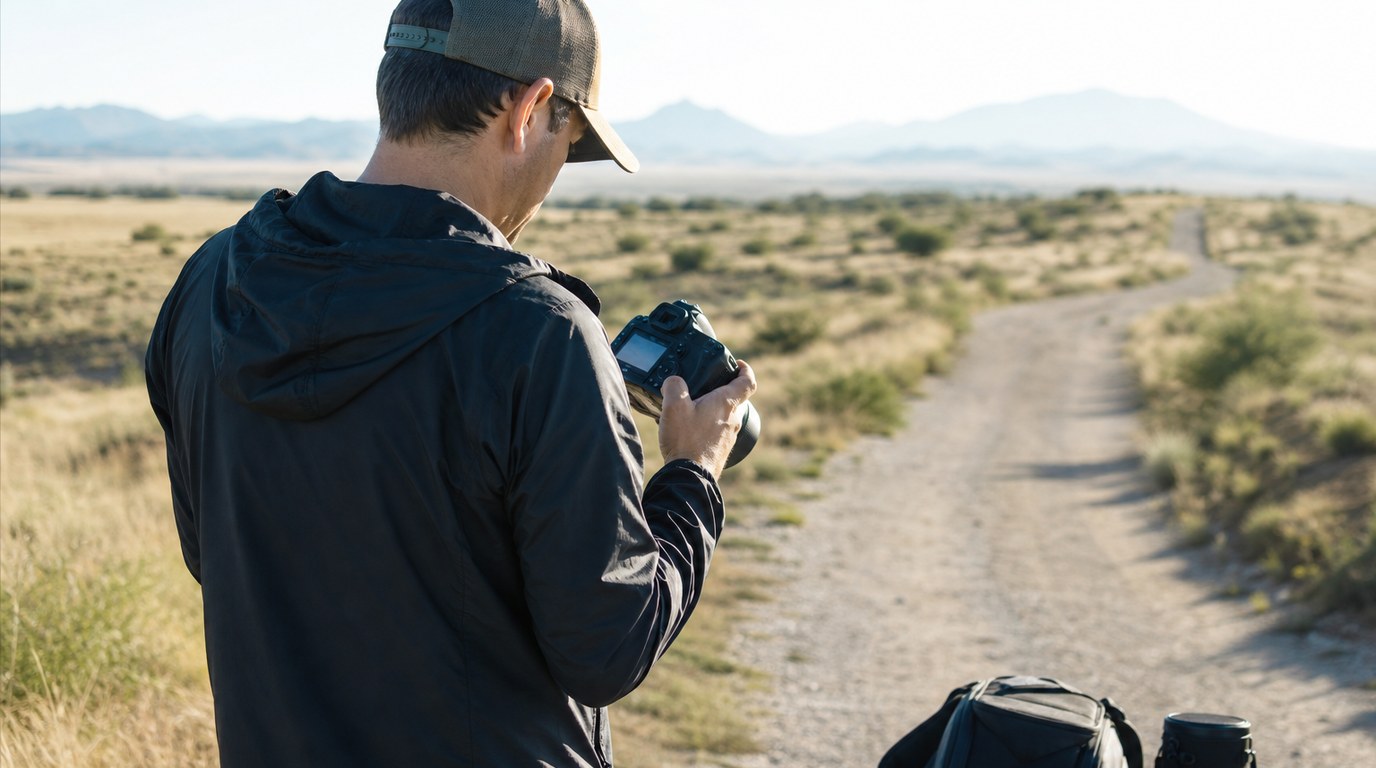
The symptom is discovering problems only after you get home. Looking at the back of the camera for one second is not enough, especially in bright sunlight or fast-changing conditions.
Review for specific problems: zoom in to check focus, look for motion blur, check the histogram for clipped highlights, and confirm the color looks reasonable. Do this early in the shoot, not after dozens of images.
Example: after taking the first few portraits, zoom in on the eyes. If they are soft, adjust focus mode, shutter speed, or focus point before continuing. A short review can save an entire session.
A Simple Camera Settings Check Before You Shoot
Use this quick routine before important photos:
| Check | What to ask |
|---|---|
| Shutter speed | Is it fast enough for my subject and lens? |
| ISO | Is it high enough to avoid blur, but not higher than needed? |
| Aperture | Do I have enough depth of field? |
| Focus | Is the right focus mode and focus area selected? |
| Metering | Is the camera likely to be fooled by bright or dark scenes? |
| Color | Does white balance match the light? |
| File type | Do I need RAW editing flexibility? |
This checklist turns camera settings mistakes into a repeatable process. You do not need perfect settings every time. You need settings that match the subject, light, and final use of the photo.
FAQ
What Should a Beginner Know First About Camera Settings Mistakes?
A beginner should know that most camera settings mistakes are tradeoff mistakes. Making a photo brighter, sharper, cleaner, or blurrier usually affects something else. Start by checking shutter speed for motion, aperture for depth of field, ISO for brightness and noise, and focus settings for subject sharpness.
What Matters Most When Evaluating Camera Settings Mistakes?
The most important question is: what is wrong with the photo? Blur, noise, wrong focus, bad color, and poor exposure have different causes. Diagnose the symptom first instead of randomly changing settings. Then adjust the setting most directly connected to that problem.
What Mistakes Should Readers Avoid with Camera Settings Mistakes?
Avoid changing settings without reviewing the result. Also avoid leaving old settings active, trusting the meter in extreme light, using the wrong autofocus mode, and keeping ISO too low when it causes blur. A quick pre-shoot check prevents many beginner errors.
What Is the Next Logical Step After Learning About Camera Settings Mistakes?
The next step is to practice in one shooting mode, such as aperture priority, shutter priority, or manual mode, and review results carefully. Take the same scene with different shutter speeds, apertures, and ISO values so the tradeoffs become visible and easier to remember.