

The best way to organize photos is to build one simple workflow and repeat it every time. Start by choosing one main photo library location, gather your scattered images into it, then sort them with a folder structure you can use again and again. After that, remove obvious rejects, rename only when it helps, add tags for important images, separate originals from edits, and back everything up. The goal is not to create a perfect archive in one weekend. It is to make your photos easier to find, safer to store, and simpler to maintain after every camera import, phone transfer, family event, or trip.
Why Photo Organization Gets Messy so Quickly
Photo libraries become messy because pictures arrive from too many places: camera cards, phones, downloads, messaging apps, editing software, and cloud backups. Then edits, exports, screenshots, and duplicates mix together until it is hard to know which file is the original or final version.
A useful mental model is this: your photo system needs a home, an intake process, a sorting method, and a backup. If any one of those is missing, clutter builds up again. Good organization is less about fancy software and more about consistent habits.
Step 1: Choose One Main Photo Library Location
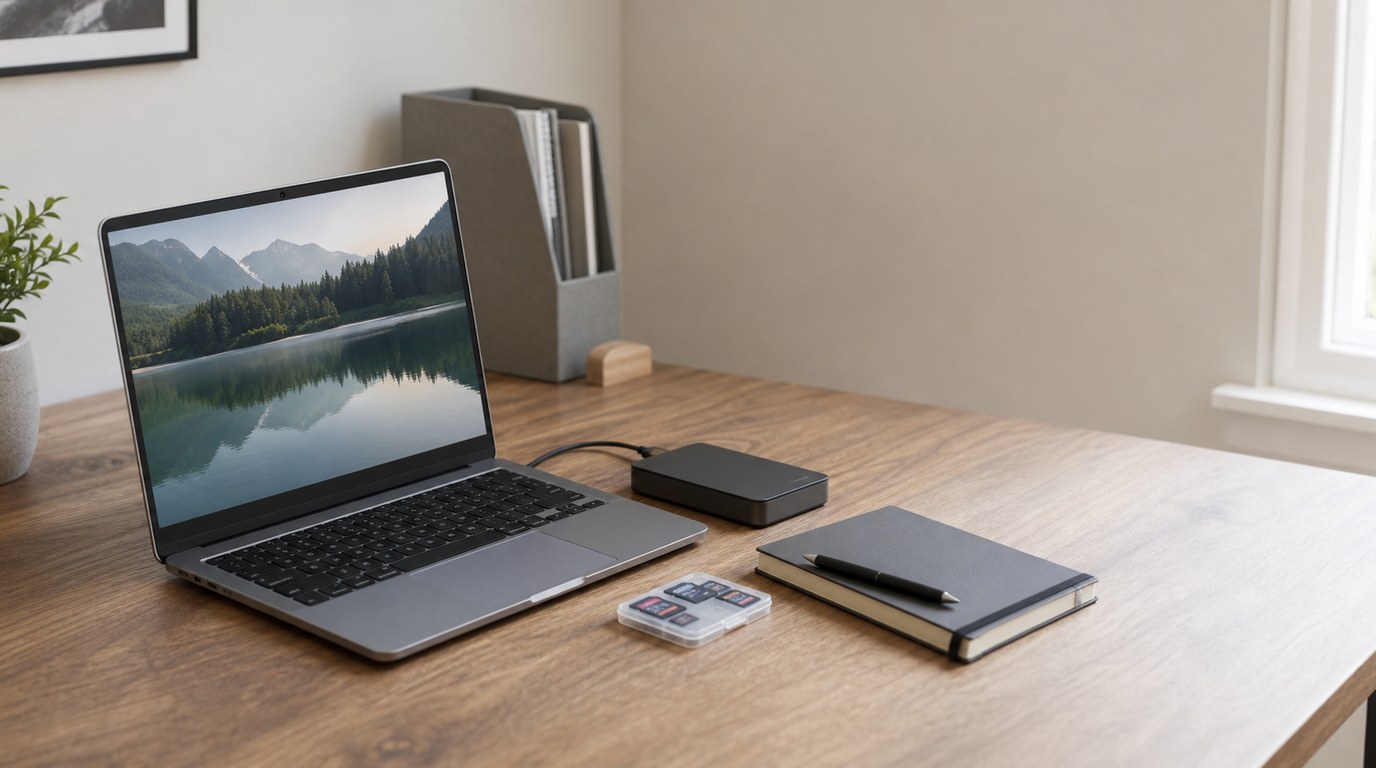
Before sorting anything, decide where your main photo library will live. This could be a folder on your computer, an external drive, a network drive, or a cloud-synced folder. The key is choosing one primary location instead of spreading important photos across five places.
For beginners, a simple folder named Photo Library works well. Put it somewhere with enough storage space and easy access. If your computer drive is small, use an external SSD or hard drive as the main library, then back it up separately.
Avoid making your desktop, downloads folder, and editing app all separate “homes.” You can use apps, but your master files should have one clear base.
Step 2: Gather Photos Before You Start Sorting
Once you have a main location, gather your scattered photos into a temporary intake folder. Name it something like To Sort or Incoming Photos. Copy files from camera cards, old folders, phones, cloud downloads, and external drives into this folder before reorganizing them.
Copy first, then verify, then delete later. Do not move files from old drives and erase the originals immediately, especially if you are dealing with years of photos. Keep the old source untouched until you are sure everything transferred correctly.
This step prevents accidental loss and gives you one place to work from instead of jumping between devices.
Step 3: Pick a Folder Structure You Can Repeat
Your folder structure should be simple enough that you will still use it six months from now. Most beginners do best with a date-first system, with short event or subject names added for context.
A practical hybrid structure looks like this:
Photo Library > 2026 > 2026-05-12 Yellowstone Trip
This keeps folders in chronological order while still telling you what happened. It works for vacations, family events, portraits, wildlife shoots, product photos, and everyday phone imports.
| Organization method | Best for | Possible problem |
|---|---|---|
| By date | Large libraries, camera imports, travel | Hard to browse without event names |
| By event | Weddings, trips, family gatherings | Dates can become inconsistent |
| By subject | Wildlife, portraits, client work | One photo may fit several subjects |
| Date + event | Most beginners | Requires brief, consistent naming |
If you shoot often, you can add subfolders inside each event, but keep them predictable. For example: Originals, Edits, and Exports.
Step 4: Delete the Obvious Rejects, Then Rate the Keepers
Culling is easier when you do it in two passes. First, delete only the obvious rejects: accidental shots, blurry frames, black images, duplicates, and photos where nothing important is visible. This quick pass reduces clutter without forcing hard decisions.
Next, rate the remaining photos. Many apps let you use stars, flags, hearts, or color labels. Use a simple system: one star for usable, three stars for good, five stars for favorites. If you are nervous about deleting, create a Maybe Delete folder and review it later.
The goal is not to keep only perfect images. It is to make your best photos easier to find.
Step 5: Use Consistent File Names Without Overdoing It
Renaming can help, but you do not need to rename every casual phone photo by hand. It is most useful for finished projects, client work, travel sets, or exported images you plan to share.
A beginner-safe formula is:
YYYY-MM-DD_Event_Sequence
For example:
2026-05-12_Yellowstone_001.jpg
Keep names short, searchable, and consistent. Avoid vague names like final_final_edited2.jpg. Also avoid removing original camera file names before backup if you rely on them for matching RAW files, edits, or catalog references.
Step 6: Add Keywords, Albums, or Tags for Photos You Need to Find Later
Folders give your library structure, but keywords and albums make photos easier to find across folders. For example, a wildlife photo may live in 2026-05-12 Yellowstone Trip, but tags like bison, wildlife, and national park help you locate it later.
Use tags for photos you will search for again: family members, locations, clients, species, products, or portfolio candidates. Do not tag every image if that becomes a chore. Tag the important ones.
Albums are also useful for temporary groupings, such as “Best of Italy Trip” or “Photos to Print,” without moving the original files.
Step 7: Separate Originals, Edits, and Exports
Many photo libraries become confusing because untouched files, editing files, and finished JPEGs all sit in the same folder. Separate them so you know what each version is for.
A simple event folder could look like this:
Originalsfor camera RAW files or untouched phone imagesEditsfor working files, Lightroom exports, or Photoshop documentsExportsfor finished JPEGs ready to print, email, or post
This is especially helpful if you shoot RAW. The original file is your negative, the edit is your working version, and the export is the shareable copy.
Step 8: Back up Your Organized Photo Library
Organizing photos takes time, so protect both the images and the structure. A simple backup plan is the 3-2-1 method: keep three copies of your photos, on two different types of storage, with one copy off-site or in the cloud.
For example, keep your main library on your computer or external drive, a second copy on another external drive, and a third copy in cloud storage. Backups should be automatic if possible. If they are manual, schedule them after every major import.
Do not treat cloud syncing as your only backup unless you understand how deleted files are handled. Syncing and backup are not always the same thing.
Step 9: Create a Simple Import Routine for Every New Shoot
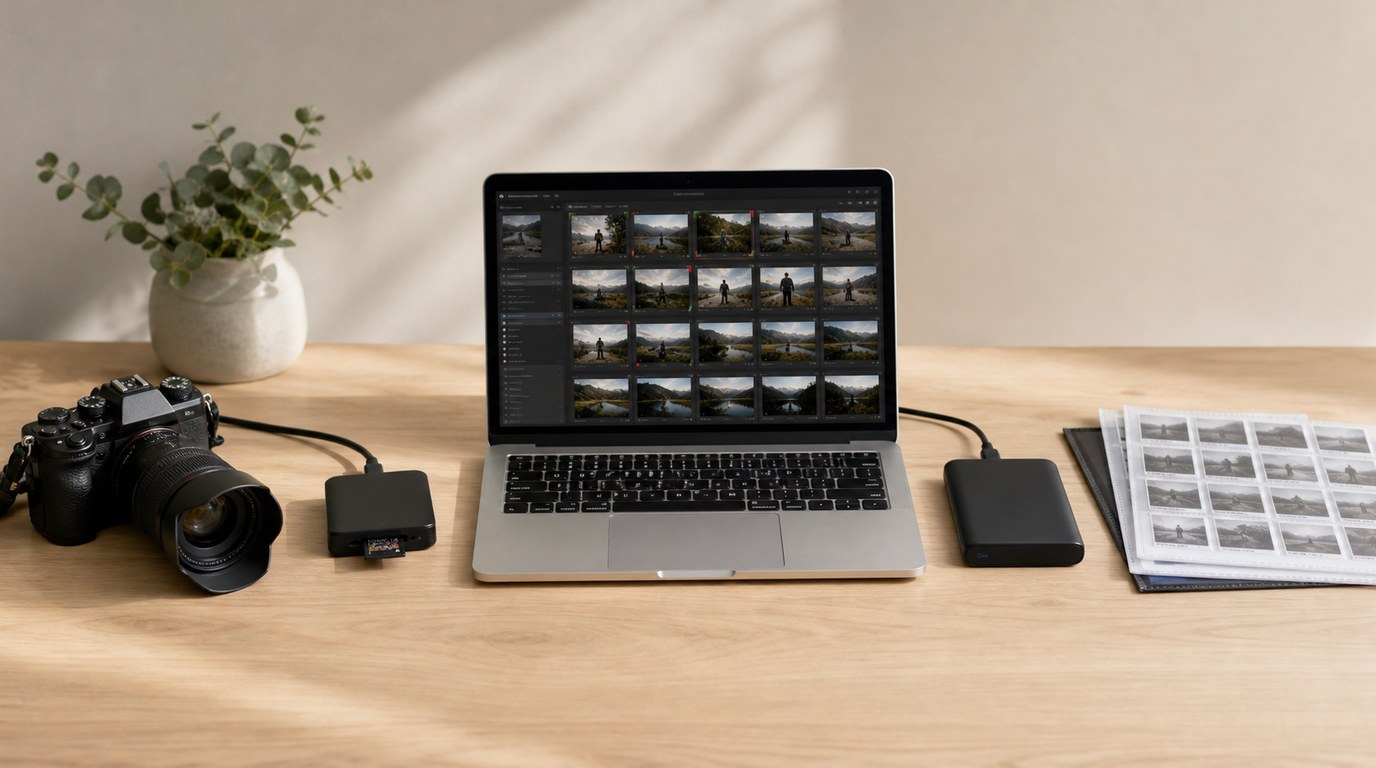
Your system will only last if new photos enter it the same way every time. After each shoot, import photos into your Incoming folder, create a dated event folder, move the files into place, delete obvious rejects, rate favorites, and back up the folder.
For a travel day, that might mean importing camera photos each night into 2026-07-04 Paris Day 1. For portraits, it might be 2026-08-10 Smith Family Portraits.
The routine matters more than the software. A basic repeatable process beats a complicated system you avoid using.
Common Photo Organization Mistakes to Avoid
Avoid sorting only inside one app without knowing where the actual files are stored. Avoid keeping photos only on memory cards or phones. Avoid making too many categories, because complex systems are harder to maintain.
Also avoid deleting aggressively before backup, mixing originals with exports, and saving everything to the desktop “just for now.” Most messy libraries are caused by temporary shortcuts that become permanent. Keep the workflow simple, and repeat it often.
FAQ
What Should a Beginner Know First About Tips for Organizing Photos?
Start with one main photo library location. Before worrying about tags, albums, or advanced software, make sure your photos have a single home base. Once everything is gathered safely, you can sort by date, event, subject, or a simple combination of date and event.
What Matters Most When Evaluating Tips for Organizing Photos?
The best tips are the ones you can repeat. A photo organization system should be simple, searchable, and backed up. If it requires too many decisions every time you import photos, you probably will not maintain it. Consistency matters more than perfection.
What Mistakes Should Readers Avoid with Tips for Organizing Photos?
Do not scatter photos across phones, memory cards, downloads folders, and random drives without a master library. Also avoid deleting files before backup, using confusing file names, mixing originals with edits, and building a folder system with too many categories to manage.
What Is the Next Logical Step After Learning About Tips for Organizing Photos?
Create a Photo Library folder and an Incoming Photos folder today. Move one small batch of images into the system, such as your latest phone photos or camera import. Practice the workflow on that batch before reorganizing your entire collection.