
To remove noise in Lightroom with Denoise, open a raw photo, go to the Develop panel, choose Detail, then click Denoise. Lightroom will show an enhanced preview and an Amount slider. Start around 30–50 for most noisy images, raise it only if grain is still distracting, then click Enhance. Lightroom creates a new enhanced DNG file, leaving your original untouched. For the best result, use enough Denoise to clean shadows and color speckles, but not so much that skin, feathers, stars, or fine texture look waxy.
What Lightroom Denoise Does
Lightroom Denoise is an AI-powered noise reduction tool designed to clean up high-ISO raw photos. Noise usually appears as rough grain, colored speckles, or blotchy shadows, especially in low-light images.
The easiest mental model is this: Denoise tries to separate real image detail from random sensor noise. It is stronger than the older manual noise reduction sliders because it analyzes the photo more intelligently before creating a cleaned version.
It works especially well when the image has useful detail underneath the noise. It cannot fully rescue a badly underexposed, blurry, or extremely compressed file, but it can make many low-light photos look much cleaner.
Before You Start: File Types and Lightroom Versions
Lightroom’s AI Denoise works mainly with raw files, including common formats like ARW, CR3, NEF, ORF, RAF, and DNG. If you are editing a JPEG, TIFF, or PNG, you may not see the same Denoise option. In that case, you can still use the manual noise reduction sliders, but not the full AI Denoise workflow.
You also need a recent version of Lightroom, Lightroom Classic, or Adobe Camera Raw. If the button is missing, update Lightroom first. For best performance, use a reasonably modern computer, because Denoise can take time to process large raw files.
When Should You Use Denoise?
Use Denoise when noise is one of the main things hurting the photo. Good examples include indoor portraits shot at ISO 3200, wildlife images taken at fast shutter speeds, night street photos, concerts, and handheld blue-hour scenes.
Before using it, zoom in to 100% and inspect the image. If the noise is visible only when zoomed in too far, you may not need much correction. If the noise is obvious in the subject, shadows, or background, Denoise is worth trying.
Avoid using Denoise as a fix for missed focus, motion blur, or poor exposure. It can clean texture, but it cannot create sharp detail that was never captured.
How to Remove Noise in Lightroom with Denoise
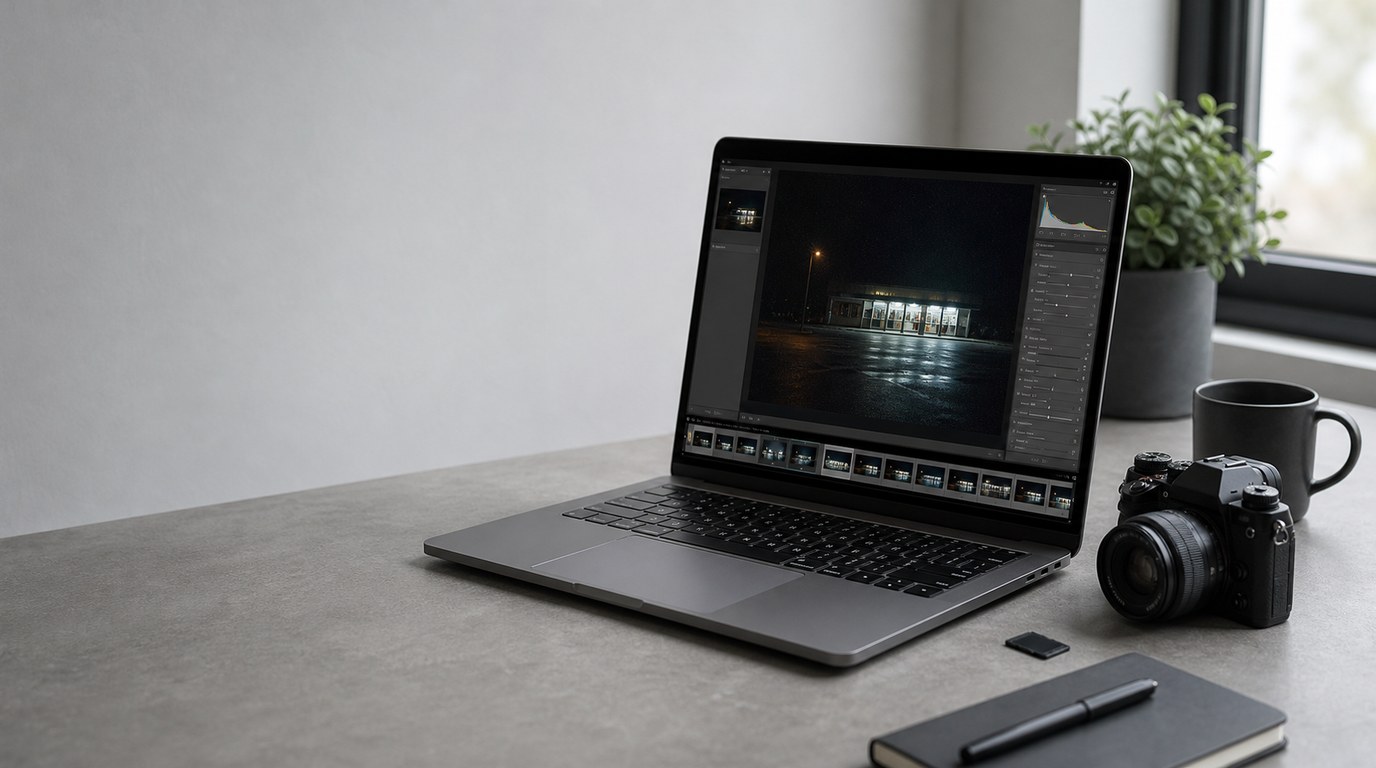
Follow these steps in Lightroom Classic or Lightroom’s desktop app:
- Open your raw photo.
Choose a noisy image and go to the editing workspace. In Lightroom Classic, open the Develop module.
- Zoom to 100%.
Noise is easiest to judge at actual pixel size. Check important areas like faces, animal fur, feathers, dark backgrounds, or night skies.
- Open the Detail panel.
In Lightroom Classic, find Detail on the right side. In Lightroom desktop, look for the editing controls and locate the noise reduction options.
- Click Denoise.
Lightroom will open an Enhance Preview window. This preview shows how the AI noise reduction will affect the image.
- Adjust the Amount slider.
Start with a moderate value, such as 40. Move lower if the photo starts to look too smooth. Move higher if color speckles or rough grain are still distracting.
- Check the preview carefully.
Look at both noisy areas and detailed areas. For a portrait, check skin, eyelashes, and hair. For wildlife, check feathers or fur. For night photography, check stars, signs, and fine edges.
- Click Enhance.
Lightroom creates a new enhanced DNG file. Your original raw file remains unchanged, so you can compare both versions.
- Continue editing the enhanced file.
Once the DNG is created, edit it like a normal raw photo. Adjust exposure, contrast, color, sharpening, masks, and crop as needed.
The key is to judge the result by the final image, not just by the cleanest possible preview.
Choosing the Best Denoise Amount
The best Denoise Amount depends on how noisy the photo is and how much fine detail matters. A clean portrait may need less than a dark wildlife photo, while a night sky image may need careful balance to avoid softening stars.
Use this table as a starting point:
| Noise level | Suggested Amount | Best for |
|---|---|---|
| — | —: | — |
| Mild noise | 15–30 | Slightly grainy portraits, travel photos, bright indoor scenes |
| Moderate noise | 30–50 | High-ISO wildlife, events, low-light street photos |
| Heavy noise | 50–70 | Very dark scenes, underexposed shadows, high-ISO action |
| Extreme noise | 70+ | Only when noise is severe and detail loss is acceptable |
A good test is to lower the Amount until noise becomes distracting, then raise it slightly. If the image starts to look plastic, back off.
Recommended Editing Order After Denoise
A clean workflow is to apply Denoise early, then continue with normal editing. Start with the raw file, run Denoise, and work on the enhanced DNG.
After Denoise, adjust white balance, exposure, highlights, shadows, contrast, and color. Then use local masks if needed. Apply sharpening near the end, because sharpening before judging noise can make grain look worse.
Cropping can happen before or after Denoise, but if you plan to crop heavily, check the cropped subject at 100% before deciding how strong the noise reduction should be.
Common Mistakes to Avoid
The most common mistake is pushing Denoise too high. A perfectly smooth image is not always a better image. Some natural texture helps portraits, fur, fabric, and landscapes look believable.
Another mistake is judging the preview while zoomed out. At fit-to-screen size, heavy noise reduction may look fine, but at 100% you may see lost texture or strange edges.
Do not use Denoise to fix every photo automatically. Clean low-ISO images may not need it. Also, avoid stacking too much manual noise reduction on top of AI Denoise unless there is a specific problem left to solve, such as lingering color noise in the shadows.
Denoise Vs Manual Noise Reduction Sliders
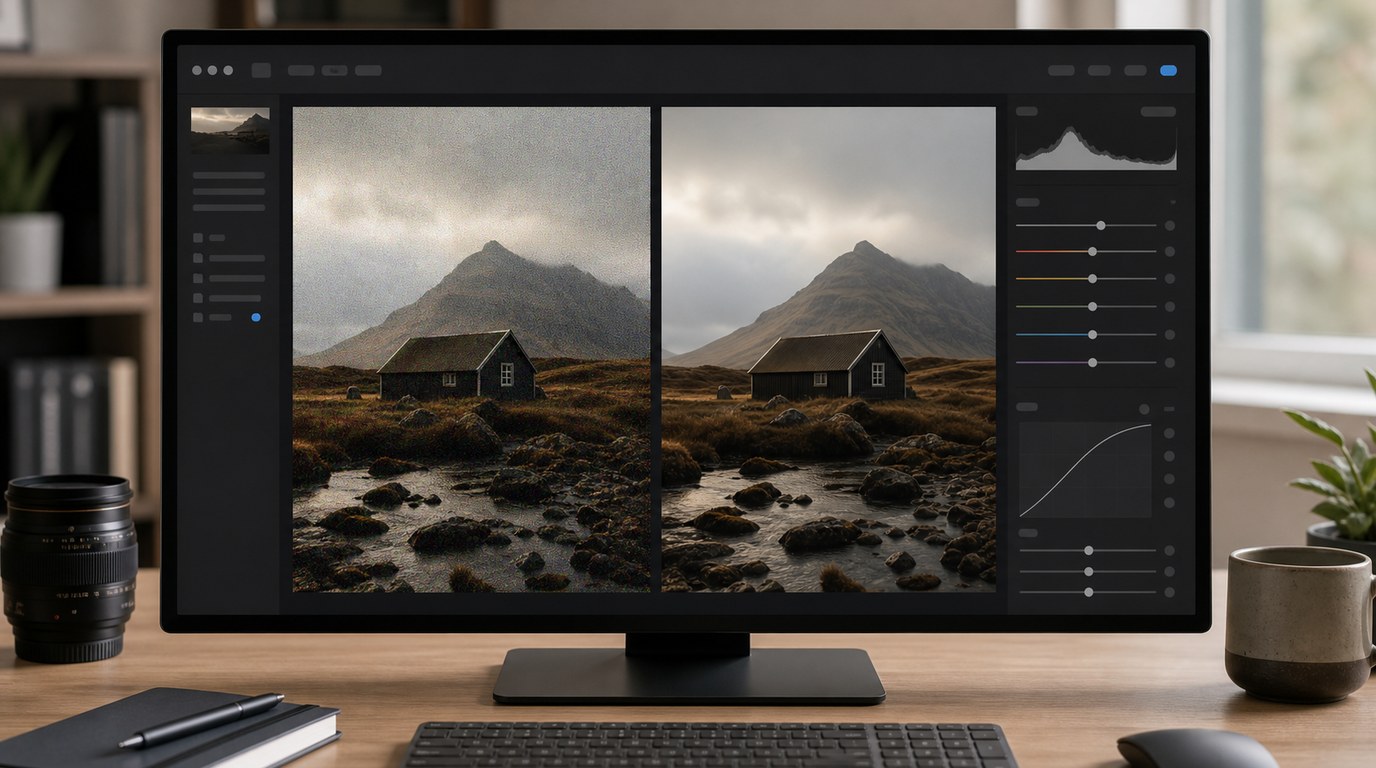
Lightroom’s AI Denoise and manual noise reduction sliders are related, but they are not the same tool. AI Denoise creates a new enhanced DNG and often gives cleaner results on raw files. It is usually better for high-ISO photos with obvious noise.
The manual sliders, such as Luminance and Color Noise Reduction, work directly inside the Detail panel. They are useful for JPEGs, small corrections, or fine-tuning after Denoise. Beginners should usually try AI Denoise first on raw files, then use manual sliders only if needed.
FAQ
What Should a Beginner Know First About Remove Noise in Lightroom with Denoise?
Start with a raw file, zoom to 100%, and use Denoise from the Detail panel. Lightroom will create a new enhanced DNG, so your original file is safe. Begin with a moderate Amount, then adjust based on real detail, not just smoothness.
What Matters Most When Evaluating Remove Noise in Lightroom with Denoise?
The most important thing is balance. Check whether the noise is less distracting while important details still look natural. Inspect faces, hair, feathers, fabric, stars, or edges at 100%. A good result should look cleaner, not artificially polished or smeared.
What Mistakes Should Readers Avoid with Remove Noise in Lightroom with Denoise?
Avoid using the maximum Amount by default, judging only while zoomed out, or trying to fix blur with noise reduction. Also avoid applying strong manual noise reduction after Denoise unless the image truly needs it, because that can remove useful texture.
What Is the Next Logical Step After Learning About Remove Noise in Lightroom with Denoise?
Practice on several noisy raw files at different ISO settings. Compare Amount values like 25, 40, and 60, then study the enhanced DNG beside the original. After that, learn how sharpening and masking work, because they help finish the cleaned image naturally.