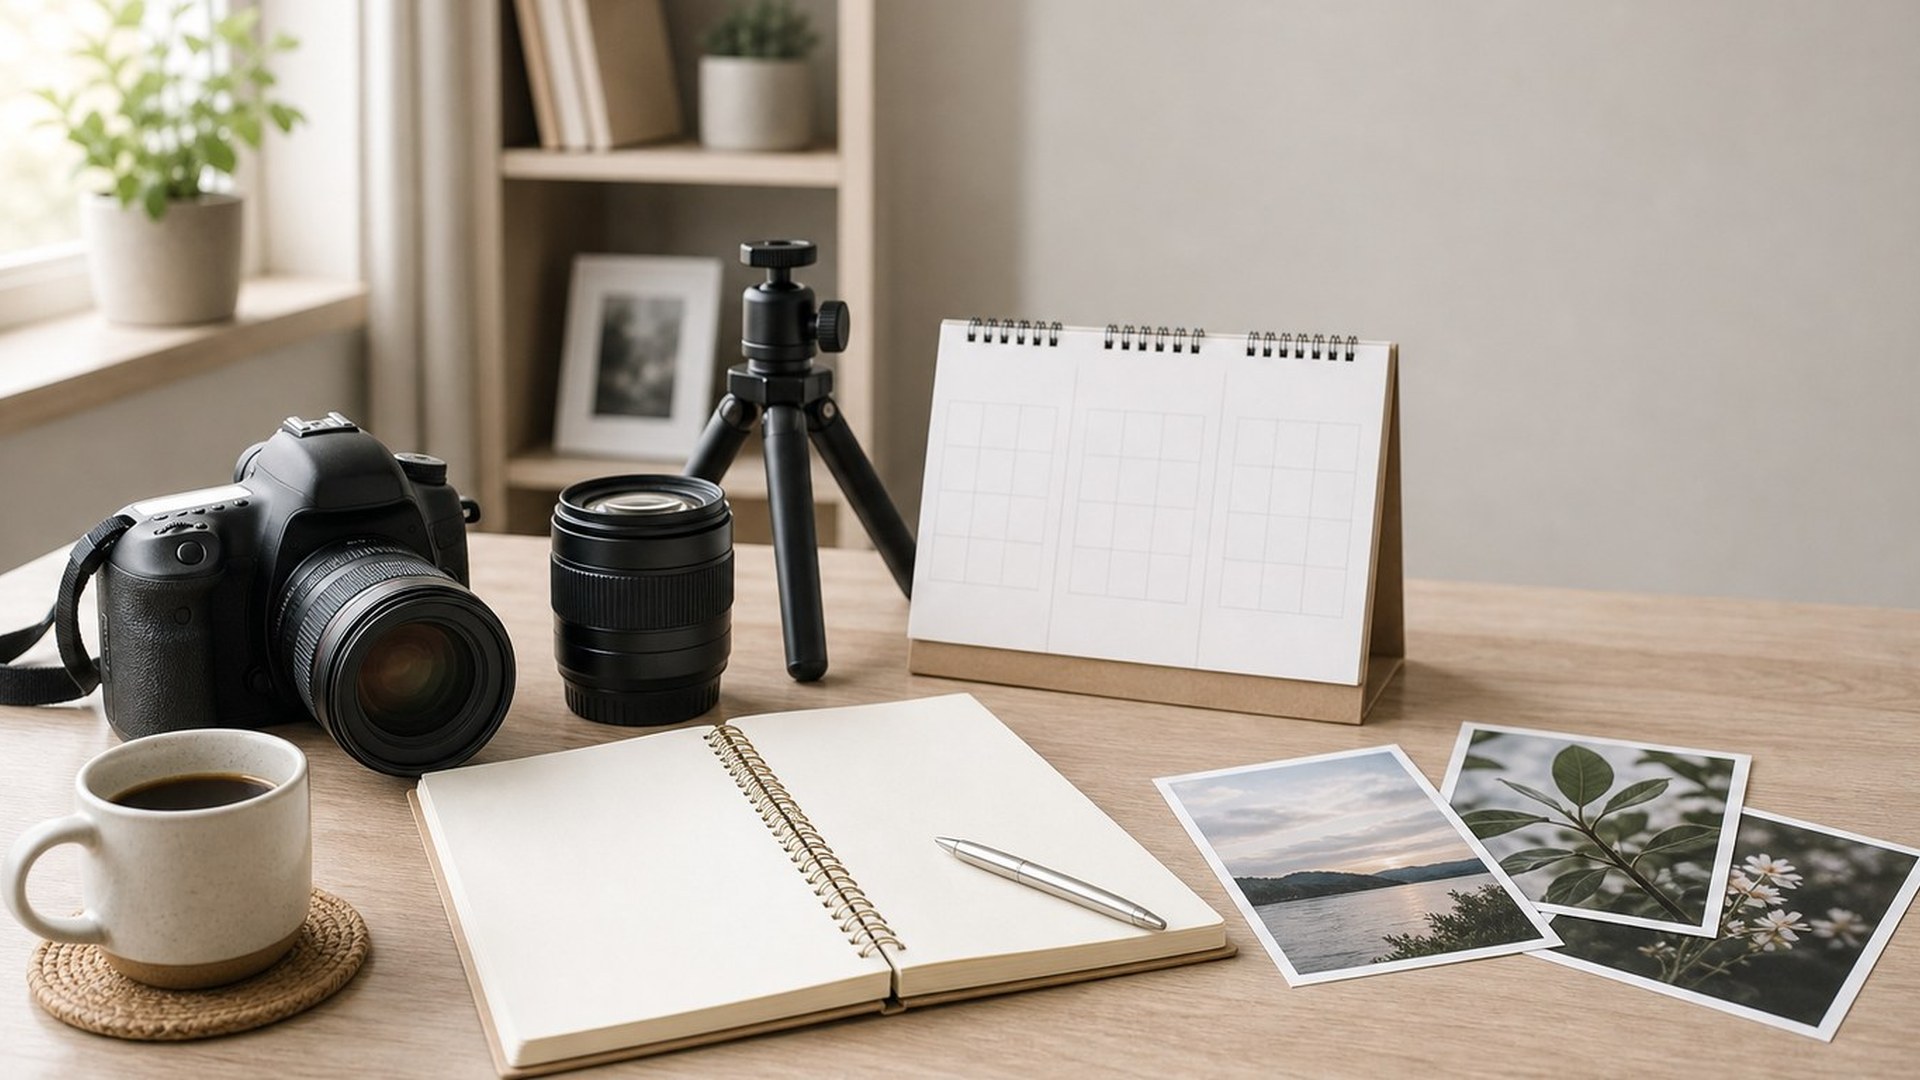
Quick Answer
You can learn photography in 3 months if you focus on the right skills in the right order: camera control first, composition and light second, then editing, feedback, and small projects. The goal is not to become a master in 12 weeks. The realistic goal is to stop guessing, understand why your photos work or fail, and consistently make sharper, better-exposed, better-composed images.
A simple 3-month plan looks like this:
| Timeframe | Main Focus | What You Should Be Able To Do |
|---|---|---|
| Weeks 1–4 | Camera basics and exposure | Use aperture, shutter speed, ISO, focus modes, and basic metering with confidence |
| Weeks 5–8 | Composition, light, and subjects | Make more intentional photos of people, objects, streets, nature, or daily life |
| Weeks 9–12 | Editing, projects, and review | Build a small portfolio, edit consistently, and identify your next learning path |
In the first month, practice manual or semi-manual modes until exposure feels understandable. You do not need to use full Manual mode for everything, but you should know what changes when you adjust aperture, shutter speed, or ISO. Shoot simple subjects: a cup near a window, a person outdoors, a parked bike, a tree at different times of day.
In the second month, spend less time changing settings and more time noticing light, background, framing, and timing. This is where your photos start looking intentional instead of random.
In the third month, choose one or two subjects and create finished work. Edit your best images, compare before and after versions, ask for feedback, and reshoot what did not work.
The best way to learn photography in 3 months is to practice several times per week, review your photos honestly, and repeat assignments instead of only watching tutorials. A camera, phone, or entry-level mirrorless/DSLR can all work. Progress comes from deliberate shooting, not expensive gear.
How to Think About This Topic
Learning photography in 3 months becomes much easier when you stop treating it as one huge skill. Photography is really a stack of smaller skills: seeing light, controlling exposure, focusing accurately, composing clearly, choosing the right moment, and editing with purpose. Your 3-month plan should build those skills in order.
A useful mental model is: control, see, create, refine.
First, you learn control. This means understanding what your camera is doing and how to change it. The exposure triangle is the core: aperture controls depth of field and how much light enters through the lens, shutter speed controls motion blur and light duration, and ISO controls sensor sensitivity and noise. You do not need to memorize every technical detail, but you should know the trade-off. A wide aperture like f/1.8 can blur the background but may make focus harder. A fast shutter speed like 1/1000 freezes motion but needs more light. A high ISO helps in dark places but can add grain or noise.
Second, you learn to see. Many beginners think their problem is settings, but once exposure is decent, the bigger issue is often light and composition. A photo of a friend at noon in harsh sun may look worse than the same person beside a window or in open shade. A photo with a messy background may feel amateur even if it is technically sharp. Seeing means asking: Where is the light coming from? What is the subject? What should I exclude from the frame?
Third, you create. This is where assignments matter. Random shooting can be fun, but a 3-month timeline needs structure. Instead of saying, “I’ll go take photos,” give yourself a task: photograph one object in five kinds of light, make 20 portraits using window light, or capture motion with three different shutter speeds. Specific assignments create faster learning because they isolate one skill at a time.
Fourth, you refine. Refinement means reviewing, editing, and reshooting. Beginners often judge progress by how many photos they take. A better measure is how many photos they study. After each practice session, choose five keepers and five failures. For each one, ask why. Was the shutter too slow? Was the background distracting? Was the light flat? Was the subject too centered without a reason? This review process turns mistakes into lessons.
For a beginner searching for how to learn photography in 3 months, the biggest mindset shift is that you are not trying to learn everything. You are trying to build a dependable foundation. You do not need flash photography, advanced color grading, studio lighting, drone work, macro stacking, and wedding posing all at once. You need enough control and visual awareness to make good photos on purpose.
Your gear should support the learning plan, not dominate it. If you have a camera with aperture priority, shutter priority, and manual controls, that is enough. If you only have a phone, you can still practice light, composition, timing, and editing. A dedicated camera gives you more control over aperture, lenses, and depth of field, but it does not replace practice.
Think of the 12 weeks as a loop rather than a straight line. Every week you shoot, review, learn one concept, and shoot again. If a week goes badly, you do not fail the plan. You repeat the assignment with more awareness. By the end, success means you can look at a scene, make a few conscious decisions, and produce an image that matches your intention more often than not.
Practical Guidance
Use this 12-week plan as a practical schedule. If you can practice three times per week for 30–60 minutes, you will improve faster than someone who watches lessons for hours but rarely shoots. Each week should include one learning topic, one shooting assignment, and one review session.
Weeks 1–2: Learn your camera and exposure basics.
Start by learning how to change aperture, shutter speed, ISO, exposure compensation, focus point, and white balance. Use Aperture Priority mode for still subjects and Shutter Priority mode for movement. Try Manual mode when you have time to slow down.
Assignment: photograph the same object near a window at different apertures, such as f/2.8, f/5.6, and f/11. Notice how the background changes. Then photograph a moving subject, such as a walking person, pet, bicycle, or passing car, at 1/30, 1/125, and 1/500. Your goal is to see what settings do, not to make perfect art.
Progress marker: you should be able to explain why a photo is too dark, blurry, noisy, or out of focus.
Weeks 3–4: Practice focus, sharpness, and simple light.
Learn single autofocus for still subjects and continuous autofocus for moving subjects. Practice choosing your focus point instead of letting the camera decide everything. Pay attention to shutter speed: many blurry beginner photos come from camera shake or subject movement.
Assignment: take 30 portraits or object photos using window light. Place the subject facing the window, side-lit by the window, and backlit by the window. Then compare the mood and detail. Try the same subject outdoors in direct sun and open shade.
Progress marker: most of your still photos should be acceptably sharp, and you should recognize soft light versus harsh light.
Weeks 5–6: Build composition habits.
Composition is not about memorizing rules; it is about making the subject clear. Practice removing distractions from the edges of the frame, using leading lines, leaving space in the direction a subject faces, and deciding when symmetry or the rule of thirds helps.
Assignment: choose one location, such as your kitchen, street corner, garden, or local park. Make 20 different compositions without changing the subject. Move closer, step back, shoot low, shoot high, include foreground, simplify the background, and try vertical and horizontal frames.
Progress marker: your photos should look less cluttered, and viewers should quickly understand what the subject is.
Weeks 7–8: Photograph real subjects and moments.
Now combine settings, focus, light, and composition. Choose beginner-friendly subjects: family portraits, pets, food, flowers, street details, architecture, or daily routines. Work in good light when possible. Early morning, late afternoon, open shade, and window light are easier than harsh midday sun or dark rooms.
Assignment: complete two mini shoots. One should be a portrait or people-based session, even if it is just a friend for 20 minutes. The other should be a subject that does not move, such as products, plants, or architecture. For each shoot, deliver 5 edited images.
Progress marker: you can plan a short shoot instead of only reacting randomly.
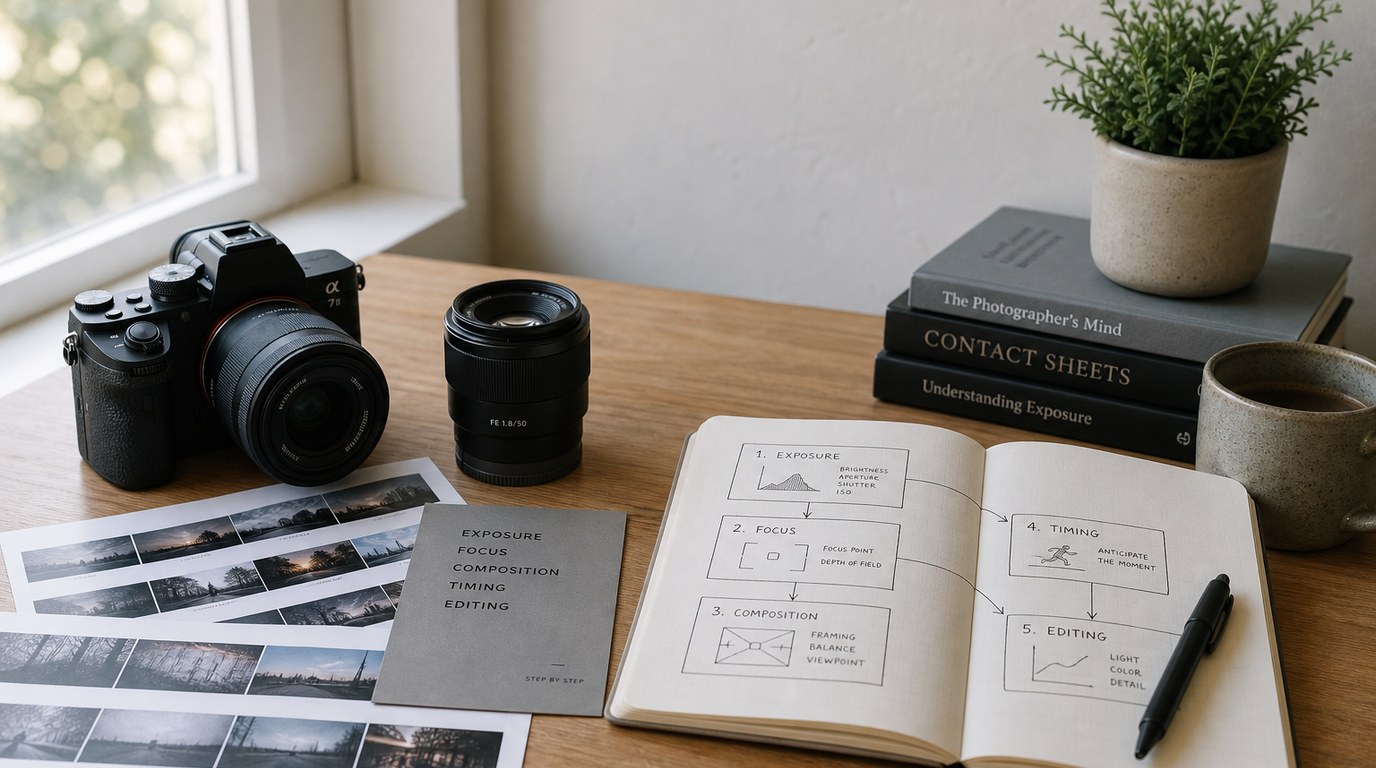
Weeks 9–10: Learn basic editing.
Editing should improve the photo, not rescue every mistake. Start with crop, exposure, contrast, highlights, shadows, white balance, and basic color. Use Lightroom, Capture One, Apple Photos, Snapseed, or another editor you can use consistently.
Assignment: choose 30 photos from the past 8 weeks. Edit them in a consistent style. Do not overdo saturation, clarity, skin smoothing, or heavy filters. Make virtual copies or duplicates and compare subtle edits with extreme edits.
Progress marker: your edited photos should look cleaner and more intentional while still looking natural.
Weeks 11–12: Create a final project.
Pick one theme and make a small portfolio of 10–15 images. Keep it simple: “Morning light at home,” “Portraits of my family,” “Details in my neighborhood,” “My dog’s day,” or “Color red around town.” A theme teaches you to make images that work together.
Assignment: shoot the project over several days, not in one rushed session. Edit the final set, sequence the images, and ask for feedback from someone specific. Instead of asking, “Do you like these?” ask, “Which three feel strongest, and which feel confusing?”
Progress marker: you finish with a small body of work that shows control, consistency, and personal direction.
To measure progress, use a simple weekly scorecard. Rate yourself from 1 to 5 on exposure, focus, composition, light, editing, and storytelling. Add one note: “What will I fix next week?” This keeps improvement practical. If your focus score is low, practice autofocus and shutter speed. If your composition score is low, simplify backgrounds. If your light score is low, shoot the same subject at different times of day.
Avoid the most common mistake: learning passively. Tutorials are useful, but only if you apply them immediately. Another mistake is switching genres every day. Try different subjects, but give each assignment enough repetition to teach you something. Also avoid blaming gear too quickly. A new lens may help, but it will not fix unclear subjects, bad light, or careless framing.
After 3 months, choose a direction for the next stage. If you enjoyed people, study portrait lighting and posing. If you liked travel or street scenes, work on timing, layering, and storytelling. If you liked products or food, learn controlled lighting and styling. Your first 3 months are the foundation; your next 3 months should become more specialized.
FAQ
What Should a Beginner Know First About How to Learn Photography in 3 Months?
Start with exposure, focus, light, and composition. You do not need advanced gear or complicated techniques at the beginning. Learn what aperture, shutter speed, and ISO do, then practice on simple subjects until you can predict the result before taking the photo.
What Matters Most When Evaluating How to Learn Photography in 3 Months?
The most important factor is consistent practice with review. A good plan includes weekly assignments, not just videos or reading. You should be able to measure progress through sharper images, better exposure, cleaner compositions, and a growing ability to explain your choices.
What Mistakes Should Readers Avoid with How to Learn Photography in 3 Months?
Avoid trying to learn every genre and technique at once. Do not spend the whole time researching cameras, presets, or lenses. Also avoid deleting mistakes too quickly. Your bad photos show exactly what to practice next, especially with focus, light, and composition.
What Is the Next Logical Step After Learning About How to Learn Photography in 3 Months?
Choose one photography direction and build a second 3-month plan around it. Good options include portraits, landscapes, street photography, product photography, food, wildlife, or events. Keep reviewing your work, ask for specific feedback, and create small projects instead of only practicing randomly.