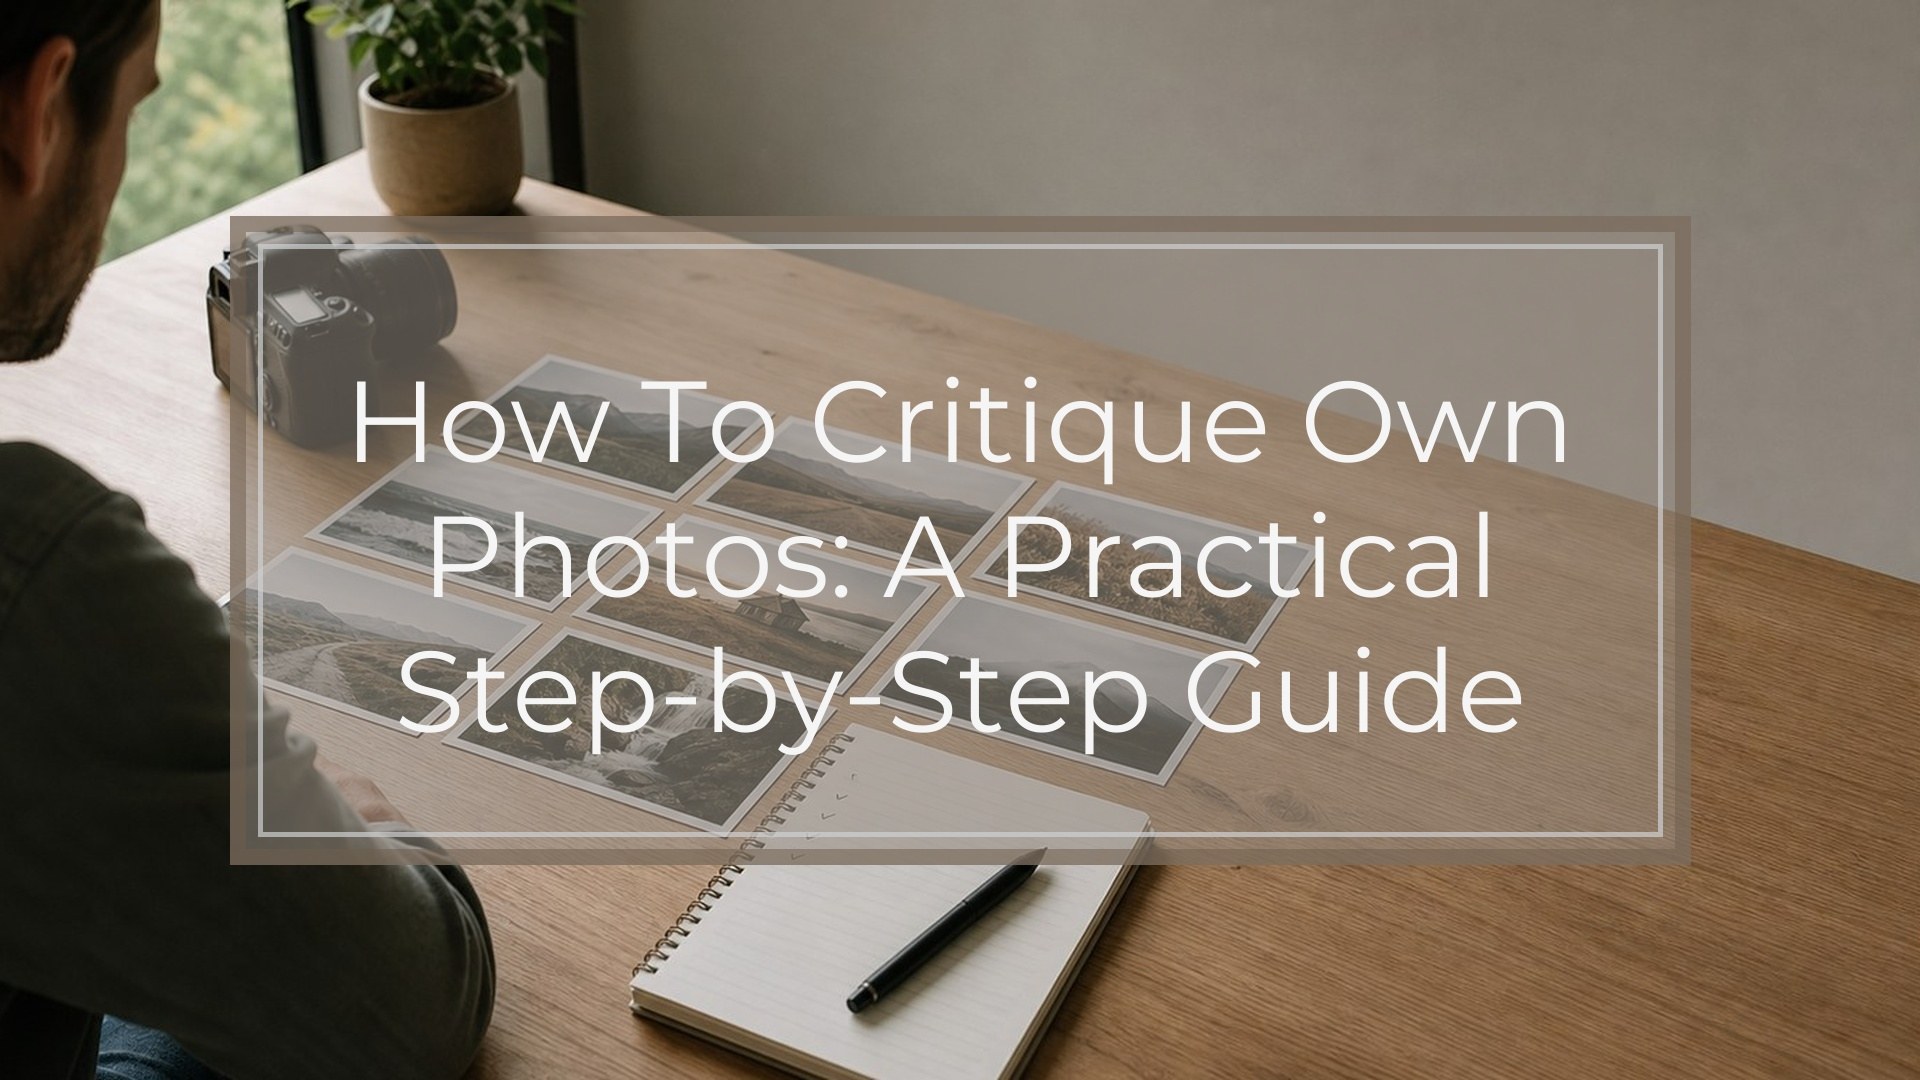
To critique your own photos, judge each image against its purpose, not against a vague idea of “perfect.” Step back from the shoot first, narrow your images with a quick keep/maybe/reject pass, then review the strongest frames for composition, light, exposure, focus, color, editing, and emotional impact. Ask what works, what distracts, and what you would do differently next time.
Good self-critique is not about being harsh. It is about turning a photo into useful feedback. Instead of saying “this is bad,” say “the subject is unclear,” “the light is flat,” or “I should have used a faster shutter speed.” Specific observations help you choose better images now and shoot better ones later.
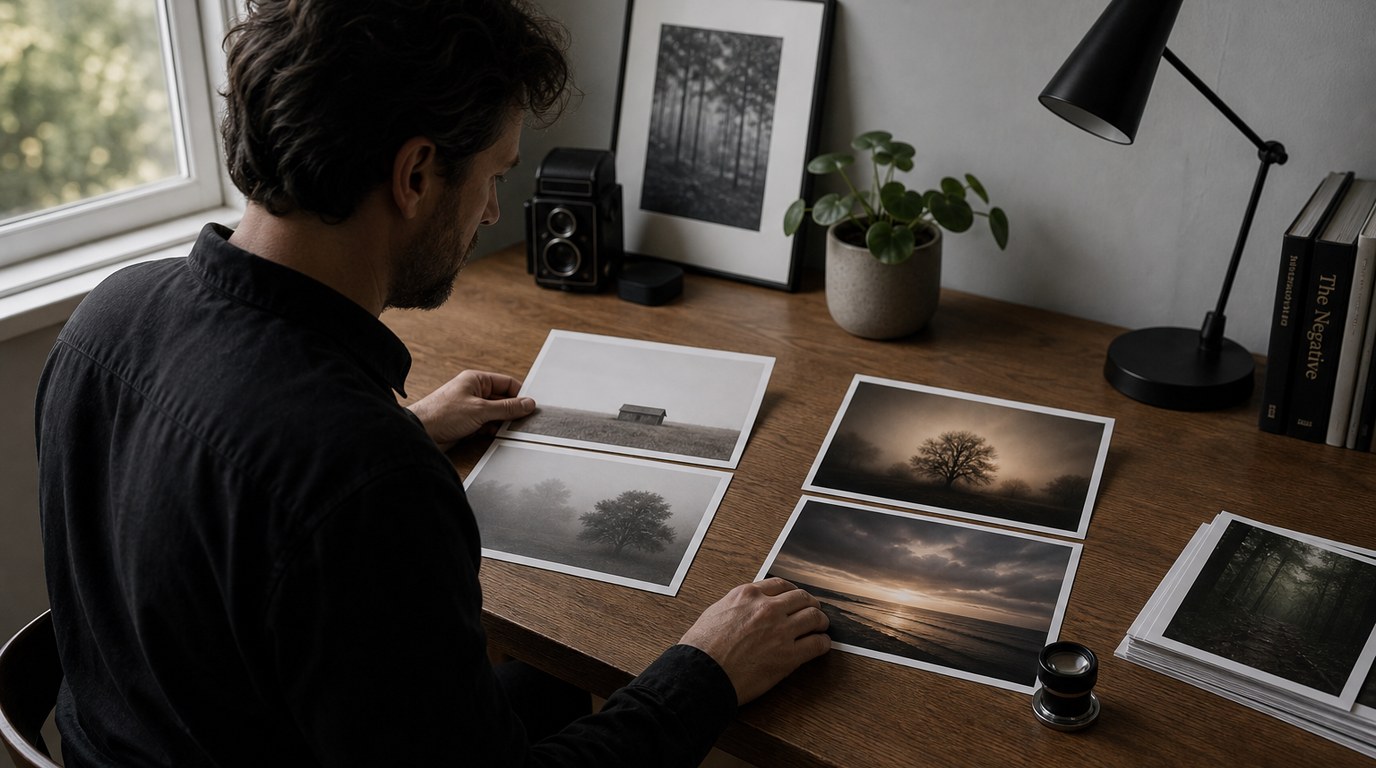
Start with Distance Before You Judge the Photo
Photographers often struggle to judge their own work because they remember the effort behind the image. You may remember the hike, the difficult lighting, the person you photographed, or the excitement of the moment. A viewer only sees the final frame.
Before you critique, create some distance. Wait a few hours, a day, or longer after importing your photos. If possible, review them on a larger screen instead of only on your camera or phone. Avoid editing immediately unless you are on a deadline.
Distance helps you see the image more like a viewer. You stop defending the photo because it was hard to make, and you start asking whether it actually communicates well.
Define What the Photo Was Supposed to Do

The best way to critique your own photos is to compare each image against its intent. A portrait, product photo, street scene, family snapshot, and landscape do not all need to succeed in the same way.
Before judging details, ask: what was this photo supposed to do? Was it meant to show mood, document an event, flatter a person, capture action, show scale, or highlight a product? Once you know the purpose, your critique becomes clearer.
For example, a dark concert photo might be technically noisy but still successful if it captures energy and atmosphere. A product photo, however, may fail if the label is soft or the color is inaccurate. Intent gives you a fair standard.
Do a Fast First Pass: Keep, Maybe, Reject
Do not deeply critique every frame from a shoot. Start with a fast first pass. Put images into three simple groups: keep, maybe, and reject.
Keep photos that immediately have strong subject matter, clean framing, good expressions, or interesting light. Maybe photos have potential but need closer review. Reject photos have obvious problems such as missed focus, awkward expressions, severe motion blur, closed eyes, or distracting obstructions.
Move quickly during this stage. The goal is not perfection; it is reducing the set so your attention goes to photos with real potential. If two images are almost identical, choose the one with better expression, gesture, light, or framing.
Check the Composition and Visual Flow
Composition is how the frame is organized. When critiquing it, ask where your eye goes first and where it moves next. A strong photo usually makes the subject easy to find and keeps distractions from competing with it.
Look at the edges of the frame. Are there cut-off hands, bright objects, poles, signs, or clutter pulling attention away? Check the background too. A good subject can feel weak if the background is messy or if something appears to grow out of the person’s head.
Then consider balance. Does the subject have enough space, or does the frame feel cramped? Is there too much empty space with no purpose? Are lines, shapes, or shadows leading the viewer toward the subject or away from it?
A simple test is to squint at the photo. The main shapes and bright areas become obvious. If your subject disappears, the composition may need stronger separation, cleaner framing, or a different crop.
Evaluate Light, Exposure, and Contrast
Light affects mood, texture, color, and depth. When reviewing your photo, ask whether the light supports the subject. Soft window light may suit a calm portrait. Harsh midday light might work for bold street photography but may be unflattering for a family portrait.
Next, check exposure. Is the image too bright, too dark, or intentionally exposed that way? Look for blown highlights, where bright areas lose detail, and blocked shadows, where dark areas become empty black. A histogram can help: it is a graph showing how tones are distributed from dark to bright.
Also judge contrast. Low contrast can feel gentle or flat. High contrast can feel dramatic or harsh. Neither is automatically right or wrong. The question is whether the exposure and contrast match the idea of the photo.
Inspect Focus, Sharpness, and Camera Settings
Technical problems often point to practical fixes for your next shoot. First, check whether focus landed where it should. In portraits, the eyes usually need to be sharp. In action photos, the key subject should be sharp enough to read clearly. In landscapes, you may want detail from foreground to background.
If the photo is blurry, identify the cause. Motion blur may mean your shutter speed was too slow. Missed focus may mean the autofocus point was on the wrong area. Overall softness may come from camera shake, a wide aperture, or a lens limitation.
Check your EXIF data if available. EXIF is the information saved with a photo, such as shutter speed, aperture, ISO, and focal length. It can reveal patterns. For example, if many indoor photos are blurry at 1/30 second, you may need a faster shutter speed or better stabilization.
Judge Color, White Balance, and Editing Choices
Color should support the image rather than distract from it. Start with white balance, which controls whether colors look warm, cool, or neutral. Skin that looks too orange, snow that looks blue, or indoor scenes that look green may need correction.
Then look at saturation and contrast from editing. Are the colors believable for the scene? Are they pushed so far that skin, skies, grass, or shadows look unnatural? Strong editing can work, but it should feel intentional.
Also check whether local edits are obvious. Over-brightened faces, heavy vignettes, crunchy sharpening, and extreme presets can make a photo feel less polished. A useful question is: does the edit help the viewer notice the subject, or does the edit become the first thing they notice?
Look for Story, Emotion, and Viewer Impact
After technical checks, ask what the photo makes a viewer feel or understand. A technically clean photo can still be forgettable if it has no point of interest, gesture, mood, or moment.
Look for expression, body language, timing, atmosphere, or visual tension. In a portrait, does the expression feel natural? In a travel photo, does the image show something specific about the place? In a sports photo, does it capture effort, peak action, or reaction?
Viewer impact is not always dramatic. A quiet image can succeed if it feels calm, honest, or carefully observed. The key question is whether the photo gives someone a reason to keep looking.
Use a Simple Photo Critique Checklist
Use a checklist after your first pass, not before. If you apply too many questions too early, you may slow down and overthink weak images. Once you have selected a promising frame, move through the checklist and make short notes.
| Critique Area | Ask Yourself | Possible Fix Next Time |
|---|---|---|
| Intent | What was the photo meant to show? | Decide the purpose before shooting. |
| Subject | Is the main subject clear? | Move closer, simplify, or reframe. |
| Composition | Does my eye move where I want? | Watch edges and background clutter. |
| Light | Does the light fit the mood? | Change angle, time, or location. |
| Exposure | Are highlights and shadows controlled? | Adjust exposure compensation or settings. |
| Focus | Is the important area sharp? | Choose focus point carefully. |
| Color/Edit | Does editing support the image? | Reduce heavy presets or color casts. |
| Impact | Does the photo feel memorable? | Wait for a stronger moment. |
Compare Your Photo Against Stronger References
To improve your eye, compare your work with strong examples in the same genre. If you are reviewing a portrait, compare it to portraits you admire. If you are reviewing a landscape, look at strong landscape images.
Do not copy exact poses, edits, or compositions. Instead, study differences. Are the stronger images simpler? Is the light more directional? Is the subject more separated from the background? Is the timing better?
This helps calibrate your taste. You begin to see what makes an image feel finished, intentional, and clear. Over time, your standards become more specific and useful.
Write One Actionable Note for Next Time
A critique is only helpful if it leads to action. After reviewing a photo or set, write one practical note for your next shoot. Keep it specific.
Weak note: “Take better photos.”
Useful note: “Use a faster shutter speed for indoor portraits.”
Useful note: “Check the background before pressing the shutter.”
Useful note: “Wait for cleaner gestures during street shots.”
One note is better than ten vague goals. It gives you something to practice immediately. If you notice the same issue across many photos, turn it into your next photography exercise.
Common Mistakes When Critiquing Your Own Photos
One common mistake is judging too emotionally. You may keep a weak photo because you loved the moment, or reject a strong photo because it was easy to take. Try to judge what is visible in the frame.
Another mistake is focusing only on sharpness. Sharpness matters, but a sharp boring image is still boring. Composition, light, timing, and emotion matter too.
Avoid over-editing to rescue a weak photo. Editing can improve a strong image, but it rarely fixes unclear subject matter or poor timing.
Finally, do not compare your beginner work to someone’s best portfolio without context. Compare thoughtfully, learn one lesson, and keep shooting.
FAQ
What Should a Beginner Know First About How to Critique Own Photos?
A beginner should know that critique is not about calling photos good or bad. It is about finding what works, what distracts, and what to improve next time. Start with the photo’s purpose, then review composition, light, focus, color, and impact.
What Matters Most When Evaluating How to Critique Own Photos?
The most important question is whether the photo clearly does what you intended. A technically imperfect photo can still succeed if the subject, moment, light, and emotion are strong. Judge technical details in service of the image, not as separate rules.
What Mistakes Should Readers Avoid with How to Critique Own Photos?
Avoid judging too soon after shooting, obsessing over sharpness only, and trying to fix every weak image with heavy editing. Also avoid vague conclusions like “I’m bad at photography.” Replace them with specific notes such as “my shutter speed was too slow.”
What Is the Next Logical Step After Learning About How to Critique Own Photos?
The next step is to review one small set of images using a checklist. Pick your best three, write one strength and one improvement for each, then choose one skill to practice on your next shoot, such as cleaner backgrounds or better exposure.