Your lens sweet spot is the aperture where that lens usually gives its best overall image quality: strong center sharpness, improved edge sharpness, good contrast, and fewer optical flaws than at wider settings, without yet losing detail to diffraction. For many lenses, that ends up about two to three stops down from the widest aperture, often around f/5.6 to f/8. To find yours, photograph the same flat, detailed subject at every aperture, compare the center and corners at 100%, and pick the setting that gives the best balance for your real-world use. The exact answer varies by lens, focal length, and whether you value sharpness, light, blur, or depth of field most.
Quick Answer
If you want the fastest practical method to find your lens sweet spot, start with this rule: most lenses look their best when stopped down a little from wide open, not at the maximum aperture and not at the smallest aperture either.
A simple beginner test works well:
- Put your camera on a tripod.
- Photograph a detailed, flat subject in good light.
- Keep focus, framing, ISO, and shutter release method consistent.
- Shoot the same image at each aperture, from wide open to about f/16.
- Compare the center, mid-frame, and corners at 100%.
The best aperture is usually where sharpness and contrast peak before diffraction softens fine detail. On many lenses, that will be around f/5.6 or f/8, but don’t assume. A fast prime may peak earlier. A zoom may behave differently at different focal lengths.
Main takeaway: the sweet spot is not a magic number for all lenses. It is the setting where your specific lens performs best for the kind of shots you actually make.
How to Think About This Topic
The easiest mental model is to think of aperture as a trade-off dial.
At the widest aperture, your lens lets in the most light and can give shallow background blur. But this is also where many lenses show more softness, lower contrast, vignetting, chromatic aberration, or weaker corners. As you stop down, image quality usually improves because the lens uses a more controlled portion of the glass.
Keep stopping down, though, and another limit appears: diffraction. That is the softening that happens when very small apertures spread light and reduce fine detail. So the sweet spot usually lives in the middle, after the lens has cleaned up its wide-open weaknesses but before diffraction takes too much away.
That matters because most people searching for “find your lens sweet spot” are not asking about lab theory. They want to know: What aperture should I use when I care most about image quality? The answer is: use the aperture that gives the best balance for your subject, not just the sharpest test-chart result.
A few practical points help:
- Center sharpness and corner sharpness are not always equal. Many lenses are fairly sharp in the center wide open, while corners improve more as you stop down.
- Zoom lenses can shift. A 24-70mm lens might look best at one aperture at 24mm and another at 70mm.
- Primes are often simpler. Many prime lenses reach excellent performance earlier than consumer zooms.
- Sharpest is not always best. Portraits may benefit from wider apertures even if the lens is technically sharper at f/5.6.
Here is a quick framework you can use while testing:
| What to check | What usually happens | What it suggests |
|---|---|---|
| Wide open | More softness, aberrations, darker corners | Good for low light or blur, not always max detail |
| 1–3 stops down | Sharpness and contrast improve | Most likely sweet-spot range |
| Very small apertures like f/16–f/22 | More depth of field, but less crisp fine detail | Use when depth matters more than peak sharpness |
| Center vs corners | Corners often lag behind center | Choose based on landscapes vs portraits |
| Different focal lengths on a zoom | Performance changes across the range | Test more than one focal length |
So the goal is not to memorize “f/8.” The goal is to understand where your lens gives the best result for your priorities.
Practical Guidance
To find your lens sweet spot reliably, run a short home test and then interpret it in context.
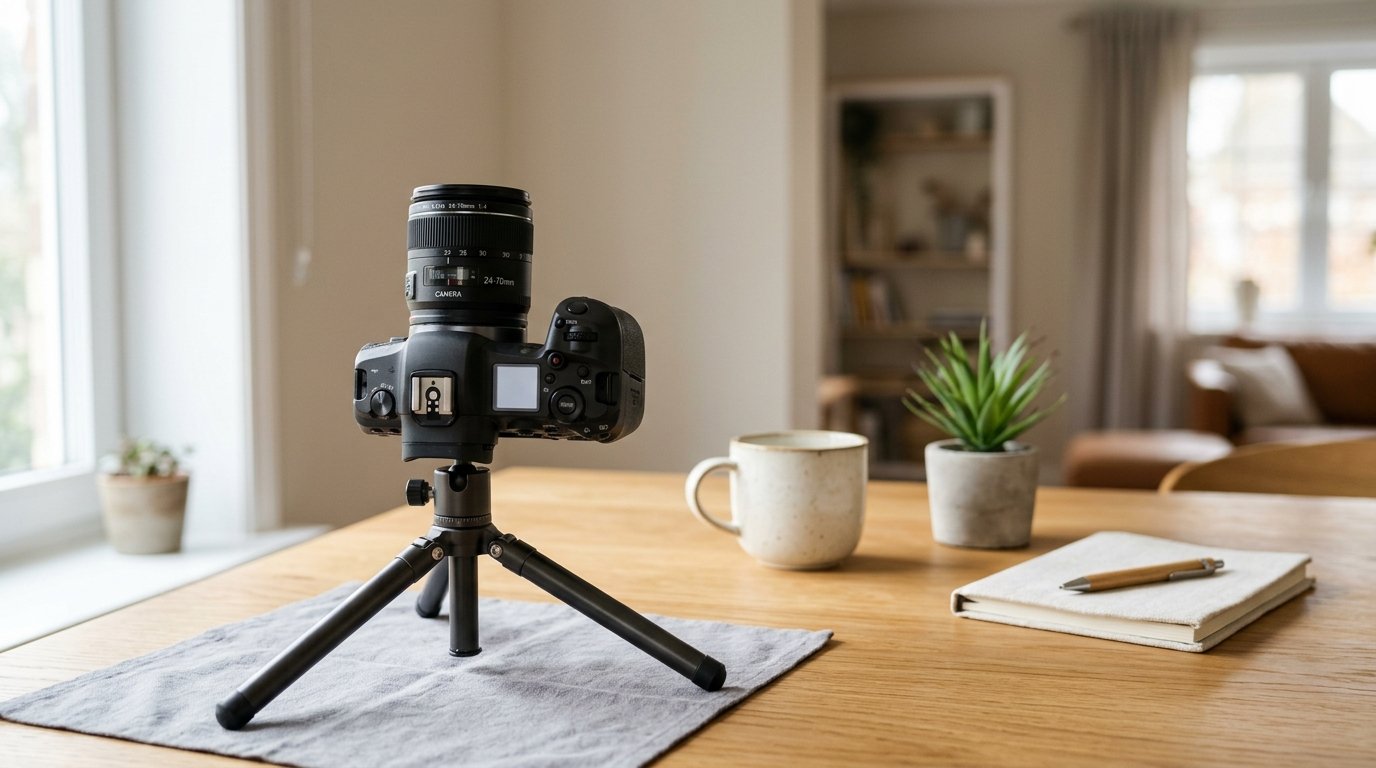
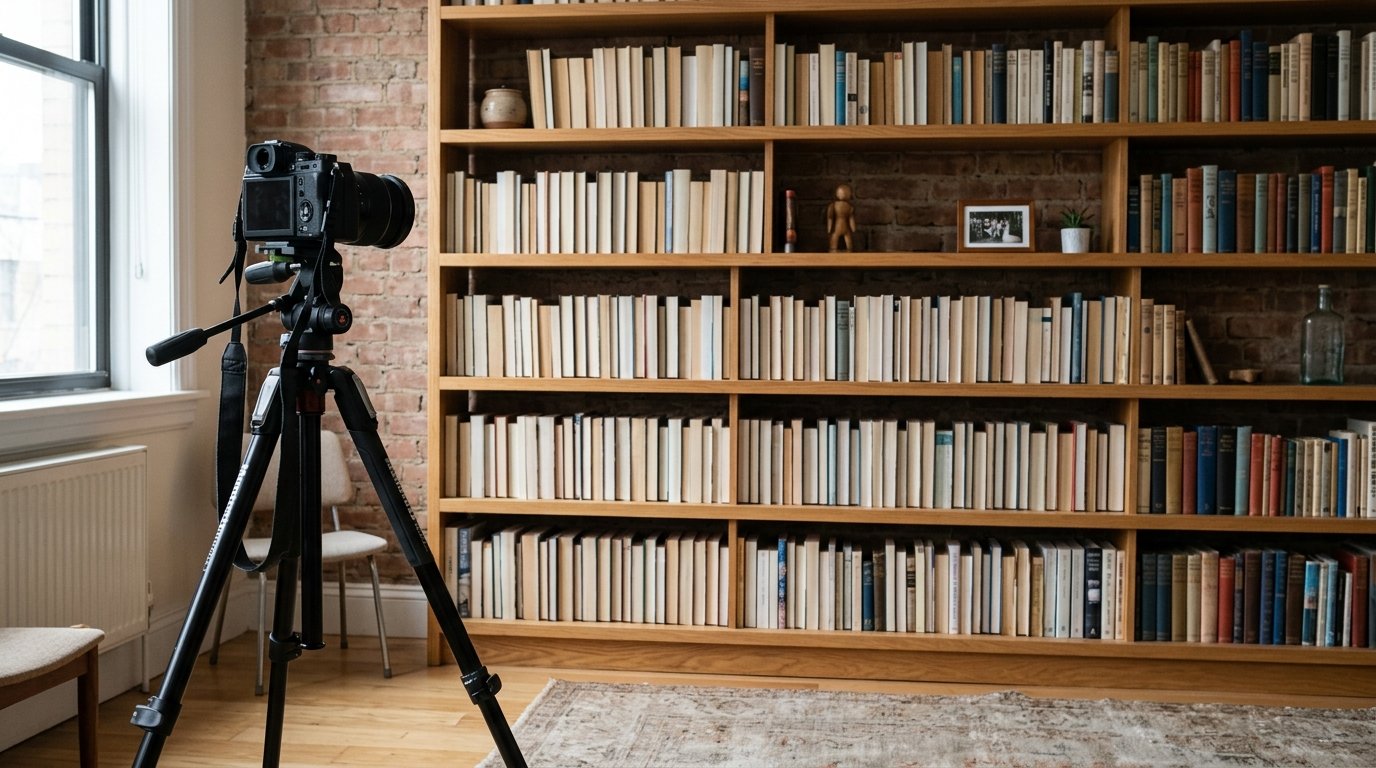
Set up a Clean Test
Pick a subject with lots of fine detail across the frame: a brick wall, bookshelf, newspaper taped flat, or building facade. Good, even light helps because you want to compare sharpness, not noise or motion blur.
Use this setup:
- Tripod
- Lowest practical ISO
- Self-timer or remote shutter
- Stabilization off if the camera is on a tripod
- Single focus point, then leave focus unchanged
- RAW or highest-quality JPEG
If you use a zoom lens, test at least two or three focal lengths, such as wide, middle, and telephoto.
Shoot Through the Aperture Range
Start at the lens’s widest aperture, then take one frame at each full stop or one-third stop until about f/16. You usually do not need to go farther unless you often shoot macro or deep landscapes.
For example, with a 50mm f/1.8, you might shoot:
- f/1.8
- f/2.8
- f/4
- f/5.6
- f/8
- f/11
- f/16
With a kit zoom at 35mm, you might start at f/4.5 or f/5 depending on the lens.
Keep exposure consistent in spirit, not necessarily identical in shutter speed. Aperture changes require shutter speed changes, but the scene, focus, and camera position should stay the same.
Compare the Images Correctly
Open the files on a larger screen and inspect them at 100%. Compare:
- Fine detail in the center
- Mid-frame detail
- Corner detail
- Contrast
- Color fringing on high-contrast edges
- Darkening in the corners
What you will often see:
- Wide open: usable center, weaker corners
- Mid apertures: strongest overall crispness
- Small apertures: more depth, but less micro-detail
A common result might be that f/4 looks clearly better than f/1.8, f/5.6 is excellent, f/8 is equally strong or slightly better in corners, and f/11 begins to soften a little. In that case, your real sweet-spot range is probably f/5.6 to f/8, not one exact number.
Choose for Your Use, Not Just the Chart
This is where beginners often overcomplicate things. Your sweet spot depends on what you shoot.
- Portraits: You may prefer f/2 or f/2.8 for subject separation, even if f/4 is sharper.
- Landscapes: You may choose f/8 because it balances detail and depth well.
- Street photography: f/5.6 can be a strong all-around choice for speed, sharpness, and workable depth.
- Product or flat-lay work: Favor the aperture with the best edge-to-edge consistency.
Watch for Common Mistakes
A few errors can hide the real answer:
- Refocusing between shots: this changes the test.
- Testing handheld: motion blur can mimic softness.
- Using a close subject with some lenses: performance can differ at close focus versus normal distances.
- Judging only the center: many lenses improve more in the corners than in the middle.
- Calling one frame “the winner” too quickly: look for a useful range, not a single lucky shot.
If your results are close, that is normal. Many modern lenses perform well across several apertures. In practice, your sweet spot is often best thought of as a zone rather than a single setting.
FAQ
What Is the Sweet Spot of a Lens?
A lens sweet spot is the aperture where that lens delivers its best overall image quality, usually balancing sharpness, contrast, and reduced optical flaws. It is often a little stopped down from wide open, not at the lens’s maximum or minimum aperture.
Is a Lens Sweet Spot Usually F/8?
Often, but not always. Many lenses perform very well around f/5.6 to f/8, which is why f/8 gets repeated so much. But some lenses peak closer to f/4, while others vary by focal length, distance, and whether you care more about corners or center sharpness.
Do Zoom Lenses Have More Than One Sweet Spot?
Yes. A zoom lens can behave differently at different focal lengths. It may be strongest at one aperture when wide and another when zoomed in. That is why a useful test checks multiple focal lengths instead of assuming one aperture works best across the whole zoom range.
Should I Always Shoot at My Lens Sweet Spot?
No. Use it when you want maximum overall image quality, but not when another priority matters more. Low light, faster shutter speeds, background blur, or extra depth of field can all justify using a different aperture than your lens’s technically sharpest setting.
How Do I Find the Sweet Spot Without a Test Chart?
Use any detailed, flat subject in even light, such as a brick wall, bookshelf, or newspaper taped to a wall. Shoot the same composition across the aperture range on a tripod, then compare center and corner detail at 100% to find the best-performing setting.