An everyday objects assignment is a simple photography challenge where you choose ordinary items around your home and make them look visually interesting. Instead of waiting for a perfect location, model, or trip, you practice with what is already nearby: a mug, spoon, key, book, plant, chair, or pair of shoes.
The goal is not to prove that the object is exciting. The goal is to train your eye. You will change angle, light, background, distance, framing, and story until the object starts to feel fresh. This challenge is ideal for beginners because it builds real photography skills without requiring expensive gear, special props, or a studio.
What Is the Everyday Objects Assignment?
The everyday objects assignment is a creative exercise built around one basic question: “How many interesting photos can I make from something normal?” It turns common household items into practice subjects for composition, lighting, focus, color, and storytelling.
Think of the object as a model that does not move. That gives you time to slow down and experiment. You can place it by a window, shoot it from above, move closer, add shadows, change the background, or include hands for context.
A good assignment is specific enough to guide you but flexible enough to encourage play. For example, “photograph a glass of water ten ways” is stronger than “take some photos at home.” The limit gives your creativity a direction.
What You Need Before You Start
You only need a camera or phone, one everyday object, and a small area with usable light. A table near a window is perfect. If you do not have window light, use a desk lamp, floor lamp, or flashlight.
Choose simple backgrounds first: a plain wall, wooden table, sheet of paper, towel, cutting board, or notebook. Avoid messy areas unless the clutter is part of the story.
Useful extras include tape, white paper for bouncing light, black card for blocking light, and a tripod or stack of books to steady your camera. None of these are required, but they help you repeat shots and notice small changes.
Start with this quick guide:
| Object | Lighting idea | Composition goal | Difficulty |
|---|---|---|---|
| Mug | Window side light | Show shape and handle | Easy |
| Keys | Hard lamp shadow | Create pattern | Easy |
| Spoon | Backlight | Highlight reflection | Medium |
| Book | Soft window light | Tell a quiet story | Easy |
| Glass | Light from behind | Show transparency | Medium |
Pick One Object and Shoot It 10 Different Ways
The core version of the assignment is simple: pick one object and photograph it ten different ways. Do not switch objects when you get bored. The boredom is where the useful ideas usually begin.
Start with a safe, obvious photo. Then change only one thing at a time. Move closer. Shoot from above. Lower the camera to table height. Turn the object. Move it toward the light. Change the background. Add a hand. Add a second object. Make one photo bright and clean, then one dark and dramatic.
A good 10-shot workflow looks like this:
- Straight-on record shot
- Overhead flat lay
- Close-up detail
- Wide shot showing environment
- Side-lit version
- Backlit version
- Strong shadow version
- Minimal composition
- Storytelling scene
- Abstract crop
By the end, you should have ten photos that clearly feel different, even though the subject stayed the same.
Challenge Prompts for Everyday Objects
Use these prompts when you want specific photo ideas. Pick one object, then choose three to five prompts from the list.
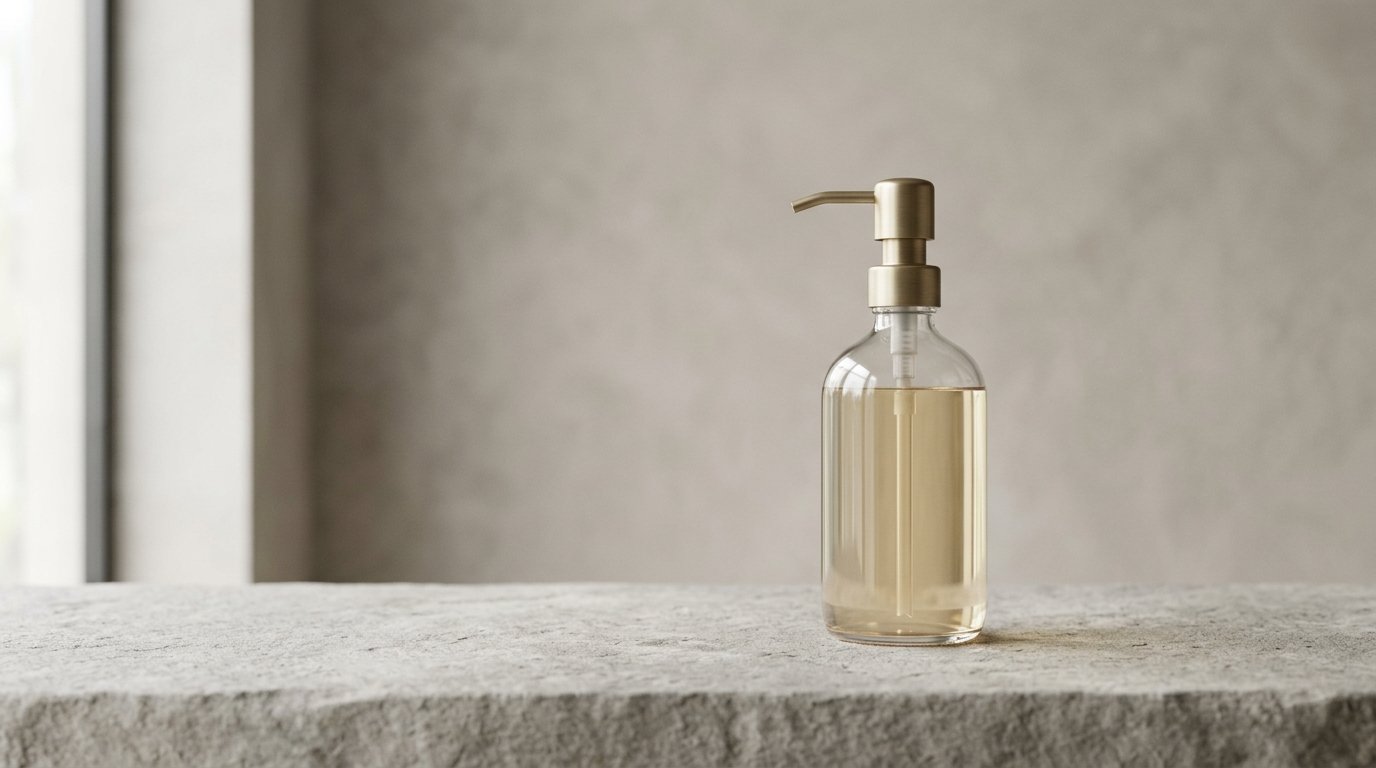
Make it look expensive. Photograph a cheap object, such as a pen or soap bottle, as if it belongs in a product advertisement. Use a clean background, careful alignment, and soft light.
Make it mysterious. Hide part of the object in shadow. Shoot close enough that the viewer has to guess what it is.
Show wear and history. Choose an old shoe, scratched key, wooden spoon, or used notebook. Focus on marks, dents, stains, and texture.
Create a color study. Match the object with a background of the same color, or place it against a strong contrasting color.
Use reflection. Photograph the object on a mirror, glossy table, phone screen, metal tray, or wet surface.
Make it tiny in the frame. Leave lots of empty space around the subject. This works well with a single cup, flower, coin, or toy.
Make it fill the frame. Move close until the object becomes shapes, lines, and texture instead of a recognizable item.
Tell a morning story. Use a mug, spoon, book, glasses, toast, or keys to suggest a person’s routine without showing their face.
Create a shadow pattern. Use a fork, plant, lace curtain, colander, or blinds to cast shadows across the scene.
Photograph function. Show the object being used: a hand turning a key, pouring water, tying laces, writing with a pencil, or opening a book.
Composition Ideas That Make Ordinary Objects More Interesting
Composition is what turns “a picture of a thing” into a photograph worth looking at. With everyday objects, small framing choices matter.
Try placing the subject off-center instead of in the middle. Use the rule of thirds as a starting point, but do not follow it blindly. If the object has strong symmetry, such as a bowl, clock, or pair of scissors, a centered composition may work better.
Look for leading lines. A table edge, book spine, cable, shadow, or row of tiles can guide the eye toward the object. Use negative space when you want a calm, simple image. Use a tighter crop when texture or detail is the main point.
Also watch the background edges. A beautiful mug photo can be weakened by a distracting charger, bright label, or awkward line behind it. Before pressing the shutter, scan the corners and remove anything that does not help the photo.
Lighting Setups for Everyday Object Photos
Lighting changes the mood faster than any filter. Start with one light source so you can understand what it does.
For soft light, place your object near a window but out of direct sun. This gives gentle shadows and works well for books, mugs, flowers, food, and fabric. If one side looks too dark, place white paper opposite the window to bounce light back.
For dramatic side light, put the object beside a window or lamp so light hits from one direction. This creates shape and texture, especially on rough items like bread, leaves, ceramics, or old tools.
For backlight, place the light behind the object and shoot toward it. This works well for glass, bottles, steam, leaves, and translucent materials. You may need to tap your phone screen on the object or lower exposure so the highlights do not blow out.
For hard shadows, use direct sun or a bare lamp. Try keys, forks, plants, or blinds for bold graphic patterns.
Simple Camera and Phone Settings to Try
If you use a phone, tap to focus on the object, then adjust exposure if your camera app allows it. On many phones, you can drag brightness up or down after tapping. Use portrait mode only when it improves separation; avoid it if edges look fake.
If you use a camera, try aperture priority mode. Use a wide aperture like f/2.8 or f/4 for a blurred background, and f/8 when you want more of the object sharp. Keep ISO low, such as ISO 100–400, when you have enough light.
Use exposure compensation when needed. If a white object looks gray, brighten it slightly. If highlights are too strong on glass or metal, darken the exposure. For close-up photos, steady the camera with a tripod, table, or stack of books.
How to Review Your Photos After the Challenge
Do not judge the assignment only by choosing your favorite image. Review the full set and ask what changed from photo to photo.
Look for three things: variety, clarity, and intention. Variety means the ten photos do not all use the same angle and lighting. Clarity means the viewer can understand where to look. Intention means the photo feels designed, not accidental.
Choose your best three images and write one sentence about why each works. Then choose one weak image and identify one fix, such as cleaner background, better focus, stronger light, or a more deliberate crop. This review step turns the challenge into practice.
A 7-day Everyday Objects Photo Challenge Plan
Use this plan if you want a full week of practice.
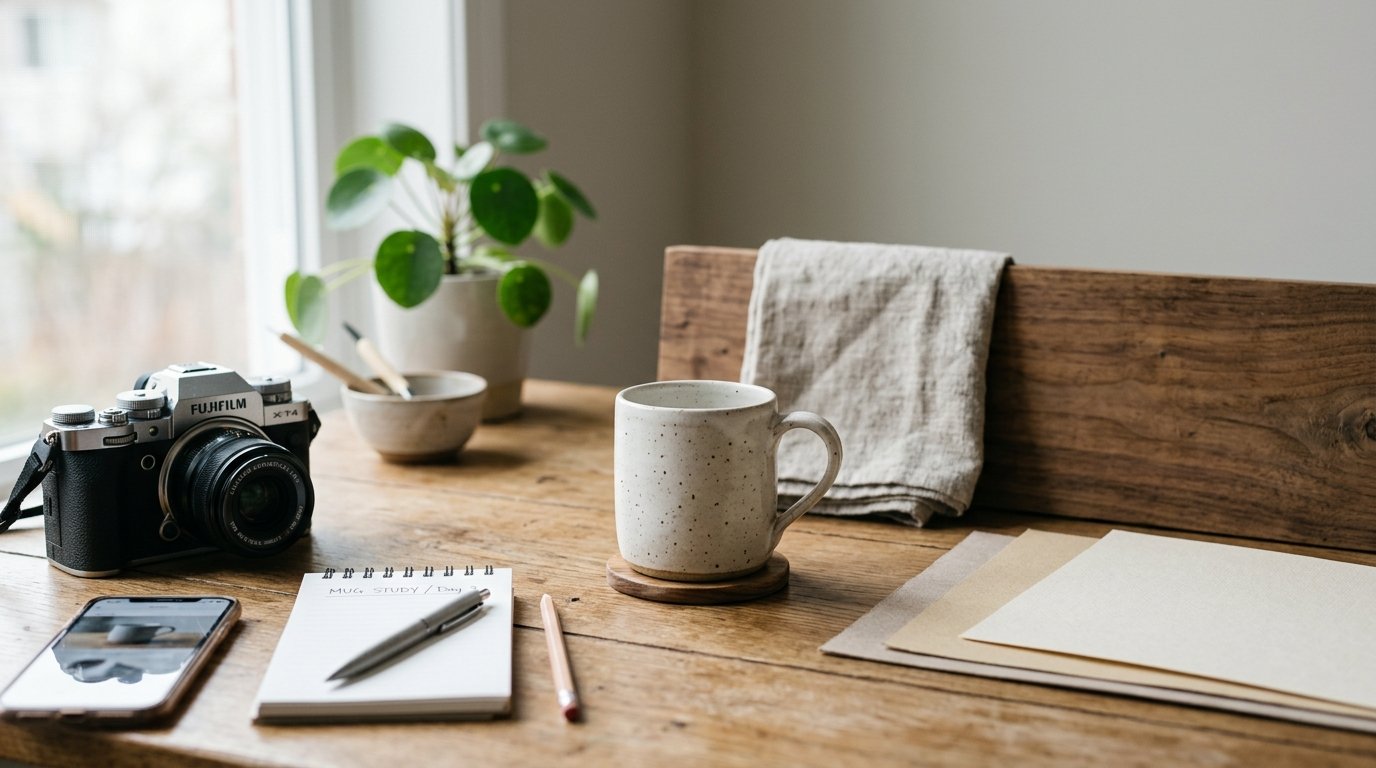
Day 1: Photograph one mug ten ways. Focus on angle and background.
Day 2: Photograph keys using shadows and reflections.
Day 3: Photograph a book as a storytelling scene.
Day 4: Photograph a spoon, fork, or knife as an abstract close-up.
Day 5: Photograph a plant or leaf with backlight.
Day 6: Photograph shoes, a bag, or a jacket to show use and texture.
Day 7: Choose your best object from the week and reshoot it with everything you learned.
By the end, you will have a small portfolio of home-based practice images and a better sense of how light, framing, and mood affect simple subjects.
FAQ
What Should a Beginner Know First About Everyday Objects Assignment?
A beginner should know that the assignment is about seeing creatively, not finding perfect objects. Start with one simple item and change angle, light, distance, and background. The more ordinary the object is, the better it can train your eye.
What Matters Most When Evaluating Everyday Objects Assignment?
The most important things are variety and intention. Ask whether each photo looks different from the others and whether the choices feel deliberate. Strong everyday object photos usually have clean framing, controlled light, a clear subject, and no distracting background details.
What Mistakes Should Readers Avoid with Everyday Objects Assignment?
Avoid switching objects too quickly, shooting every photo from eye level, and ignoring the background. Beginners often stop after the obvious shot. Push past that by moving closer, changing the light, rotating the object, and trying both simple and dramatic compositions.
What Is the Next Logical Step After Learning About Everyday Objects Assignment?
The next step is to repeat the challenge with stricter limits. For example, shoot one object using only window light, only black-and-white, or only close-up compositions. Limits make your decisions sharper and help you build a consistent creative practice.