
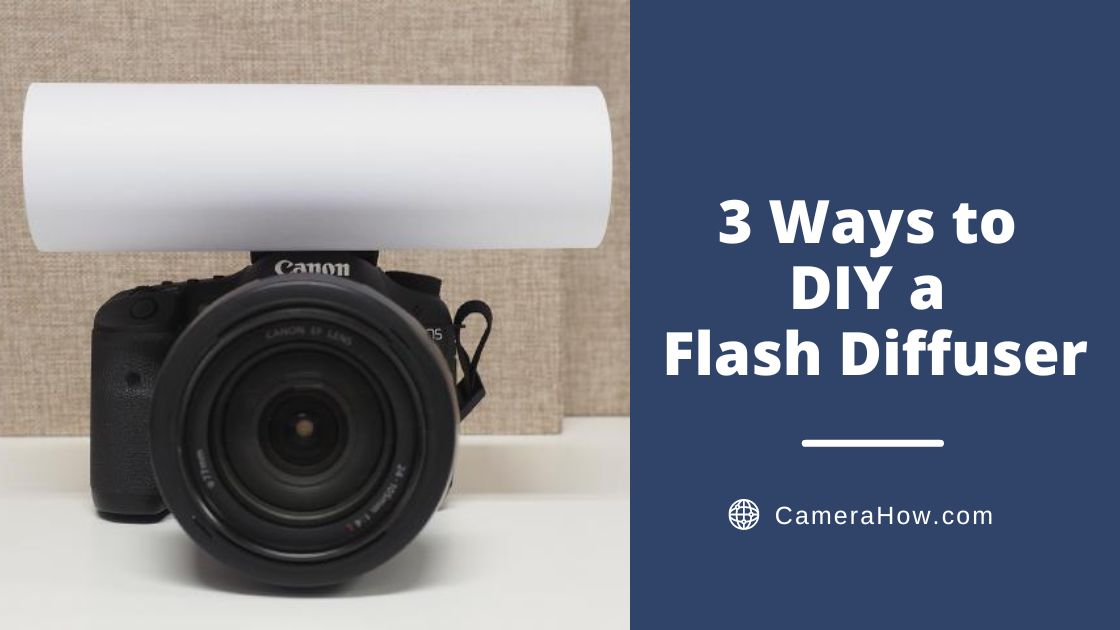
A flash diffuser is one of the must-have camera gears for almost every photography professional and amateur. There are various standard flash diffusers on the market available in different sizes, functions, and prices. You can choose the most suitable one depending on your needs.
But DIY flash diffuser is not as difficult as you thought, only if you grasp the principle of the diffuser. It’s cheaper than buying one on the market. And today, I’m going to show you three ways to DIY a flash diffuser.
What Is a Flash Diffuser?
A flash diffuser is a device to modify your flashlight before it shoots on your subject. The flash diffuser can make the transition from highlights to shadows less harsh, which makes your picture more natural.
Is a Flash Diffuser Necessary?
It depends on if you need a more gradual transition from dark to light in your picture.
You may need to turn on your flash in a low light situation to make your subject clear. But a small light source like an on-camera flash will produce an apparent boundary between dark and light. And this is where a flash diffuser comes into play.
How Does a Flash Diffuser Work?
The most straightforward principle is that the relatively bigger the light source, the softer the light. So all we need to consider is how to change the path of photons to make the original light source relatively bigger. There usually are two ways:
1. Let light pass through some rough, translucent medium
2. Bounce the light with some big, uneven reflector
Both ways try to spread the light from the flash so that the light source can be relatively bigger.
Materials for Diy Flash Diffuser
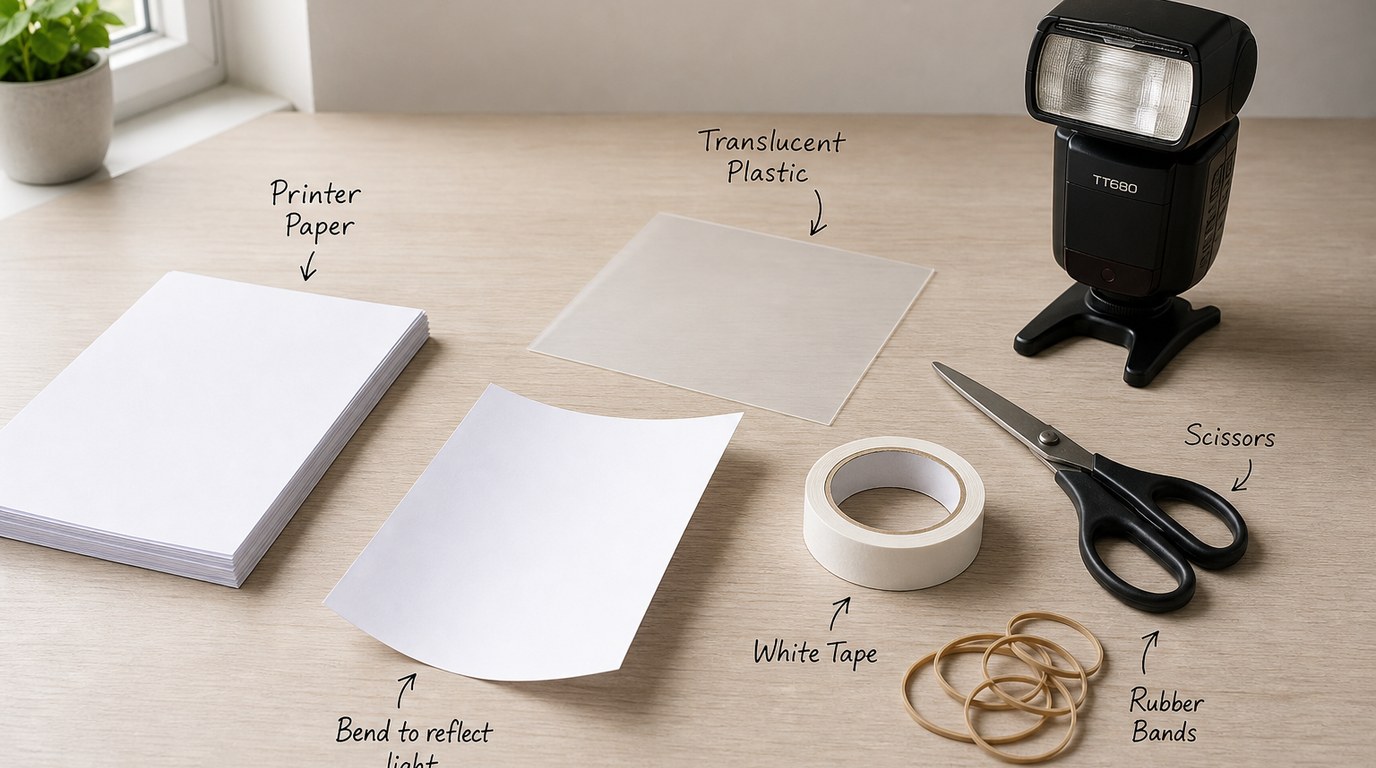
These are some materials that may be used in the next step(not all materials will be used in each method):
<Strong>printer Paper</strong>
Yes, printer paper can just be used as a flash reflector. You may not see it obviously, but the paper’s surface is not as smooth as you think. It’s relatively rough, so the light can be bounced in different directions when shot at paper. But sometimes it doesn’t work well and is easily damaged.
<Strong>white Craft Foam</strong>
Craft foam has a better reflection effect due to its rougher surface. It’s also much more flexible than printer paper. Usually, craft foam has a variety of colors, and white is just fine. White can reflect light maximally, reducing the loss of light during the reflection.
<Strong>tracing Paper</strong>
Unlike printer paper, tracing paper is translucent white, allowing light to pass through. Setting up a tracing paper between the subject and the flash can also work. Note that the light passes through the paper this way rather than be reflected by the paper.
<Strong>plastic Canvas</strong>
It’s some kind of plastic mesh in fact. It’s flexible but not as soft as paper, mainly used for supporting your paper diffuser. You don’t want to see your diffuser deformed by wind outside, right?
<Strong>translucent Plastic Jar</strong>
Actually, many flash diffuser products are designed just like a translucent jar attached to the flash. A little processing can also make a plastic jar work as a diffuser for you.
<Strong>velcro Strips</strong>
The versatility of velcro strips helps you to attach these materials together in many ways as you wish.
How to Diy Flash Diffuser?
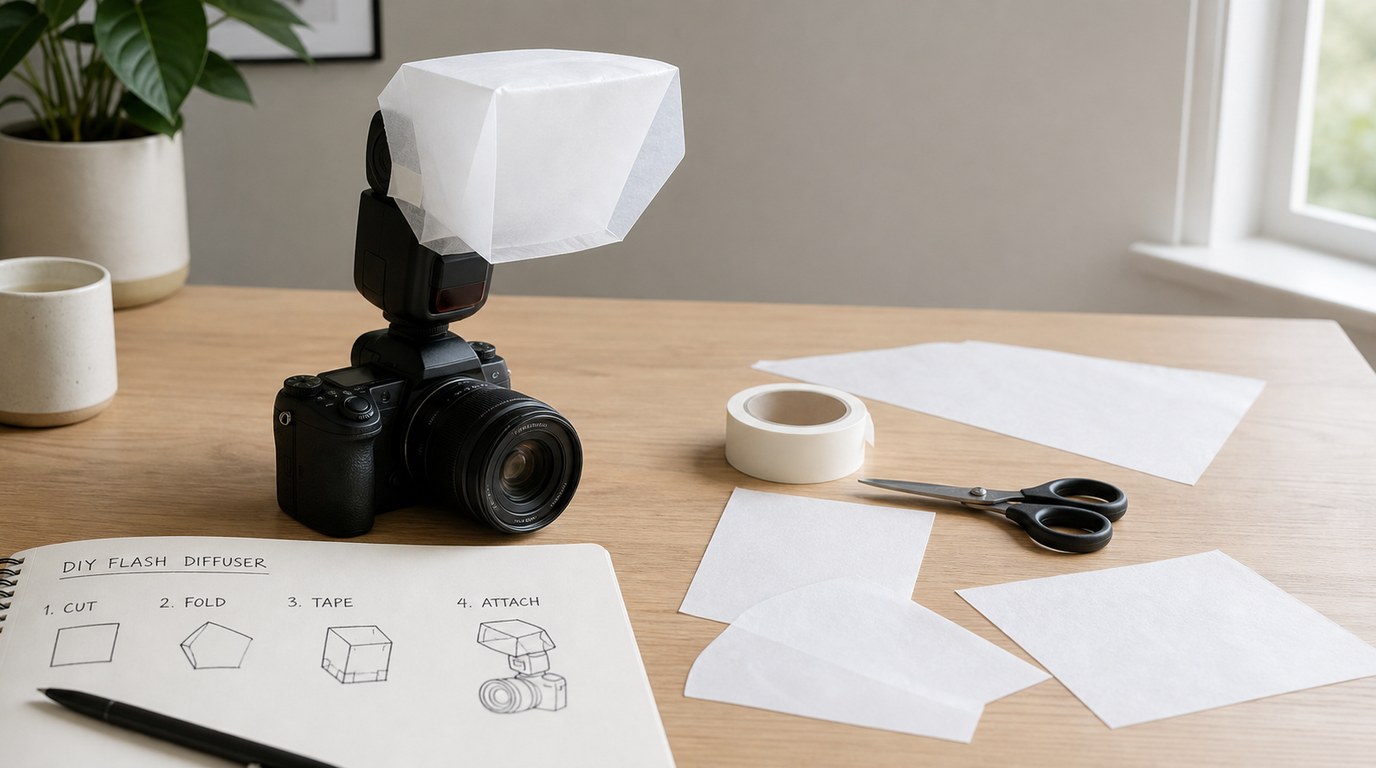
Today, I will show you three ways to DIY a flash diffuser. They are all easy to follow and low-cost. Choose the one you like according to your needs.
<Strong>how to Diy Flash Diffuser with Just White Craft Foam?</strong>
This may be the easiest way that I can find to make a flash diffuser for you. All you need to do is just several steps as blew:
1. Prepare some velcro strips, a piece of white craft foam, and some adhesive tapes.
2. Tape a loop of velcro around your flash head(for attaching your modifier quickly).
3. Cut the white craft foam sheet into about 9 x 12 inches.
4. Cut a 9-inch trap and tape it to the bottom of the edge.
5. Stick it to the velcro on your flash, wrap it around the head, and now it can work as a diffuser.
The principle of this method is that when the light is shooted on the craft foam, it is reflected into different directions by the big and rough surface of the craft foam. It’s simple but effective.
Pros
- The most effortless way
- Lowest cost
- Very easy to disassemble
Cons
- Fragile
- Not perfectly efficient
- Ugly
If you are looking for more details, check this video from Spyros Heniadis:
<Strong>how to Diy Flash Diffuser with Craft Foam and Plastic Canvas?</strong>
This method is kind of an upgraded version of the previous way. The difference is that a plastic canvas is used to support the diffuser, which makes it stronger.
This method is provided by Makify1, and he also offers two sizes of templates for you.
Notes: As to the templates, the big one fits perfectly for a 9×12″ craft foam, but you may need two pieces of paper to print it and assemble them into one. The small template is suitable for a smaller flash diffuser, and it can be printed on a single letter-sized paper.
Step by step:
1. Prepare two craft foams(one each for black and white), a plastic canvas, some velcro strips, and adhesive tapes.
2. Download the templates from Makify1 at your request.
3. Cut both the craft foams and the plastic canvas to the shape provided by the template.
4. Sandwich the plastic canvas between two pieces of craft foam, aligned along the edges.
5. Glue them together. If your craft foams have an adhesive back, this step will be more straightforward.
6. Glue a length of velcro strips to the bottom of the craft foam just enough to attach to the flash.
7. Attach this diffuser to your flash and start to shoot.
Pros
- Sturdier
- Easy to disassemble
Cons
- Relatively complicated to make
If you are looking for more details, check this video from Makify1:
<Strong>how to Diy Flash Diffuser with a Plastic Jar and Tracing Paper?</strong>
The difference from the previous two methods is that this diffuser lets the light pass through the tracing paper and diffuses it to achieve a soft light effect.
Step by step:
1. Prepare a translucent plastic jar(bottom diameter a bit larger than the flash), a piece of tracing paper, and some adhesive tapes.
2. Make a mark of the same size on the bottom of the plastic jar according to the size of your flash.
3. Carefully cut a slit to fit your flash according to the mark.
4. Cut a piece of tracing paper the same size as the jar lid and glue it to the lid.
5. A simple flash diffuser is done now.
Pros
- Sturdy
- Materials are easy to find
Cons
- Not portable
If you are looking for more details, check this video from DIY Projects:
Conclusion
In general, it’s not difficult to DIY a flash diffuser with these common materials. It’s also a great save on budget. I believe that you can also make one easily according to the methods provided above.
However, you may need to spend more time testing the effect of a DIY flash diffuser, as some may not be perfectly efficient. It’s also an excellent choice to buy a standard flash diffuser from the market if you don’t want to spend much time on this. It depends on you.