
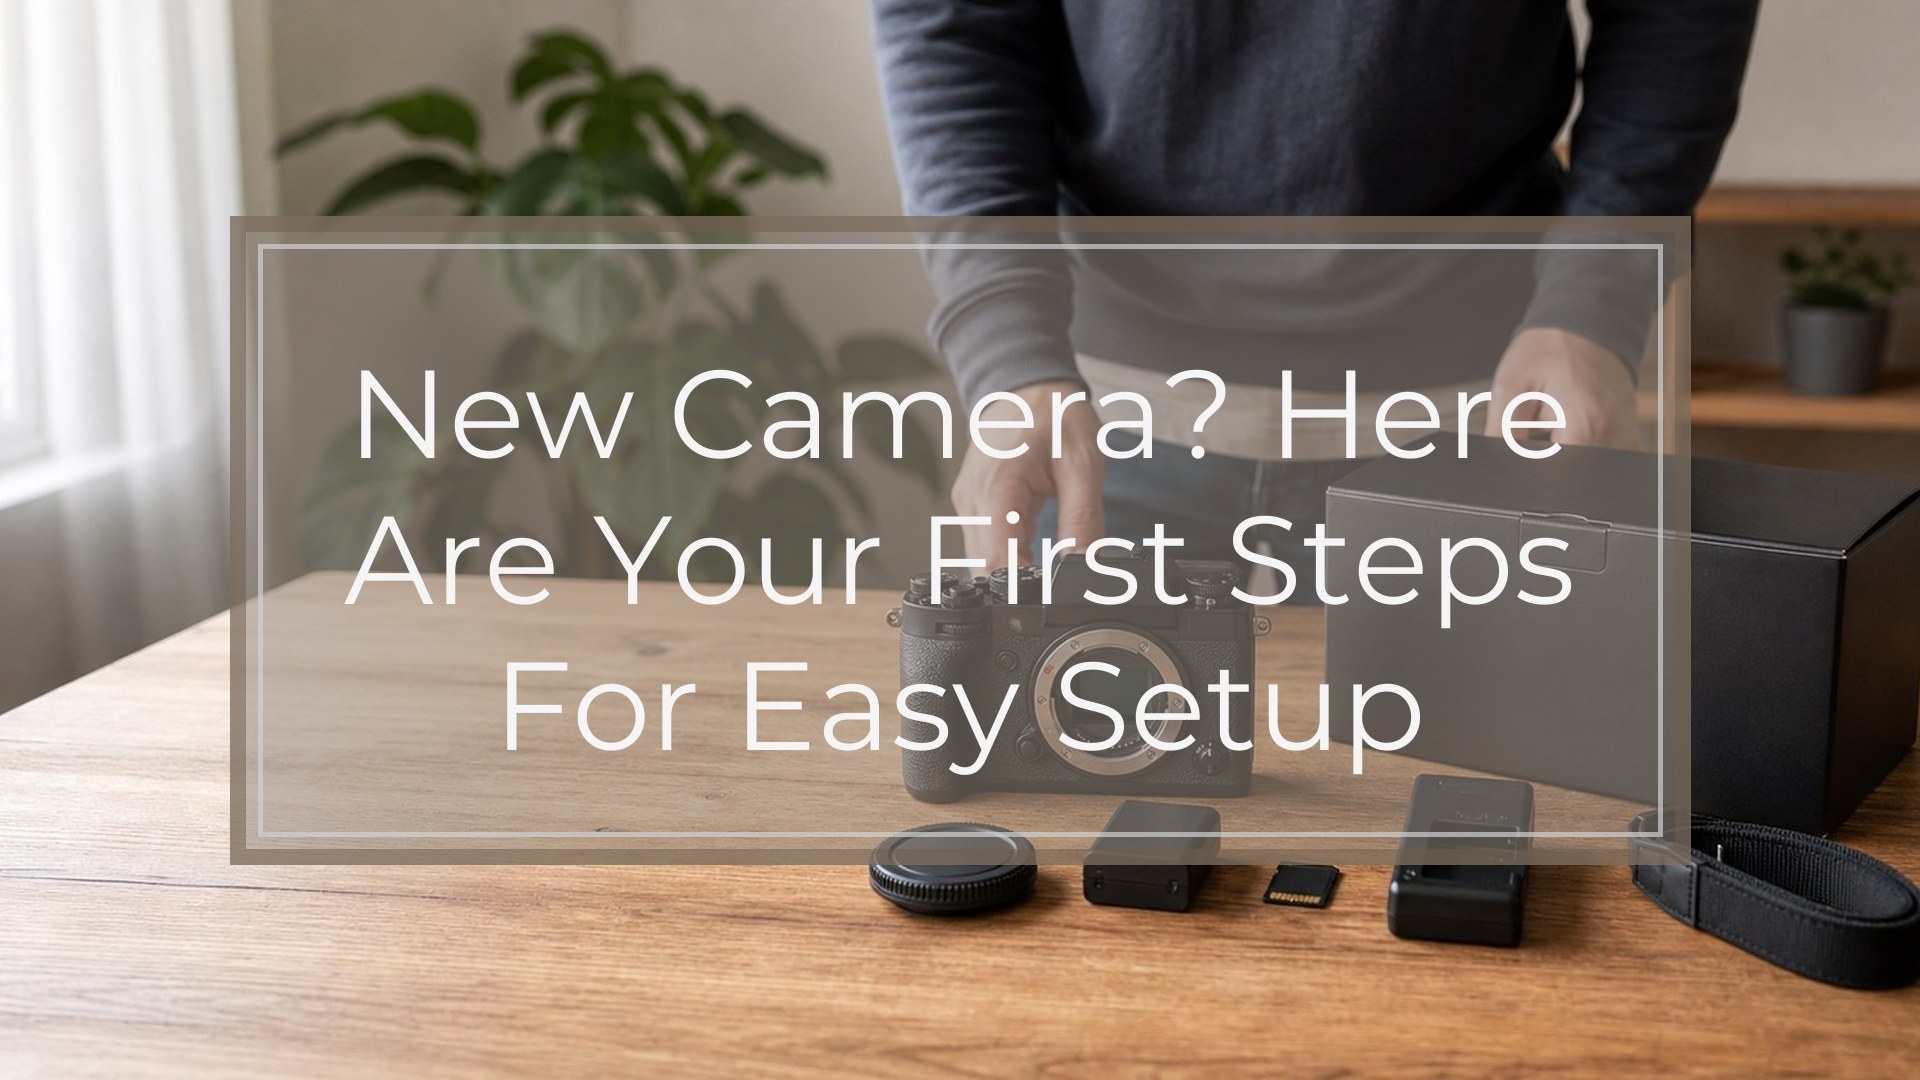
A new camera can feel exciting and confusing at the same time. The best first steps are not advanced settings or expensive accessories. Start by getting the camera physically ready, checking the basic setup menu, choosing a simple shooting mode, and taking test photos in good light.
Think of your first day as a setup-and-confidence session. You want to confirm that the battery charges, the memory card works, the date is correct, autofocus behaves predictably, and your photos are saved safely. Follow this path:
- Set up the battery, card, lens, and strap.
- Check the basic menu settings.
- Use an easy shooting mode.
- Test exposure and autofocus in good light.
- Back up your first photos.
| First step | Why it matters |
|---|---|
| Charge battery and insert memory card | Prevents early power or storage problems |
| Set date, time, and file format | Keeps files organized and usable |
| Choose an easy shooting mode | Lets you take photos while learning |
| Test autofocus and exposure | Confirms the camera is working correctly |
| Back up your first photos | Protects your images from accidental loss |
Start with the Physical Setup
Before opening every menu, handle the simple physical setup. Charge the battery fully using the included charger or USB cable. If you have a spare battery, charge that too. New camera batteries often arrive partly charged, but you do not want your first practice session to end after ten minutes.
Insert a memory card that matches your camera’s requirements. Most beginner cameras use SD cards, but check the manual for the recommended type and speed. If the card is new, format it in the camera instead of on your computer. Formatting prepares the card for that specific camera and helps reduce file errors.
Attach the lens carefully if you have an interchangeable-lens camera. Line up the mounting marks, twist until it clicks, and avoid touching the glass or sensor area. Add the strap right away, even if you plan to shoot at home. A neck or wrist strap is simple protection against drops.
Finally, remove obvious packaging, check that the lens cap comes off, and make sure the camera turns on normally.
Use the Setup Menu Before You Start Shooting
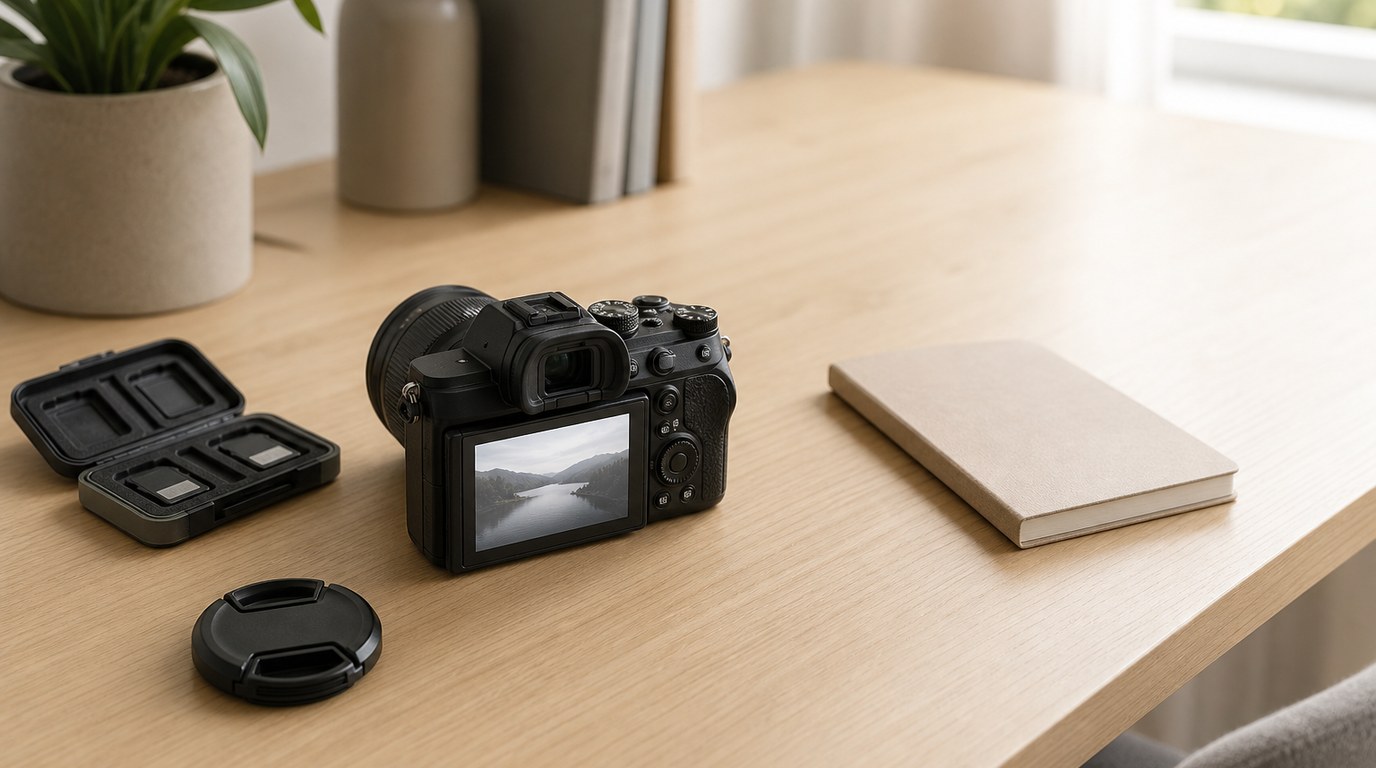
The setup menu is where you handle the boring but important items. Start with language, date, time, and time zone. Correct time settings make photo files easier to organize later, especially if you use multiple devices.
Next, check image quality. For most beginners, JPEG is the easiest starting point because the files are ready to view and share. If your camera offers RAW+JPEG and you have enough memory card space, it is a good learning option. You can use JPEGs now and keep RAW files for editing practice later.
Turn on image review for a short time, such as two seconds, so you can confirm shots without slowing yourself down. Also check screen brightness, viewfinder diopter adjustment, and power-saving settings. If the viewfinder looks blurry, adjust the diopter before assuming the camera cannot focus.
Choose a Beginner-friendly Shooting Mode
Your first shooting mode should reduce stress, not prove your skill. Full Auto is fine for your first few photos. It lets the camera make most decisions so you can confirm that everything works.
Once you are comfortable, move to Program mode, often marked as “P.” Program mode still chooses exposure settings automatically, but it usually gives you more control over ISO, focus mode, flash, and exposure compensation. It is a helpful bridge between Auto and manual control.
If your camera has scene modes, use them practically. Portrait mode can help with people, sports mode can help with action, and landscape mode can help outdoors. These modes are not magic, but they tell the camera what kind of result you want.
Do not rush into Manual mode on day one unless you enjoy experimenting. Manual mode is useful later, but it can make early practice frustrating because every exposure decision is on you.
Learn the Three Settings That Control Brightness
Exposure means how bright or dark your photo is. Three settings control it: aperture, shutter speed, and ISO. You do not need to master the full exposure triangle immediately, but you should know what each setting does.
Aperture is the opening inside the lens. A low f-number, such as f/2.8, lets in more light and can blur the background. A higher f-number, such as f/8, lets in less light and keeps more of the scene sharp. For portraits, wider apertures are often useful. For landscapes or group photos, smaller apertures help keep more in focus.
Shutter speed controls how long the camera collects light. A fast shutter speed, such as 1/1000, freezes motion. A slow shutter speed, such as 1/30, lets in more light but can blur movement or camera shake.
ISO controls how sensitive the camera is to light. Low ISO, such as 100, gives cleaner files. Higher ISO, such as 3200, helps in dim light but can add grain or noise.
A simple beginner rule: if the photo is blurry, check shutter speed. If it is too dark, add light, raise ISO, or use a wider aperture.
Set up Autofocus so Your Photos Are Sharp
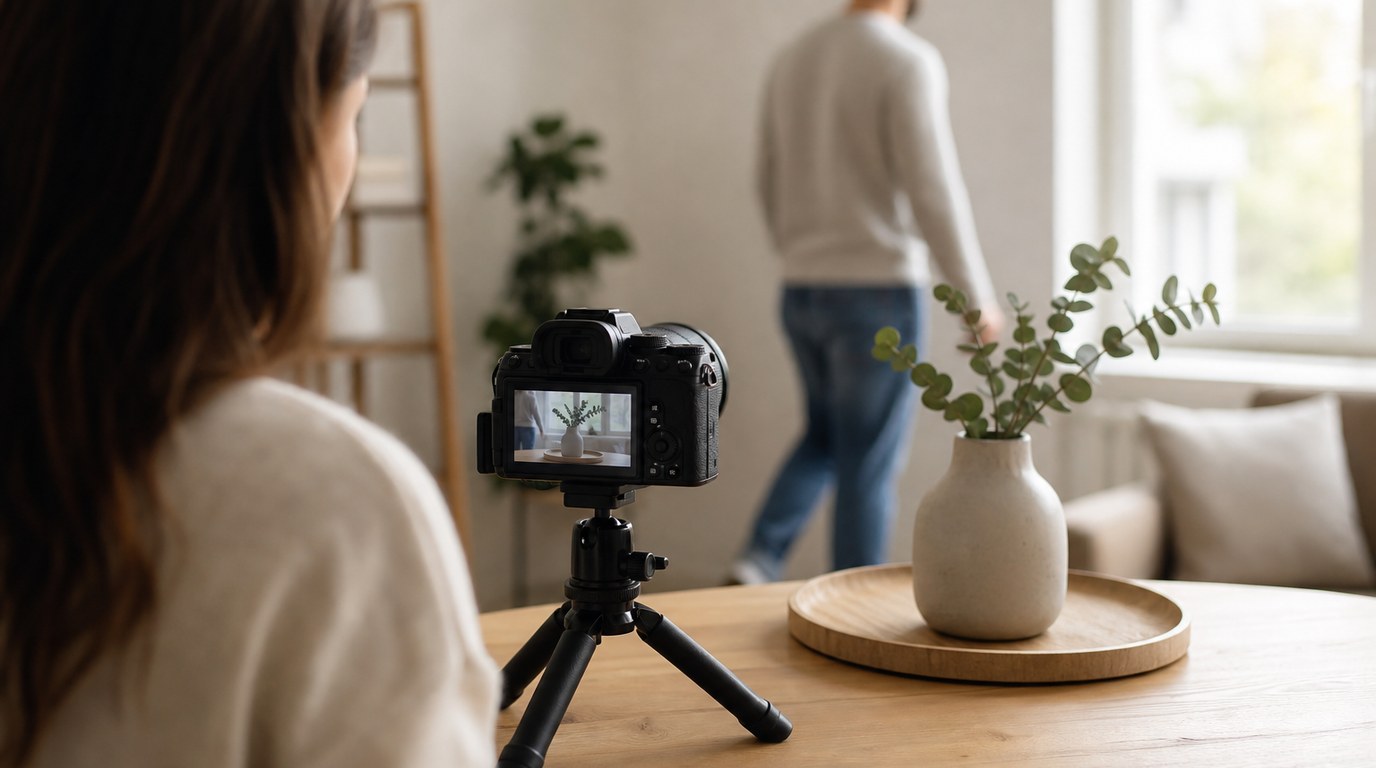
Many beginner problems are focus problems, not camera-quality problems. Start with a simple autofocus setup. For still subjects, use single autofocus, often called AF-S or One-Shot AF. This locks focus when you half-press the shutter button.
For moving subjects, such as children, pets, or sports, use continuous autofocus, often called AF-C or AI Servo. This keeps adjusting focus while the subject moves.
Choose a single focus point or small focus area at first. Wide automatic focus areas can work, but they may focus on the background, a nearby object, or the wrong face. A single point teaches you to aim focus intentionally.
If your camera has face or eye detection, turn it on for portraits. It can be very helpful, especially with people and pets. Still, review your photos by zooming in on the eyes. A photo can look sharp on the rear screen but be slightly missed when viewed larger.
Take Your First Test Photos in Good Light
For your first real test, shoot in easy conditions. Go outside in open shade, stand near a bright window, or photograph a still object on a table. Avoid dark rooms for the first session because low light makes everything harder: autofocus slows down, ISO rises, and shutter speeds get risky.
Take a simple series of photos:
- Photograph a person.
- Photograph a nearby object.
- Photograph something far away.
- Photograph something moving.
- Try both horizontal and vertical framing.
After each few shots, review them and ask: Is the photo sharp? Is it too bright or too dark? Did the camera focus where I expected?
Use this session to learn the feel of the camera. Practice half-pressing the shutter, zooming the lens, changing the focus point, and reviewing images. The goal is not a masterpiece. The goal is to make the camera feel less mysterious.
Organize Your Photos and Protect Your Gear
After shooting, create a simple file habit immediately. Copy your photos to a computer, phone, tablet, or external drive. Do not leave your only copy on the memory card. A folder name like 2026-05-12-first-camera-test is enough.
When importing photos, avoid randomly dragging files into different places. Consistent folders help you find images later. If you edit photos, keep originals safe.
Protect the camera with a few simple habits. Put the lens cap on when not shooting. Store the camera in a dry place. Avoid changing lenses in dust, wind, or rain. Use a microfiber cloth for lens glass, not your shirt. You do not need a huge accessory kit on day one, but a spare battery, memory card, and small cleaning cloth are useful.
What to Learn Next After the First Day
After the first day, focus on one skill at a time. Start with exposure compensation, which lets you make photos brighter or darker without using Manual mode. Then practice focus modes with still and moving subjects.
Next, learn aperture priority mode if you like portraits, travel, food, or everyday photography. It helps you control background blur while the camera handles shutter speed. Finally, spend time on composition basics: clean backgrounds, simple framing, and good light. These skills improve photos faster than buying more gear.
FAQ
What Should a Beginner Know First About New Camera Heres Your First Steps?
A beginner should first know that setup matters more than advanced features. Charge the battery, format the memory card in the camera, set date and file quality, choose Auto or Program mode, and take test photos in good light before exploring complex settings.
What Matters Most When Evaluating New Camera Heres Your First Steps?
The most important thing is whether your first steps make the camera easier to use. Good early setup should prevent common problems: dead batteries, missing files, wrong focus, blurry photos, confusing modes, and disorganized images. Start simple and build confidence.
What Mistakes Should Readers Avoid with New Camera Heres Your First Steps?
Avoid jumping straight into Manual mode, changing too many settings at once, ignoring autofocus setup, and testing the camera only in dark rooms. Also avoid leaving photos only on the memory card. Back them up before formatting or reusing the card.
What Is the Next Logical Step After Learning About New Camera Heres Your First Steps?
The next logical step is practicing one control at a time. Learn exposure compensation, then autofocus modes, then aperture priority. Take the same subject in different settings and compare results. Practical repetition will teach you faster than reading every menu option.