You can take your own family portraits with a simple plan: choose soft light, use a stable camera position, set focus before everyone settles in, and shoot many frames with a timer, remote, or phone app. The goal is not to recreate a full studio session. It is to make the camera predictable so you can focus on expressions, connection, and small posing adjustments.
For most families, the easiest setup is outdoors in open shade or indoors near a large window. Use a tripod if you have one, or place the camera on a steady surface. Pick a background that is clean but meaningful, arrange everyone close together, and take more photos than you think you need. A few minutes of testing before the family gathers will save most of the frustration later.
Quick Answer
The main takeaway: to take your own family portraits, simplify every variable you can. Use easy light, a clean background, a tripod or stable support, and a repeatable self-timer workflow. Then concentrate on getting everyone comfortable and close together.
Start with location. Look for soft, even light rather than dramatic light. Outdoors, shoot in open shade, on an overcast day, or during golden hour when the sun is low. Avoid harsh midday sunlight because it creates squinting, shiny skin, and deep shadows under eyes. Indoors, place the family near a large window and turn off mixed overhead lights if they make skin tones look odd.
Next, set the camera at about chest to eye level. A camera that is too low can distort faces, while one that is too high can make adults hunch and children look disconnected. If you are using a phone, use the rear camera when possible for better quality, and prop it securely or use a small phone tripod.
For settings, keep it simple. On a camera, use aperture priority or manual mode with an aperture around f/4 to f/8 for groups, depending on how many rows of people you have. Use a shutter speed fast enough to prevent blur, usually at least 1/125 second for still families and faster for children. Let ISO rise if needed rather than accepting blurry photos.
Use a 10-second timer, interval timer, wireless remote, or camera app. Focus on a person or a stand-in object where the group will be, then step into place. Take bursts or repeated frames so you are not relying on one perfect photo. Finally, give simple direction: “shoulders touching,” “look at each other,” “big squeeze,” and “one quiet smile.” Natural interaction usually beats stiff posing.
How to Think About This Topic
Taking your own family portraits is really a problem of control. A hired photographer controls the light, camera, timing, posing, and expressions from behind the camera. When you are also in the photo, you cannot control everything at once. Your job is to design a setup that keeps working after you step into the frame.
Think in layers. The first layer is light. Good light makes every camera look better, including phones and beginner cameras. Soft light reduces contrast and makes skin look smoother. Directional light from a window or shaded outdoor area gives faces shape without harsh shadows. If the light is bad, no pose or camera setting will fully fix the image.
The second layer is composition. Before calling everyone over, frame the shot and look at the edges. Are there trash cans, bright cars, cluttered counters, or tree branches cutting through heads? A family portrait does not need a perfect location, but it does need a calm frame. Move a few feet left or right, lower the camera slightly, or simplify the background.
The third layer is depth. Families are not flat objects. If people stand in a deep line from front to back, someone may fall out of focus. Keep heads on a similar plane when possible, especially with a phone portrait mode or a wide aperture. For larger families, use two rows rather than one long line: seated children in front, adults behind, shoulders angled inward.
The fourth layer is timing. People, especially kids, have a limited attention span. Your best portraits often happen early, before everyone is tired of waiting. Set up the camera, test exposure, check focus, and do a sample frame before the whole family is assembled. If you need to adjust the tripod ten times while everyone stands there, expressions will fade.
Finally, think of posing as connection rather than shape. The best way to take your own family portraits is to make people look like they belong together. That usually means reducing gaps. Ask people to lean slightly toward the center, touch shoulders, hold hands, or place a hand lightly on a shoulder. Small points of contact make the group feel warmer and more intentional.
This mental model also helps you decide what not to worry about. You do not need expensive gear, advanced flash techniques, or a magazine-style pose list. You need a setup where light, focus, and timing are reliable enough that real expressions can happen. Once those basics are handled, the portrait becomes less about operating a camera and more about guiding your family through a short, relaxed moment.
Practical Guidance
Begin by choosing the easiest setting available. For outdoor portraits, a shaded side of a building, a porch, a tree line, or a park path in soft evening light can work well. Place the family so the brightest open area is in front of them, not behind them. If the background is much brighter than the faces, the camera may underexpose the people or blow out the scene.
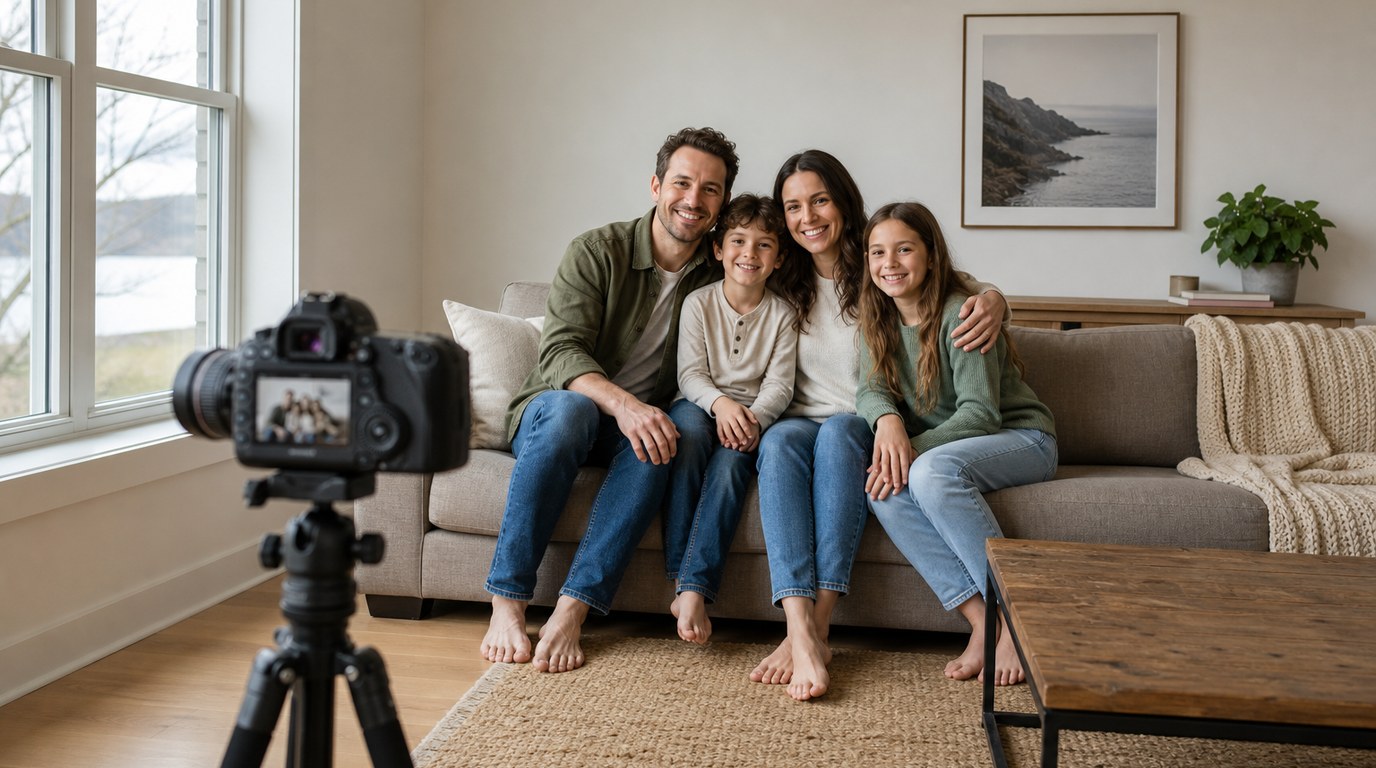
For indoor portraits, use a window as your main light. Position the family facing the window or at a slight angle to it. Avoid standing directly under ceiling lights, which can create unflattering shadows and mixed color. A couch, bed, kitchen bench, or front step can help arrange people naturally and keep children from wandering out of place.
Use this setup reference as a starting point:
| Situation | Best Simple Setup | Helpful Setting or Tip |
|---|---|---|
| Phone portrait outdoors | Rear camera on tripod or stand | Avoid strong backlight unless you tap to expose faces |
| Phone portrait indoors | Near a large window | Turn off yellow overhead lights if colors look mixed |
| Mirrorless/DSLR small family | Tripod at eye level | f/4 to f/5.6, focus on the nearest central face |
| Larger family group | Two rows, everyone close | f/5.6 to f/8 for more depth of field |
| Young children | Short sessions with repeated frames | Use burst, interval timer, or a remote |
| Holiday card photo | Clean background, coordinated colors | Leave extra space for cropping or text |
Clothing matters, but it should not become the whole project. Choose coordinated colors rather than identical outfits. Soft neutrals, muted colors, denim, cream, navy, olive, rust, and pastels often photograph well. Avoid tiny stripes, large logos, and highly reflective fabrics. If one person wears a very bright color, they may pull attention away from the group.
When arranging the family, start with the least flexible people first: babies, toddlers, grandparents, or anyone who needs to sit. Build the pose around them. Create triangles with head heights instead of lining everyone up evenly. For example, seat two children on a blanket, place one adult kneeling behind them, and another adult standing slightly to the side, leaning inward. Keep faces close enough that the portrait feels connected.
For camera settings, prioritize sharp faces. If you use a phone, avoid heavy portrait blur for large groups because it can cut around hair or blur the wrong person. If you use a camera, choose single-point autofocus or face/eye detection if it works reliably. Take a test shot, zoom in, and make sure the eyes are sharp. For groups, focus on a face near the middle row, not the background.
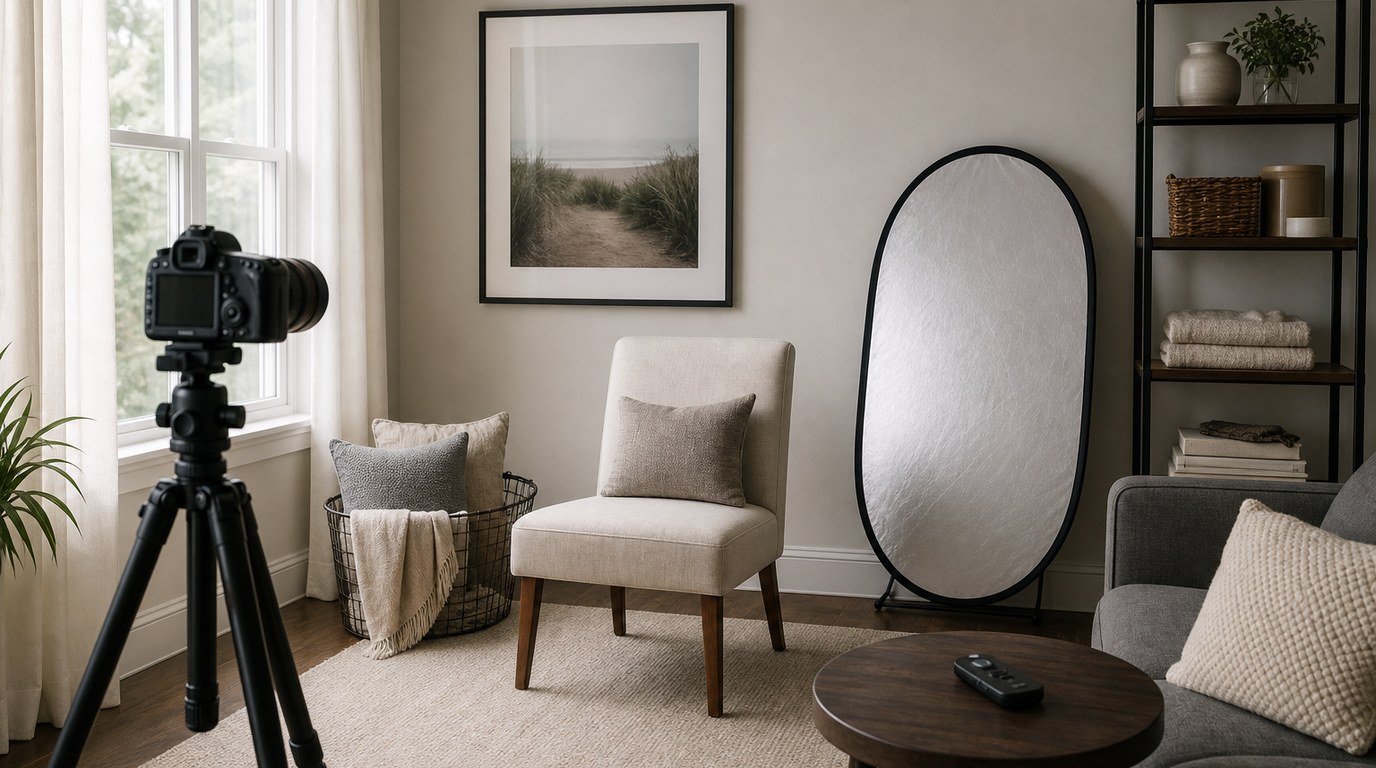
If you are in the photo, the shooting workflow is critical. Put a stand-in object where your face will be, such as a light stand, chair, backpack, or another family member. Focus and frame, then use a remote, phone app, interval timer, or 10-second self-timer. Interval shooting is especially useful: set the camera to take a photo every few seconds for a minute or two, then join the group and keep interacting.
Give short directions instead of long instructions. Try: “Everyone get closer,” “touch shoulders,” “look at the baby,” “laugh quietly,” “kids squeeze mom,” or “now look at the camera.” Take a safe smiling photo first, then a few playful ones. Movement helps: walking toward the camera, sitting together on a blanket, group hugs, or parents swinging a small child can produce more natural portraits.
After the session, edit lightly. Choose the sharpest image with the best expressions, then adjust exposure, contrast, white balance, and cropping. Do not over-smooth skin or push colors too far. A good family portrait should still look like your family. Save the final image in high resolution for printing and a smaller copy for sharing online.
The most common mistakes are waiting until everyone is dressed to start testing, using harsh light, standing too far apart, and taking too few frames. Fix those four things and your results will improve quickly.
FAQ
What Should a Beginner Know First About Take Your Own Family Portraits?
Start with light and stability. Soft light and a steady camera matter more than advanced gear. Choose a simple location, set the camera before gathering everyone, and use a timer, remote, or app so you can join the photo without rushing.
What Matters Most When Evaluating Take Your Own Family Portraits?
Sharp faces, flattering light, connected posing, and natural expressions matter most. A technically perfect photo with stiff body language will feel less successful than a simple, well-lit image where everyone looks comfortable and emotionally connected.
What Mistakes Should Readers Avoid with Take Your Own Family Portraits?
Avoid harsh midday sun, cluttered backgrounds, wide gaps between people, and relying on one single timer shot. Also avoid using too shallow an aperture for groups, because one person may be sharp while others look slightly blurred.
What Is the Next Logical Step After Learning About Take Your Own Family Portraits?
Practice with a low-pressure session before an important holiday or event. Test your location, timer workflow, and settings with casual clothes first. Once you know the setup works, repeat it with better outfits and a more polished plan.