The best first steps in photography are simple: learn what your camera does, understand how light affects the image, practice exposure basics, focus carefully, and compose with intention. You do not need expensive gear or advanced editing skills to begin taking better photos.
Start by using your camera often. Learn how to change aperture, shutter speed, ISO, focus mode, and exposure compensation. Then practice in easy situations: portraits by a window, street scenes in daylight, still objects on a table, or landscapes at sunset. Review your photos afterward and ask one question: “What would make this clearer?” That habit will improve your photography faster than memorizing every setting at once.
What Photography Is Really About
Photography is not only about cameras. A camera is the tool, but the photo comes from four simple choices: light, timing, focus, and framing.
Light decides the mood, direction, contrast, and color of the image. Timing decides the exact moment you capture, whether it is a smile, a wave, or a bird taking off. Focus decides what part of the scene looks sharp. Framing decides what is included, what is left out, and where the subject sits in the image.
When you are starting out, think less about “perfect settings” and more about making a clear picture. Ask: What is my subject? Is the light helping? Is the subject sharp? Is there anything distracting in the frame? These questions are the foundation of better photography.
Get Comfortable with Your Camera First
Before you worry about advanced techniques, learn where the basic controls are. Pick up your camera and practice changing settings without pressure. Find the buttons or menus for shooting mode, aperture, shutter speed, ISO, focus area, white balance, image review, and exposure compensation.
If your camera has Auto mode, it is fine to use it at first. The goal is to start shooting, not to prove you can use Manual mode immediately. Then move to easier learning modes like Aperture Priority or Shutter Priority. These let you control one important setting while the camera handles the rest.
Also learn how to hold the camera steadily. Keep your elbows close to your body, stand with balanced feet, and gently press the shutter instead of jabbing it. Many “bad camera” problems are really handling problems.
Learn Exposure: Aperture, Shutter Speed, and Iso
Exposure means how bright or dark your photo is. Three settings control it: aperture, shutter speed, and ISO. Together, they are often called the exposure triangle.
Aperture is the opening in the lens. It is written as an f-number, such as f/1.8, f/4, or f/8. A low number like f/1.8 lets in more light and can blur the background. A higher number like f/8 lets in less light and keeps more of the scene sharp.
Shutter speed is how long the camera records light. A fast shutter speed, such as 1/1000, freezes movement. A slow shutter speed, such as 1/30, lets in more light but can cause blur if the camera or subject moves.
ISO controls how sensitive the camera is to light. A low ISO, such as 100, gives cleaner images. A high ISO, such as 3200, helps in darker places but can add noise or grain.
| Situation | Try This First | Why It Helps |
|---|---|---|
| — | —: | — |
| Portrait with blurry background | f/1.8–f/4 | Separates the subject from the background |
| Moving child or pet | 1/500 or faster | Reduces motion blur |
| Landscape in daylight | f/8, ISO 100 | Keeps more detail sharp and clean |
| Indoor low light | Higher ISO, steady hands | Keeps the photo bright enough |
Do not try to master every combination at once. Change one setting, take a photo, and look at the result.
Understand Focus and Sharpness
A sharp photo usually starts with placing focus on the right subject. For portraits, focus on the eye closest to the camera. For pets, focus on the face. For landscapes, focus on an important part of the scene rather than empty sky.
Most cameras let you choose a focus point or focus area. Beginners often let the camera pick automatically, but the camera may focus on the wrong thing, such as the background. Practice moving the focus point over your subject.
Blur can also come from camera shake or subject movement. If your photos look soft, try a faster shutter speed, hold the camera more steadily, or use more light. Sharpness is not only a lens issue; it is also focus, shutter speed, and technique.
Start Seeing Light Before You Shoot
Light is one of the biggest differences between an ordinary snapshot and a strong photo. Before raising the camera, look at where the light is coming from. Is it soft or harsh? Is it in front of the subject, behind the subject, or coming from the side?
Soft light is easier for beginners. You can find it near a window, in open shade, or on cloudy days. It creates gentle shadows and is flattering for portraits. Harsh midday sun can create strong shadows under eyes and noses, so you may need to move your subject into shade.
Side light adds shape and texture. Backlight can look beautiful, especially at sunrise or sunset, but it may fool your camera into making the subject too dark. In that case, use exposure compensation or change your angle.
A simple habit helps: walk around your subject. Often, the best light is only a few steps away.
Use Simple Composition Rules to Make Photos Clearer
Composition is how you arrange the scene inside the frame. Good composition helps the viewer understand what the photo is about.
Start by removing distractions. Check the edges of the frame for bright objects, cut-off limbs, messy backgrounds, or poles coming out of someone’s head. Moving your feet a little can fix many problems.
Use the rule of thirds as a simple guide. Imagine the frame divided into three equal parts horizontally and vertically. Place your subject near one of those lines or intersections instead of always placing it in the center. Centered subjects can work too, especially when the scene is symmetrical, but avoid centering by habit.
Look for leading lines, such as roads, fences, paths, or shadows, that guide the eye toward the subject. Also try changing your height. Shoot from lower down for pets and children, or from above for flat lays and food. A small change in viewpoint can make the same subject much stronger.
Practice with Easy Beginner Photo Exercises
Practice works best when it has a purpose. Instead of taking random photos and hoping to improve, give yourself small exercises.
First, choose one subject and photograph it in ten different ways. Change your angle, distance, background, and orientation. This teaches you that the first shot is rarely the best one.
Second, practice aperture. Photograph the same object at a low f-number and then at a higher f-number. Notice how the background changes.
Third, practice shutter speed. Photograph moving water, passing cars, or someone walking. Try fast and slow shutter speeds to see how motion changes.
Fourth, practice light. Take a portrait near a window, then move the subject closer, farther away, and to the side. Watch how shadows change.
Finally, practice composition by taking a simple scene and making it cleaner. Remove clutter, move closer, or wait for a better moment. These exercises build your eye and your control at the same time.
Basic Gear You Need — and What Can Wait
You do not need a full camera bag to begin. A camera, one lens, a memory card, and a charged battery are enough for your first steps in photography. If you use a phone, that is also a valid starting point. The same lessons about light, timing, focus, and framing still apply.
Useful early accessories include an extra battery, a second memory card, a microfiber cloth, and a simple strap. A tripod is helpful for low light, landscapes, self-portraits, and long exposures, but it does not need to be expensive.
What can wait? Multiple lenses, flash systems, filters, gimbals, and premium camera bodies. Buy new gear only after you understand what problem it will solve.
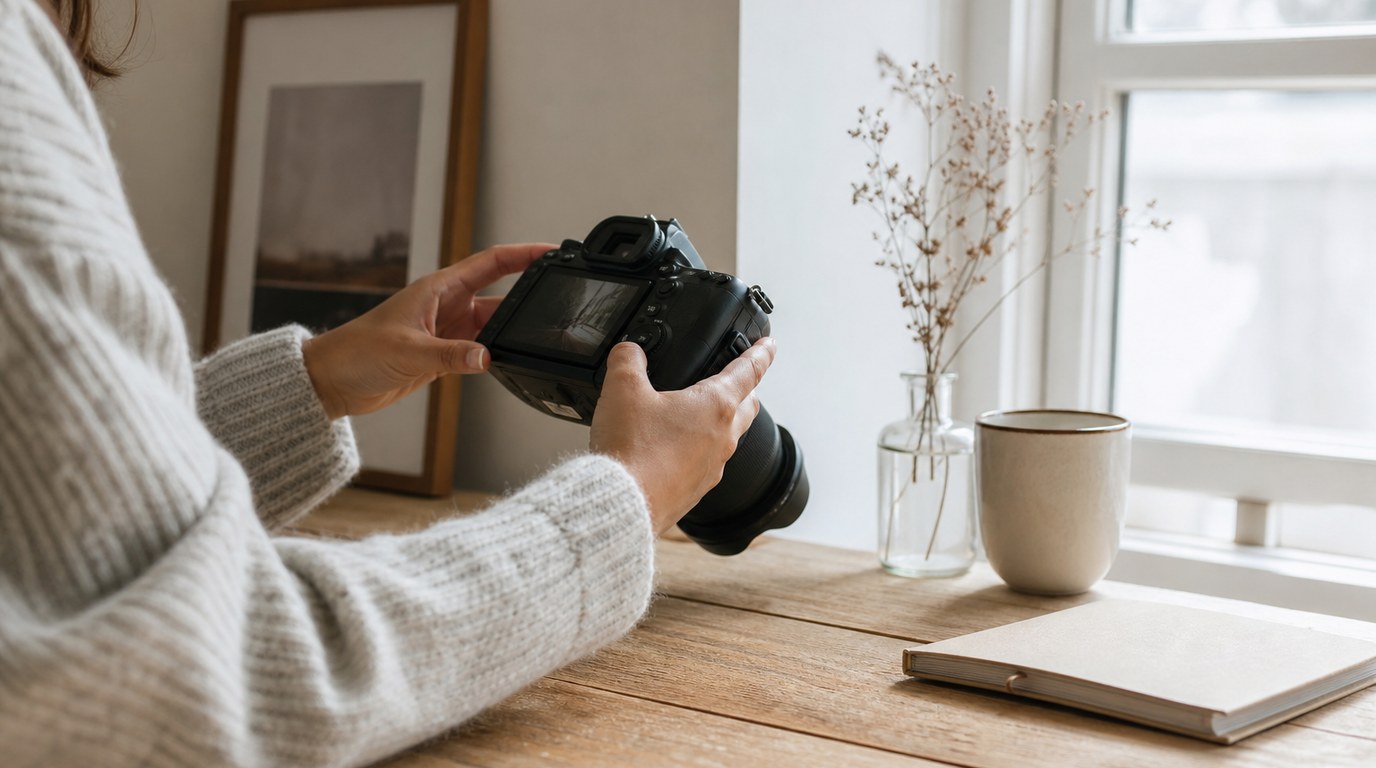
Review Your Photos and Improve One Thing at a Time
Improvement happens when you review your photos honestly. After a shoot, pick your best five images and your weakest five. Do not only ask whether you like them. Ask why they work or fail.
Check the basics first: Is the subject clear? Is it sharp? Is the exposure too bright or too dark? Is the light flattering? Is the background distracting?
Then choose one thing to improve next time. Maybe you need to watch your shutter speed, move closer, avoid harsh sunlight, or focus more carefully. Trying to fix everything at once can feel overwhelming. Improving one habit at a time is more realistic and more effective.
A Simple 7-day Plan for Your First Week in Photography
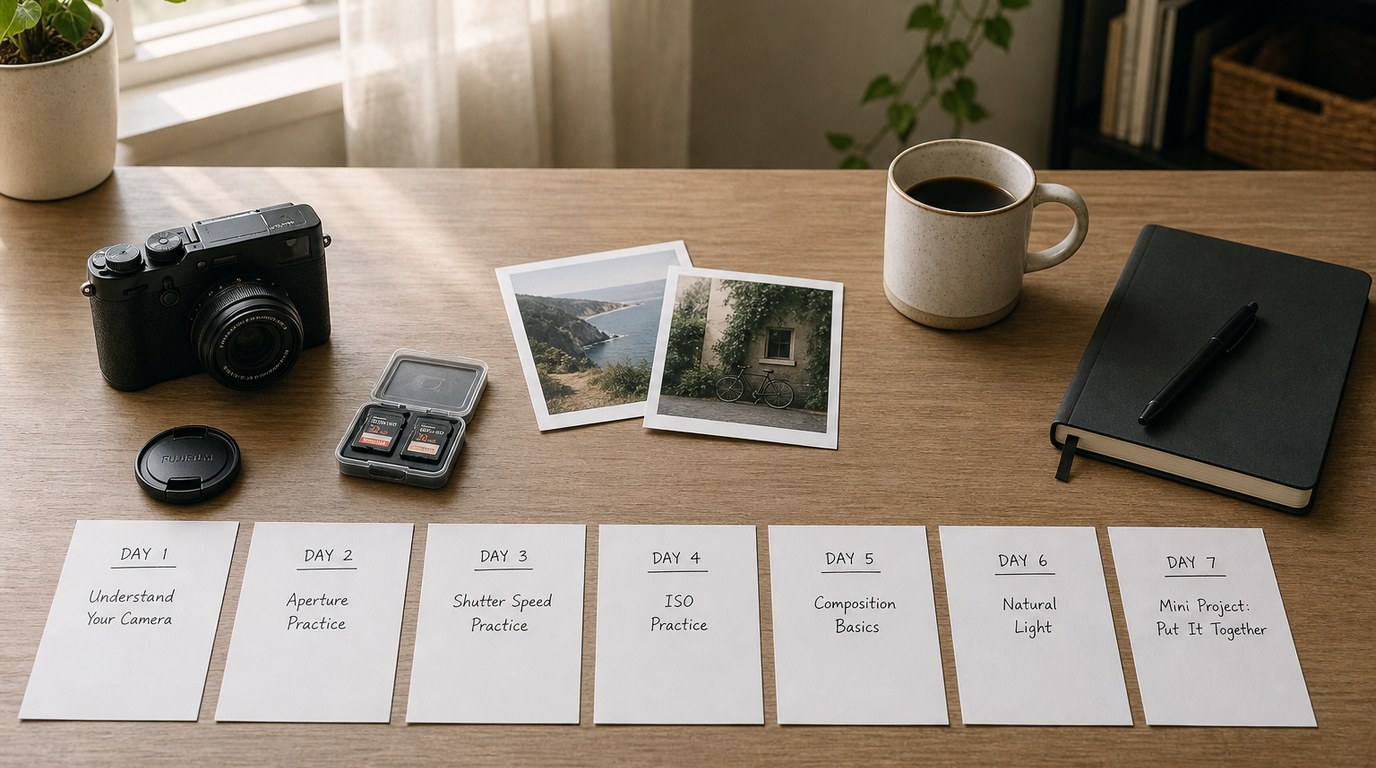
Use your first week to build confidence, not perfection.
Day 1: Learn your camera buttons and menus. Take simple photos in Auto mode.
Day 2: Practice focus. Photograph still objects and make sure the subject is sharp.
Day 3: Practice aperture. Compare blurry backgrounds with sharper backgrounds.
Day 4: Practice shutter speed. Freeze movement, then try showing motion blur.
Day 5: Study light. Photograph the same subject in window light, shade, and direct sun.
Day 6: Practice composition. Make ten cleaner versions of one scene.
Day 7: Review your photos. Choose your best images, note your common mistakes, and decide what to practice next.
This plan gives you a practical path without rushing into advanced techniques too early.
FAQ
What Should a Beginner Know First About First Steps in Photography?
A beginner should first understand that photography is about light, focus, timing, and composition. Camera settings matter, but they support those bigger choices. Start by learning your camera controls, then practice making clear, well-lit, sharp photos of simple subjects.
What Matters Most When Evaluating First Steps in Photography?
The most important thing is whether each step helps you take better photos in real situations. Good beginner advice should be practical, easy to test, and connected to visible results, such as sharper subjects, better exposure, cleaner backgrounds, and stronger use of light.
What Mistakes Should Readers Avoid with First Steps in Photography?
Avoid buying too much gear too soon, switching settings randomly, ignoring light, and blaming the camera for every weak photo. Also avoid trying to learn everything in one day. Photography improves faster when you practice one skill at a time and review your results.
What Is the Next Logical Step After Learning About First Steps in Photography?
After the basics, choose one area to study more deeply. Good next steps include exposure practice, portrait lighting, landscape composition, basic editing, or learning a specific camera mode. Pick the topic that matches the photos you most want to create.