Beginner photography feels confusing because many lessons start with settings, lenses, or editing before explaining the bigger picture. The simple mental model is this: every photo is a balance of light, focus, timing, and composition.
Light controls how bright, clean, and flattering the photo looks. Focus controls what appears sharp. Timing affects motion, expressions, and blur. Composition decides what the viewer notices first.
You do not need to master everything at once. Start by learning how your camera sees light, how to keep your subject sharp, and how to arrange the frame so the photo feels intentional. Auto mode is not a failure, expensive gear is not required, and editing is not cheating. The goal is steady progress: understand one problem, practice one solution, then repeat.
What Should a Beginner Learn First in Photography?
A beginner should first learn how to make a clear, well-exposed photo in normal situations. That means understanding brightness, focus, and framing before worrying about advanced gear or complex editing.
Start with these priorities:
- Hold the camera steady and focus accurately.
- Recognize good light.
- Understand aperture, shutter speed, and ISO at a basic level.
- Use simple composition choices to remove distractions.
- Review your photos and identify one thing to improve.
Do not jump randomly between lens reviews, editing presets, and manual mode tutorials. That often creates more confusion. A better path is to photograph everyday subjects, such as family, pets, food, buildings, or local landscapes, and ask: Is it sharp? Is it bright enough? Is the subject clear? Is the light flattering?
If those answers improve over time, your photography is improving.
What Is the Exposure Triangle?
The exposure triangle is the relationship between aperture, shutter speed, and ISO. Together, they control how bright your photo is and how it looks.
Aperture is the opening inside the lens. A low f-number, such as f/1.8 or f/2.8, lets in more light and can blur the background. This is useful for portraits. A higher f-number, such as f/8 or f/11, keeps more of the scene sharp, which is useful for landscapes or group photos.
Shutter speed is how long the camera records light. A fast shutter speed, such as 1/500, freezes motion. Use it for children, pets, sports, or moving people. A slow shutter speed, such as 1/30, lets in more light but can create blur if the camera or subject moves.
ISO is the camera’s sensitivity to light. A low ISO, such as 100 or 200, gives cleaner images. A high ISO, such as 3200 or 6400, helps in dark places but can add grain or noise.
Think of exposure as a trade-off. If you need a faster shutter speed, you may need a wider aperture or higher ISO. If you want less noise, you may need more light, a slower shutter, or a wider aperture.
What Camera Mode Should Beginners Use?
Beginners can use Auto mode at first, but it is helpful to move into semi-automatic modes when ready. The best mode depends on what you want to control.
| Situation | Suggested Mode | Why It Helps |
|---|---|---|
| — | —: | — |
| Learning basics | Auto or Program | Lets you focus on framing and timing |
| Portraits | Aperture Priority | Controls background blur |
| Landscapes | Aperture Priority | Helps keep more of the scene sharp |
| Sports, pets, children | Shutter Priority | Controls motion blur |
| Tricky lighting | Manual | Gives full control when the camera is fooled |
Program mode is like Auto with more flexibility. Aperture Priority lets you choose aperture while the camera handles shutter speed. Shutter Priority lets you choose shutter speed while the camera handles aperture. Manual mode is useful, but it is not required for every photo.
The best mode is the one that helps you understand what is happening without missing the shot.
Why Are My Photos Blurry?
Blurry photos usually come from one of four problems: missed focus, slow shutter speed, camera shake, or subject movement.
Use this quick checklist:
- Is the wrong thing sharp? Your camera focused on the background, hair, or clothing instead of the subject’s eyes.
- Was the shutter speed too slow? For handheld photos, try staying around 1/125 or faster for still people, and 1/250 or faster for children or pets.
- Were you moving the camera? Tuck your elbows in, hold the camera with both hands, and gently press the shutter.
- Was the subject moving? Even if you are steady, a running child or wagging dog needs a faster shutter speed.
- Is the lens or camera struggling in low light? Dark rooms force slower shutter speeds or higher ISO.
Zoom in on the photo after taking it. If nothing is sharp, camera shake is likely. If something else is sharp, focus missed. If the background is sharp but the subject is smeared, the subject moved.
How Do I Get Better Focus?
To get better focus, choose the right autofocus mode and focus area for your subject.
Most cameras have two main autofocus behaviors. Single autofocus is best for still subjects, such as landscapes, posed portraits, food, or buildings. You focus once, then take the photo. Continuous autofocus is best for moving subjects, such as pets, children, sports, or people walking toward you. The camera keeps adjusting focus as the subject moves.
Focus area matters too. A wide area lets the camera decide what to focus on, which is convenient but not always accurate. A small focus point gives you more control. For portraits, place the focus point on the closest eye. For pets, focus on the face. For landscapes, focus about one-third into the scene or on an important subject.
If your camera has eye detection, use it for people and animals. It is one of the most beginner-friendly focus tools available.
Do I Need an Expensive Camera to Take Good Photos?
No, you do not need an expensive camera to take good photos. A better camera can help in difficult conditions, such as fast action, low light, or professional work, but it does not automatically create strong images.
Good photos depend more on light, timing, focus, and composition than on price. A beginner with a basic camera and good light can often make a stronger image than someone with expensive gear in poor light.
Before upgrading, ask what problem you are actually trying to solve. Are your photos blurry? Learn shutter speed and focus first. Are they dark? Learn light and ISO. Are backgrounds distracting? A different lens might help. Buy gear to solve a known problem, not because you feel behind.
Which Lens Should a Beginner Use?
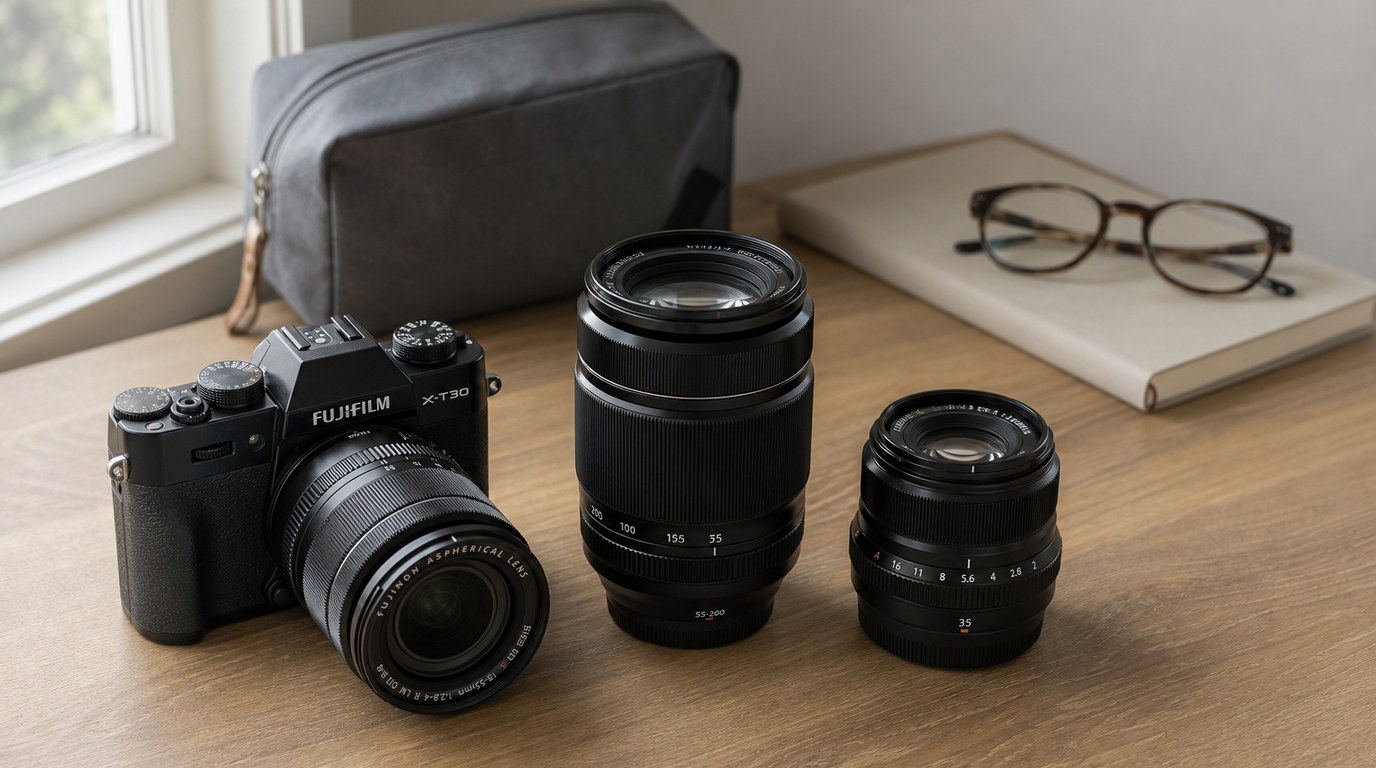
A beginner should use a lens that matches the subjects they photograph most. The common kit zoom lens is a good starting point because it teaches you different focal lengths without extra cost.
For portraits, a 35mm or 50mm prime lens is popular because it is simple, sharp, and often has a wide aperture for background blur. On many beginner cameras, a 35mm lens feels natural indoors, while a 50mm lens gives a tighter portrait look.
For travel and everyday photography, a standard zoom is flexible. For wildlife or field sports, you need a telephoto lens. For landscapes, a wide-angle lens can help, but composition and light matter more than extreme width.
Do not buy many lenses at once. Use one lens long enough to learn what it does well and where it limits you.
How Do I Take Better Photos in Bad Light?
Bad light often means light that is too dim, too harsh, or coming from an unflattering direction. The solution depends on the problem.
In dim indoor light, move your subject closer to a window, turn them toward the light, or use a lamp from the side instead of directly overhead. Increase ISO if needed, open the aperture to a lower f-number, and use a faster shutter speed if people are moving.
In harsh midday sun, look for shade. Open shade under a tree, building, or porch gives softer light for portraits. If you cannot find shade, turn your subject so the sun is behind them, then expose for the face.
For landscapes, early morning and late afternoon often give warmer, softer light. For family photos indoors, avoid mixing too many light sources, such as window light plus yellow ceiling lights, because colors can look strange.
Good light is not always bright light. It is light that suits the subject.
What Composition Rules Should Beginners Know?
Beginners should learn a few composition tools, not dozens of rules. The goal is to make the subject obvious and the frame less distracting.
The rule of thirds is a simple starting point. Place your subject slightly off-center instead of always in the middle. This often makes portraits, landscapes, and travel photos feel more balanced.
Use leading lines, such as roads, fences, paths, or shadows, to guide the viewer’s eye toward the subject. Watch the background carefully. A clean background can make an ordinary subject look much stronger.
Also pay attention to the edges of the frame. Beginners often include half-cut objects, bright distractions, or unwanted clutter near the borders. Before pressing the shutter, pause and scan the whole frame.
Finally, move your feet. Get lower, step closer, shift sideways, or simplify the scene. Small changes in position often improve composition more than changing camera settings.
Should I Shoot Raw or Jpeg?
JPEG files are smaller, ready to share, and processed by the camera. They are a good choice if you want simple files, quick sharing, or minimal editing.
RAW files contain more image information and give you more flexibility when editing exposure, white balance, shadows, and highlights. They are useful if you want to learn editing or recover photos taken in difficult light.
For many beginners, the best option is RAW + JPEG if your memory card has enough space. You can use the JPEGs immediately and keep the RAW files for practice. If editing feels overwhelming, start with JPEG and switch later.
How Much Editing Is Normal?
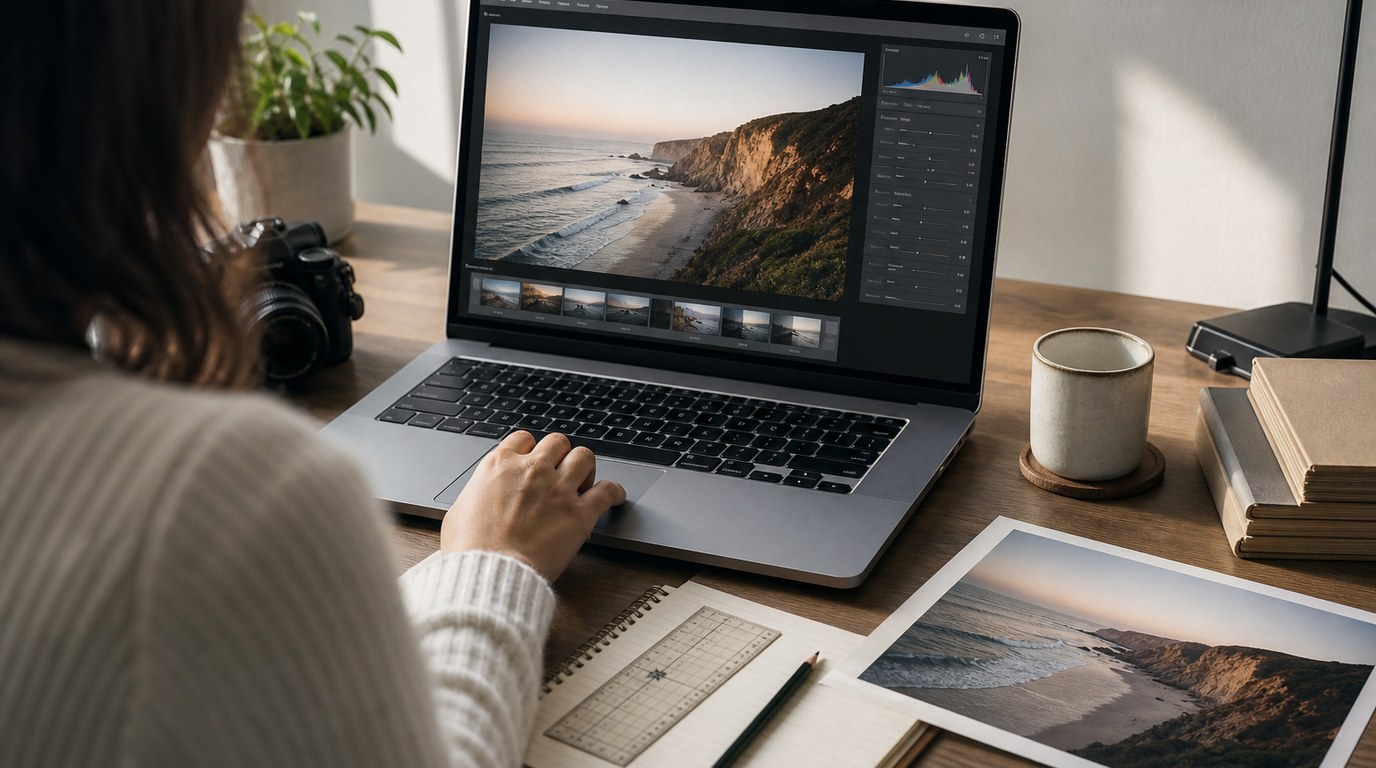
Basic editing is completely normal. Most photos benefit from small adjustments because the camera does not always capture the scene exactly as your eyes experienced it.
A beginner-friendly workflow is simple: straighten the photo, crop distractions, adjust exposure, correct white balance, recover highlights if needed, lift shadows slightly, and add a little contrast or sharpening. That is enough for many images.
Editing should support the photo, not rescue every problem. A blurry photo will usually stay blurry. Bad light can be improved, but not always fixed. Try to get the best possible photo in camera, then use editing to polish it.
How Can I Practice Photography as a Beginner?
Practice works best when it has a purpose. Instead of taking random photos and hoping to improve, choose one skill at a time.
Try these simple practice sessions:
- Photograph the same subject in window light, shade, and direct sun.
- Take portraits at f/2.8, f/5.6, and f/8 to compare background blur.
- Photograph a moving pet or child at 1/125, 1/250, and 1/500.
- Make ten photos where the background is as clean as possible.
- Shoot one everyday scene from high, low, close, and far away.
After each session, review your images. Pick your strongest photo and ask why it worked. Pick one weak photo and ask what went wrong. This review habit is where improvement happens.
FAQ
What Should a Beginner Know First About Beginner Photography Questions Answered?
The first thing to know is that photography is not just about camera settings. A good beginner approach balances light, focus, timing, and composition. Learn to make sharp, well-exposed photos first, then build toward lenses, RAW files, editing, and manual control.
What Matters Most When Evaluating Beginner Photography Questions Answered?
The most important thing is whether the answer helps you take better photos in real situations. Useful beginner advice should be practical, clear, and connected to common problems like blurry photos, dark indoor images, confusing modes, poor focus, and distracting backgrounds.
What Mistakes Should Readers Avoid with Beginner Photography Questions Answered?
Avoid trying to learn everything at once, buying gear before understanding the problem, and assuming manual mode is the only “real” way to shoot. Also avoid judging photos only by sharpness or editing style. Light, timing, and composition matter just as much.
What Is the Next Logical Step After Learning About Beginner Photography Questions Answered?
The next step is focused practice. Choose one topic, such as shutter speed, aperture, focus modes, or window light, and practice it for a short session. Review the results, identify one improvement, and repeat. Small, consistent practice builds confidence faster than random shooting.