Night photography with a DSLR is mostly about controlling light, stability, and focus. Because the camera has less light to work with, you usually need a wider aperture, slower shutter speed, higher ISO, or a mix of all three. The best results come from taking control instead of letting full auto guess.
Start by using Manual mode or Aperture Priority, shoot RAW, stabilize the camera when possible, and review your photos on location. For handheld night shots, raise ISO and use the widest safe aperture. For tripod shots, lower ISO and use a longer shutter speed. The goal is not one perfect setting, but a repeatable process: expose, check, adjust, and shoot again.
Start with the Right Night Photography Mindset
Night photography is not just “day photography with darker settings.” Your DSLR is trying to balance three problems at once: not enough light, more visible noise, and a higher risk of blur. If you understand that tradeoff, the settings become easier.
A brighter exposure usually requires one of three choices: open the aperture, slow the shutter, or raise ISO. Each has a cost. Wide apertures reduce depth of field, slow shutter speeds can blur movement, and high ISO adds noise. Good night photography is choosing the least harmful compromise for the subject in front of you.
Use Manual Mode or Aperture Priority Instead of Full Auto
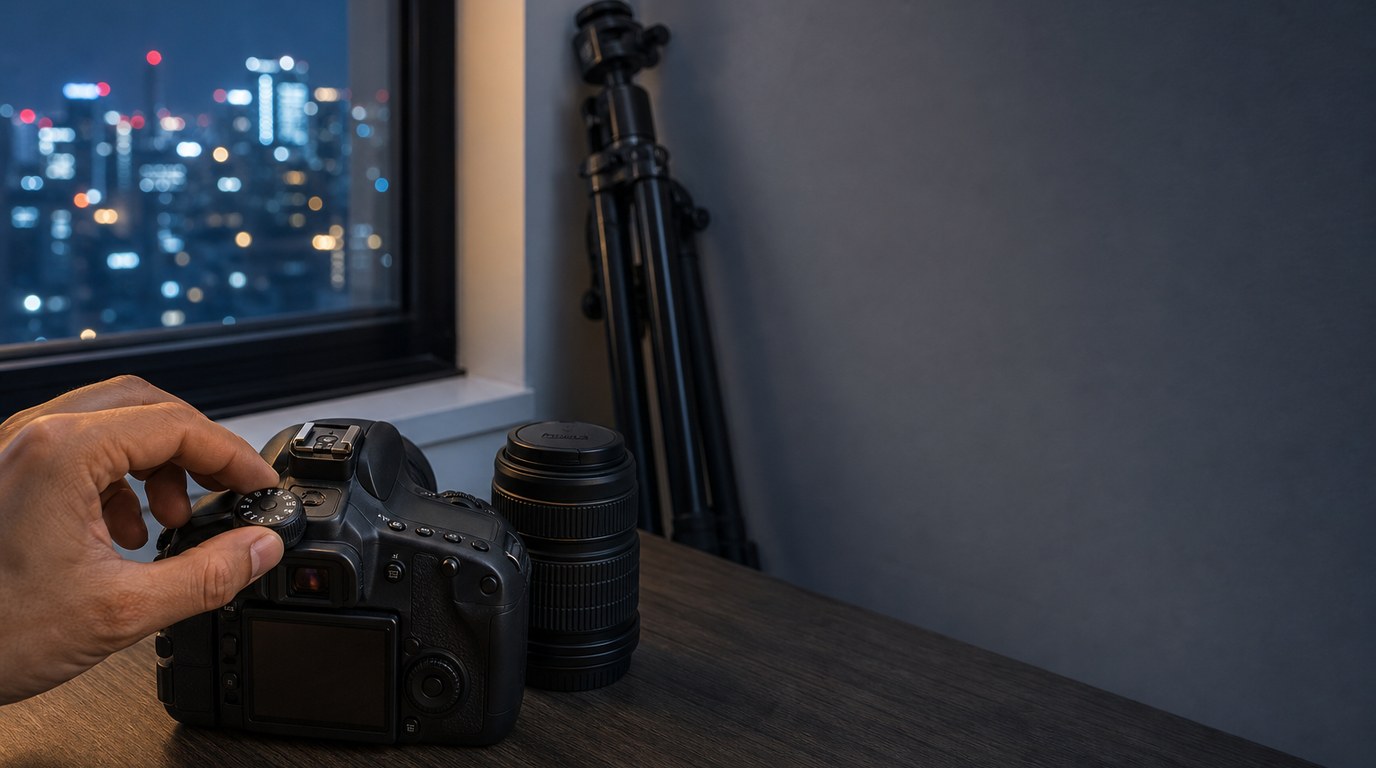
Full Auto often makes poor decisions at night. It may pop up the built-in flash, choose a shutter speed too slow for handheld shooting, or raise ISO higher than necessary. Manual mode gives you the most control because you choose aperture, shutter speed, and ISO yourself.
Aperture Priority is also useful when shooting handheld. You choose the aperture and ISO, and the camera picks the shutter speed. Watch that shutter speed carefully. If it drops too low, raise ISO or open the aperture. For tripod work, Manual mode is usually better because your exposure stays consistent from shot to shot.
Dial in a Strong Starting Exposure
Use starting settings as a launch point, not a rule. Your final exposure depends on the brightness of the scene, your lens, your subject, and whether the camera is handheld or on a tripod.
| Night scene | Aperture | Shutter speed | ISO | Notes |
|---|---|---|---|---|
| — | —: | —: | —: | — |
| Handheld street scene | f/1.8–f/2.8 | 1/60–1/125 sec | 1600–6400 | Keep shutter fast enough to avoid shake |
| Tripod cityscape | f/5.6–f/8 | 5–20 sec | 100–400 | Best for clean, sharp static scenes |
| Night portrait with ambient light | f/1.8–f/2.8 | 1/60–1/200 sec | 800–3200 | Focus carefully on the eyes |
| Light trails | f/8–f/11 | 10–30 sec | 100–400 | Use a tripod and remote release |
| Basic stars | f/2.8 or wider | 10–20 sec | 1600–3200 | Avoid very long exposures that streak stars |
If the image is too dark, slow the shutter first when using a tripod. If handheld, raise ISO before letting the shutter drop too low. If highlights are blown out, reduce ISO, use a faster shutter, or stop down the aperture.
Stabilize the Camera Whenever You Can
Camera shake is one of the biggest reasons night photos look soft. A tripod is the simplest fix for cityscapes, light trails, architecture, and star shots. Use a two-second timer or remote shutter release so pressing the button does not shake the camera.
If you do not have a tripod, brace yourself against a wall, railing, table, or post. Tuck your elbows in, hold your breath briefly, and squeeze the shutter gently. Turn image stabilization on for handheld shots, but turn it off on some lenses when using a tripod if the lens manual recommends it.
Learn to Focus in Low Light
Autofocus can struggle at night because it needs contrast. Instead of aiming at a dark area, place your focus point on something with a clear edge or bright detail, such as a street sign, window frame, skyline edge, or lit face.
For static scenes, use Live View, zoom in on the screen, and focus manually until the detail looks sharp. For portraits, focus on the eye closest to the camera. Avoid constantly recomposing after focus if you are using a very wide aperture, because a small movement can shift the focus plane. When shooting stars, test focus before the important shot and review magnified details.
Shoot Raw for Better Noise and Color Control
RAW files give you more room to correct night photos later. This matters because night scenes often mix different light sources: street lamps, neon signs, car headlights, and window light. JPEG files bake in much more of the camera’s processing, while RAW files preserve more color and shadow detail.
RAW also helps with noise reduction. You can brighten shadows, adjust white balance, reduce color noise, and recover some highlights with more control. For important night shoots, RAW is worth the extra storage space.
Control Noise Without Ruining Detail
Noise is normal in night photography, especially at high ISO. The goal is not to remove every grain, but to keep the photo clean enough while preserving detail. A slightly noisy sharp photo is usually better than a heavily smoothed blurry one.
Expose as brightly as you safely can without blowing important highlights. Very underexposed photos become noisy when brightened later. Use lower ISO when the camera is on a tripod, but do not be afraid of ISO 1600 or 3200 for handheld work if that is what keeps the shutter speed usable. In editing, apply noise reduction gradually and check faces, signs, stars, and fine textures at 100%.
Use Available Light Before Reaching for Flash
Built-in flash often makes night photos look flat, harsh, and unnatural. Before using it, look for available light you can work with. Street lamps, shop windows, car headlights, signs, candles, and building lights can all create mood.
Move your subject closer to the light source instead of forcing the camera to find light from far away. For portraits, place the person near a soft window display or under a diffused streetlight, then expose for the face. If you use flash, consider bouncing or diffusing an external flash rather than firing direct built-in flash.
Match Your Technique to the Night Subject
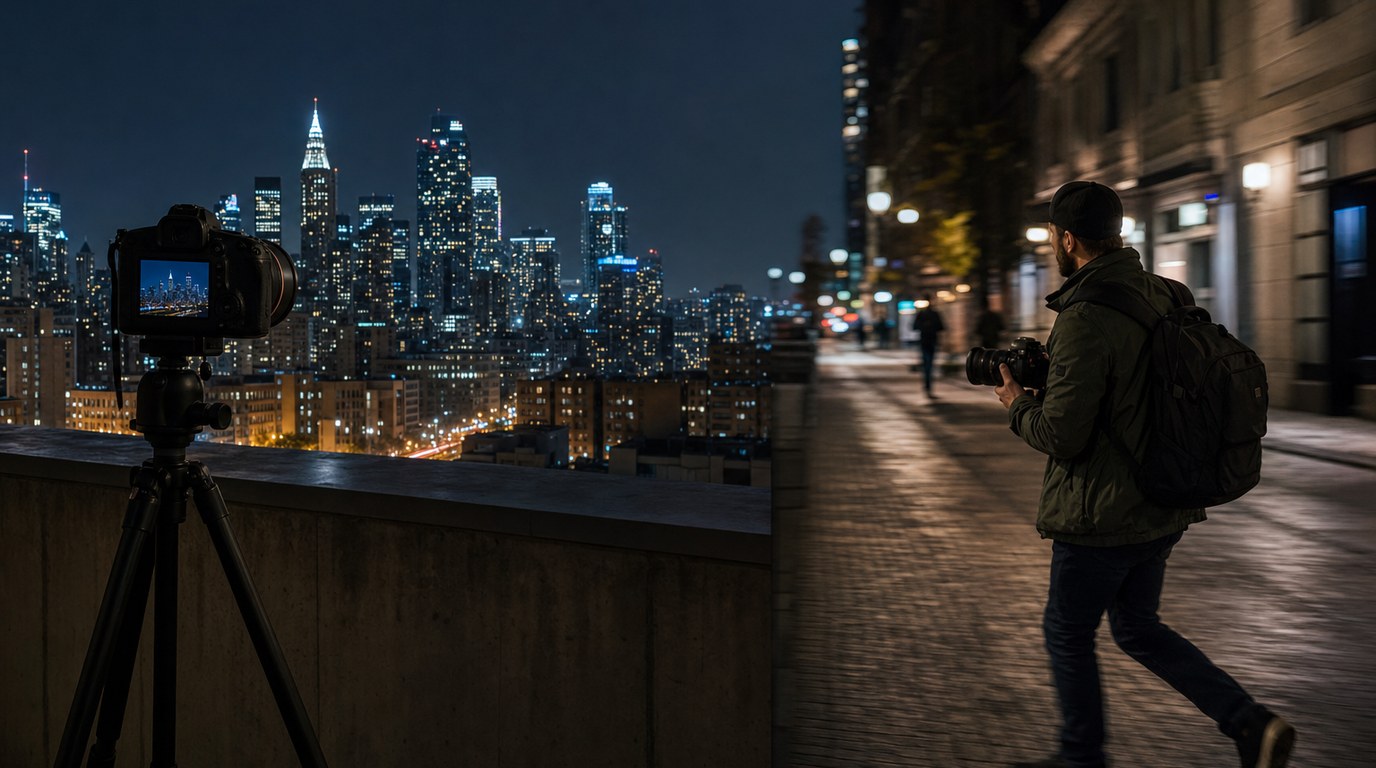
Different night subjects need different priorities. For a city skyline, use a tripod, low ISO, f/5.6 to f/8, and a longer shutter speed. This keeps buildings sharp and noise low.
For handheld street photography, use a wide aperture, higher ISO, and a shutter speed fast enough for people’s movement. A little grain is acceptable if the moment is strong.
For light trails, place the camera on a tripod and use a slow shutter such as 10 to 30 seconds. Cars become lines of light while buildings remain sharp.
For night portraits, find flattering ambient light and keep the shutter fast enough to avoid subject movement. Focus on the eyes and take several frames.
For basic star photos, go somewhere dark, use a wide lens, open the aperture, raise ISO, and start around 10 to 20 seconds.
Review Your Shots and Adjust on Location
Do not wait until you get home to discover that every photo is soft or underexposed. After each setup, zoom in on the LCD to check focus and motion blur. The small preview can make images look sharper than they really are.
Check the histogram and highlight warning if your DSLR has them. Night scenes naturally have dark areas, but important details should not be crushed unless you want a silhouette. If the photo is too dark, increase exposure. If lights are blown out, reduce it and shoot again.
Common Night Dslr Mistakes to Avoid
- Relying on Full Auto and letting the camera choose everything.
- Handholding at shutter speeds too slow for sharp results.
- Using built-in flash when available light would look better.
- Forgetting to check focus by zooming in on the LCD.
- Raising ISO too high on tripod shots when a longer shutter would work.
- Underexposing heavily and trying to fix everything in editing.
- Leaving the tripod at home for scenes that need long exposures.
- Changing too many settings at once and not learning what helped.
Simple Beginner Night Photography Practice Plan
Start with one familiar location, such as a street corner, bridge, or small downtown area. First, shoot handheld in Aperture Priority and test ISO 800, 1600, and 3200. Notice how shutter speed changes.
Next, use a tripod in Manual mode. Try ISO 100, f/8, and shutter speeds from 5 to 20 seconds. Review sharpness and highlights after each frame. Finally, photograph one moving subject, such as cars, to practice long-exposure light trails.
FAQ
What Should a Beginner Know First About Night Photography Tips for Dslr Users?
A beginner should know that night photography is a balance between aperture, shutter speed, and ISO. More light usually means accepting less depth of field, more motion blur, or more noise. Start with simple settings, review each shot, and adjust one setting at a time.
What Matters Most When Evaluating Night Photography Tips for Dslr Users?
The most useful tips are practical in real shooting conditions. Good advice should help you get sharper focus, better exposure, less camera shake, and cleaner files. Look for tips that explain when to use handheld settings versus tripod settings, not just one fixed formula.
What Mistakes Should Readers Avoid with Night Photography Tips for Dslr Users?
Avoid trusting Full Auto, using shutter speeds too slow for handheld shots, and ignoring missed focus. Also avoid underexposing too much, because brightening dark files later increases noise. When possible, stabilize the camera, shoot RAW, and check your results before leaving the location.
What Is the Next Logical Step After Learning About Night Photography Tips for Dslr Users?
The next step is structured practice. Choose one night scene and shoot it several ways: handheld, on a tripod, with different ISO values, and with different shutter speeds. Compare the results on a computer so you can clearly see noise, sharpness, blur, and exposure differences.