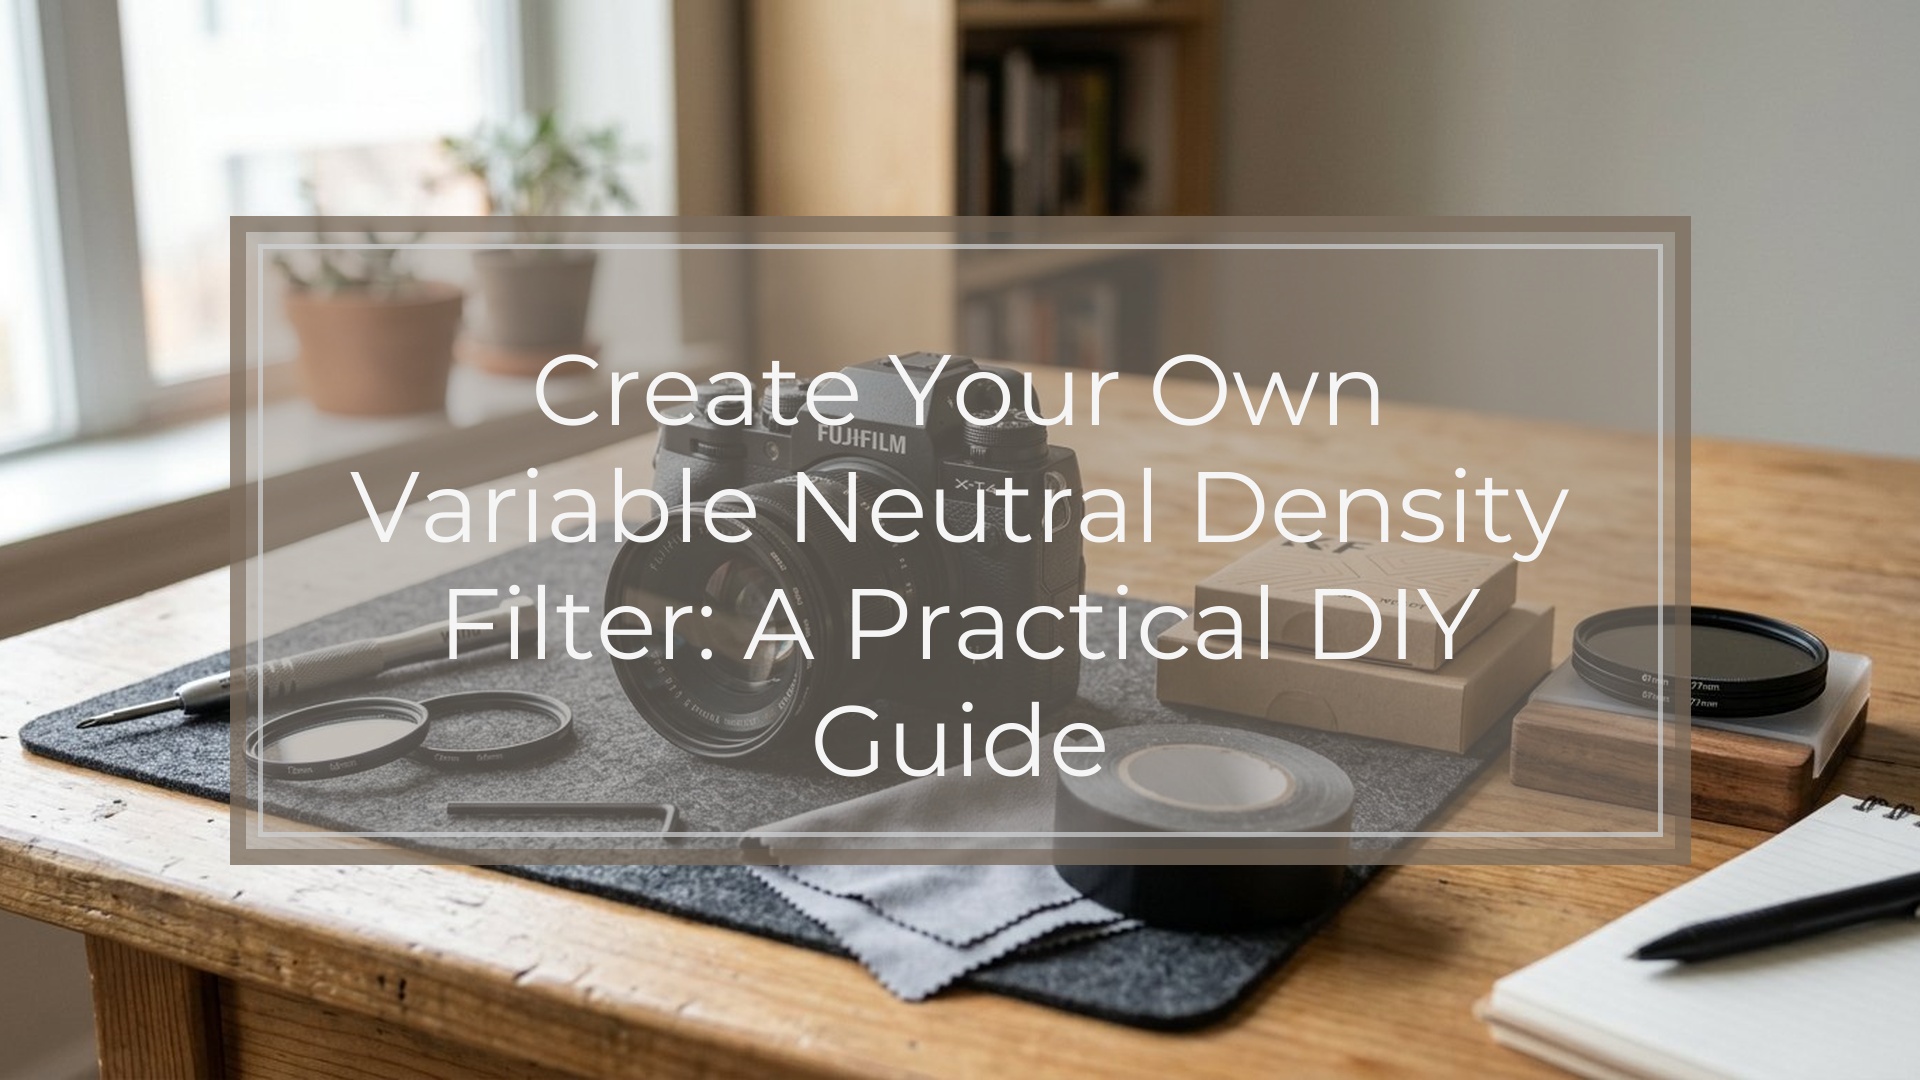
You can create your own variable neutral density filter by stacking two linear polarizing filters on the front of your lens and rotating one against the other. As the polarizers cross, they block more light, giving you a DIY version of a variable ND filter.
This works best as a learning project or a budget solution for casual photo and video use. It can help you shoot wider apertures in bright light, slow your shutter speed slightly, or keep video exposure under control. However, it is not optically perfect. Expect possible color shifts, uneven darkening, softness, vignetting, and a dark “X” pattern at extreme settings.
If you need reliable results for paid work, wide-angle lenses, or strong long-exposure photography, a dedicated variable ND or fixed ND filter is usually better.
What You Are Building
A neutral density filter reduces the amount of light entering your lens without changing your camera settings. A variable neutral density filter lets you increase or decrease that darkening by rotating the front ring.
Your DIY version uses two polarizing filters instead of a manufactured variable ND. One filter stays fixed on the lens. The second filter rotates in front of it. Together, they act like an adjustable light gate.
The goal is not to build a flawless professional filter. The goal is to create a usable, adjustable light-reduction tool from simple parts. It is especially useful for learning how ND filters affect shutter speed, aperture, ISO, and motion blur.
Think of it as a practical experiment that can also be used in real shooting situations.
How Two Polarizers Create Variable Darkness
A polarizing filter blocks light waves traveling in certain directions. When you place two linear polarizers together, their orientation matters.
If both filters are aligned the same way, more light passes through. If you rotate one filter so it crosses the other, less light passes through. At near 90 degrees, the filters block much more light. This is how your DIY variable ND becomes adjustable.
You do not need to calculate the exact amount of light reduction. Instead, watch your camera’s exposure meter, histogram, or live view brightness as you rotate the front filter.
The important beginner rule is simple: rotate slowly and avoid the darkest extreme. That far end often causes uneven darkening, strange color, and the well-known X-shaped pattern.
Materials You Need
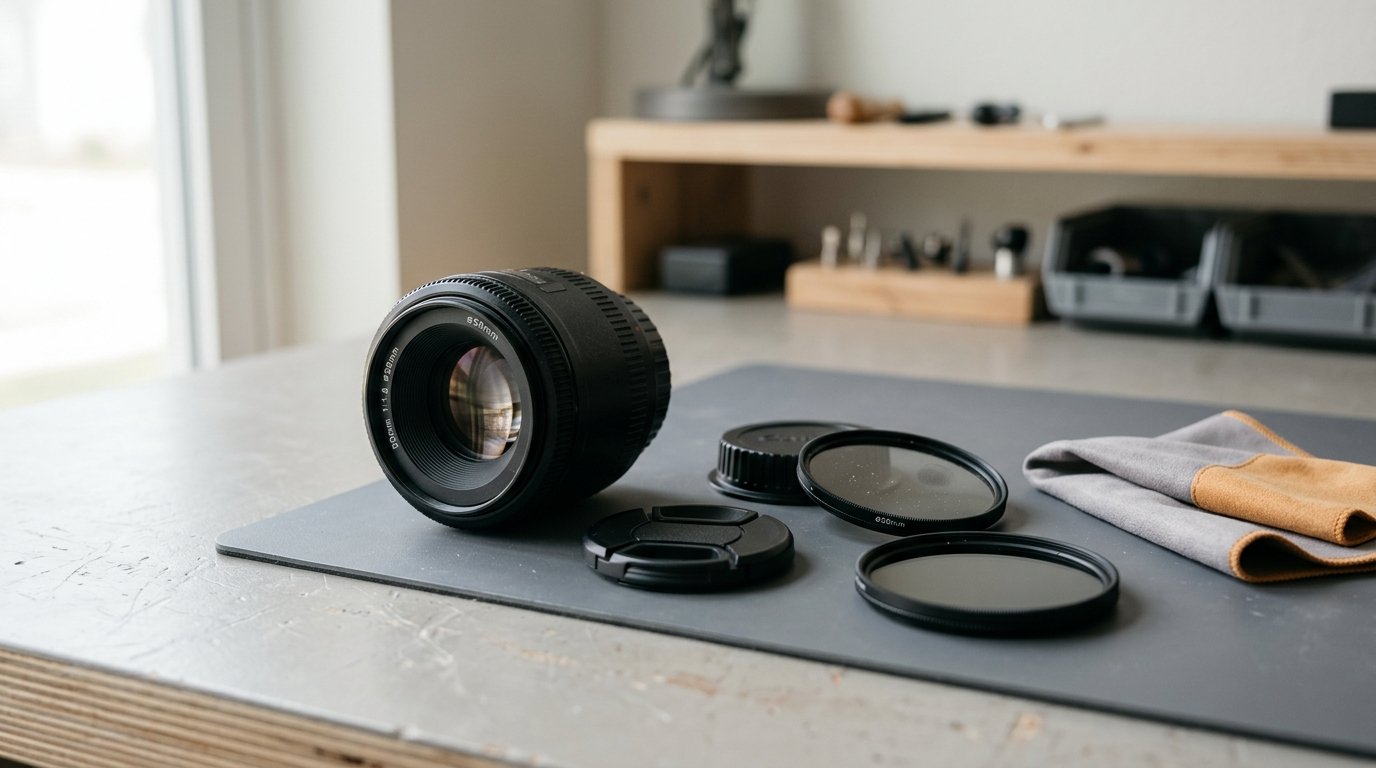
To create your own variable neutral density filter, you need two linear polarizing filters that can be stacked together. The filters must fit your lens thread size, or you must use step-up rings to adapt them.
Check the front of your lens for a symbol like “ø52mm,” “ø67mm,” or “ø77mm.” That number is the filter thread size. Buy filters that match this size, or buy filters for your largest lens and use step-up rings for smaller lenses.
You will need:
- Two linear polarizing filters
- A lens with front filter threads
- Optional step-up rings
- A microfiber cloth
- Optional lens cap or filter pouch for storage
Linear polarizers are preferred for this DIY build. Circular polarizers can behave differently because they include an extra optical layer designed for camera autofocus and metering systems.
Diy Variable Nd Filter Materials and Alternatives
| Item | Best choice | Notes |
|---|---|---|
| Polarizing filters | Two linear polarizers | Needed for the strongest DIY effect |
| Filter size | Match your largest lens | Use step-up rings for smaller lenses |
| Step-up rings | Metal rings | Reduce binding and protect threads |
| Cleaning cloth | Microfiber | Dust becomes more visible when filters are stacked |
| Alternative | Cheap variable ND | Easier to use, but may still show color shifts or X patterns |
Avoid forcing mismatched threads. If a filter does not screw on smoothly, stop and check the size.
Step-by-step: Create Your Own Variable Neutral Density Filter
- Find your lens filter size.
Look at the front of the lens or inside the lens cap. You are looking for the diameter marking, such as ø58mm or ø72mm.
- Clean both filters.
Use a microfiber cloth to remove dust, fingerprints, and smudges. Stacking filters makes dirt easier to see, especially when shooting toward bright light.
- Attach the first polarizer to the lens.
Screw it on gently. Do not overtighten it. Filter threads are thin and can bind if forced.
- Attach the second polarizer in front of the first.
Screw it onto the front threads of the first filter. Again, use light pressure only.
- Set your camera to live view or look through the viewfinder.
Point the camera at a normal bright scene, not directly at the sun.
- Rotate the front filter.
As you turn it, the image should become lighter or darker. Move slowly and watch the exposure change.
- Mark a usable range if helpful.
You can place tiny pieces of tape or small marker dots on the filter rings to show the lightest, medium, and darkest usable positions. Do not mark the glass.
- Test for problems.
Take a few photos at different rotation points. Check for color cast, softness, uneven darkening, and vignetting in the corners.
- Avoid the extreme dark setting.
The darkest position may look dramatic, but it is often the least usable. Back off slightly until the image looks even.
Your DIY filter is now ready to use. Treat it carefully, because two stacked filters create more weight and more chances for cross-threading.
How to Use the Diy Variable Nd Filter in the Field
Use the filter when there is too much light for the settings you want.
For video, set your shutter speed first. If you shoot at 24 fps, you may want about 1/50 second. In bright daylight, that shutter speed can overexpose the scene. Rotate the DIY variable ND darker until the exposure looks correct.
For portraits, use it when you want a wide aperture such as f/1.8 or f/2.8 in strong sun. The filter reduces light so you can keep the background blur without maxing out your shutter speed.
For long exposure experiments, use it to slow water, clouds, or moving people. It may not get as dark as a strong fixed ND filter, but it can still help you learn the effect.
Always check your histogram or highlight warning. The filter changes light quickly, and your eyes may adjust faster than your camera’s exposure.
Common Problems and How to Fix Them
The image has a dark X pattern.
You rotated the filters too close to maximum darkness. Turn the front filter back until the X disappears.
The corners are dark.
This is vignetting from stacked filters, especially on wide-angle lenses. Use a longer focal length, thinner filters, or a larger filter with a step-up ring.
The color looks strange.
DIY variable ND filters can create color shifts. Set a custom white balance or correct it in editing.
The image looks soft.
Clean the filters and avoid very cheap scratched glass. Also test at moderate settings instead of maximum darkening.
The filters are stuck.
Do not force them. Use a rubber grip or filter wrench, and next time avoid overtightening.
When a Diy Variable Nd Is Good Enough—and When It Is Not

A DIY variable ND is good enough for learning, casual video, simple portraits, and creative experiments. It is also useful if you already own polarizers and want to test the idea before buying a proper ND filter.
It is not ideal for professional color-critical work, very wide lenses, heavy long exposures, or situations where you need consistent results shot after shot. The stacked filters can reduce sharpness, add reflections, and create uneven density.
Never use this setup for safe solar photography. A neutral density or polarizing filter is not a solar filter. Photographing the sun requires proper certified solar filtration.
If you like the results but want better reliability, the next step is a quality fixed ND or a well-reviewed variable ND filter.
FAQ
What Should a Beginner Know First About Create Your Own Variable Neutral Density Filter?
The key idea is that two linear polarizing filters can act like an adjustable light blocker. By rotating one filter, you change how much light reaches the lens. It is simple and useful, but not as optically clean as a dedicated ND filter.
What Matters Most When Evaluating Create Your Own Variable Neutral Density Filter?
The most important things are compatibility, even darkening, and image quality. Make sure the filters fit your lens, rotate smoothly, and do not create strong vignetting, color shifts, softness, or an X pattern within the range you plan to use.
What Mistakes Should Readers Avoid with Create Your Own Variable Neutral Density Filter?
Avoid using the darkest extreme, forcing filter threads, stacking too many adapters, or pointing the camera at the sun without proper solar protection. Also avoid judging exposure by the rear screen alone; use the histogram or exposure meter when possible.
What Is the Next Logical Step After Learning About Create Your Own Variable Neutral Density Filter?
Test the DIY filter in real scenes: video in daylight, portraits at wide aperture, and slow-shutter motion. If you enjoy the control but dislike the flaws, compare a quality fixed ND and a dedicated variable ND for your most-used lens size.