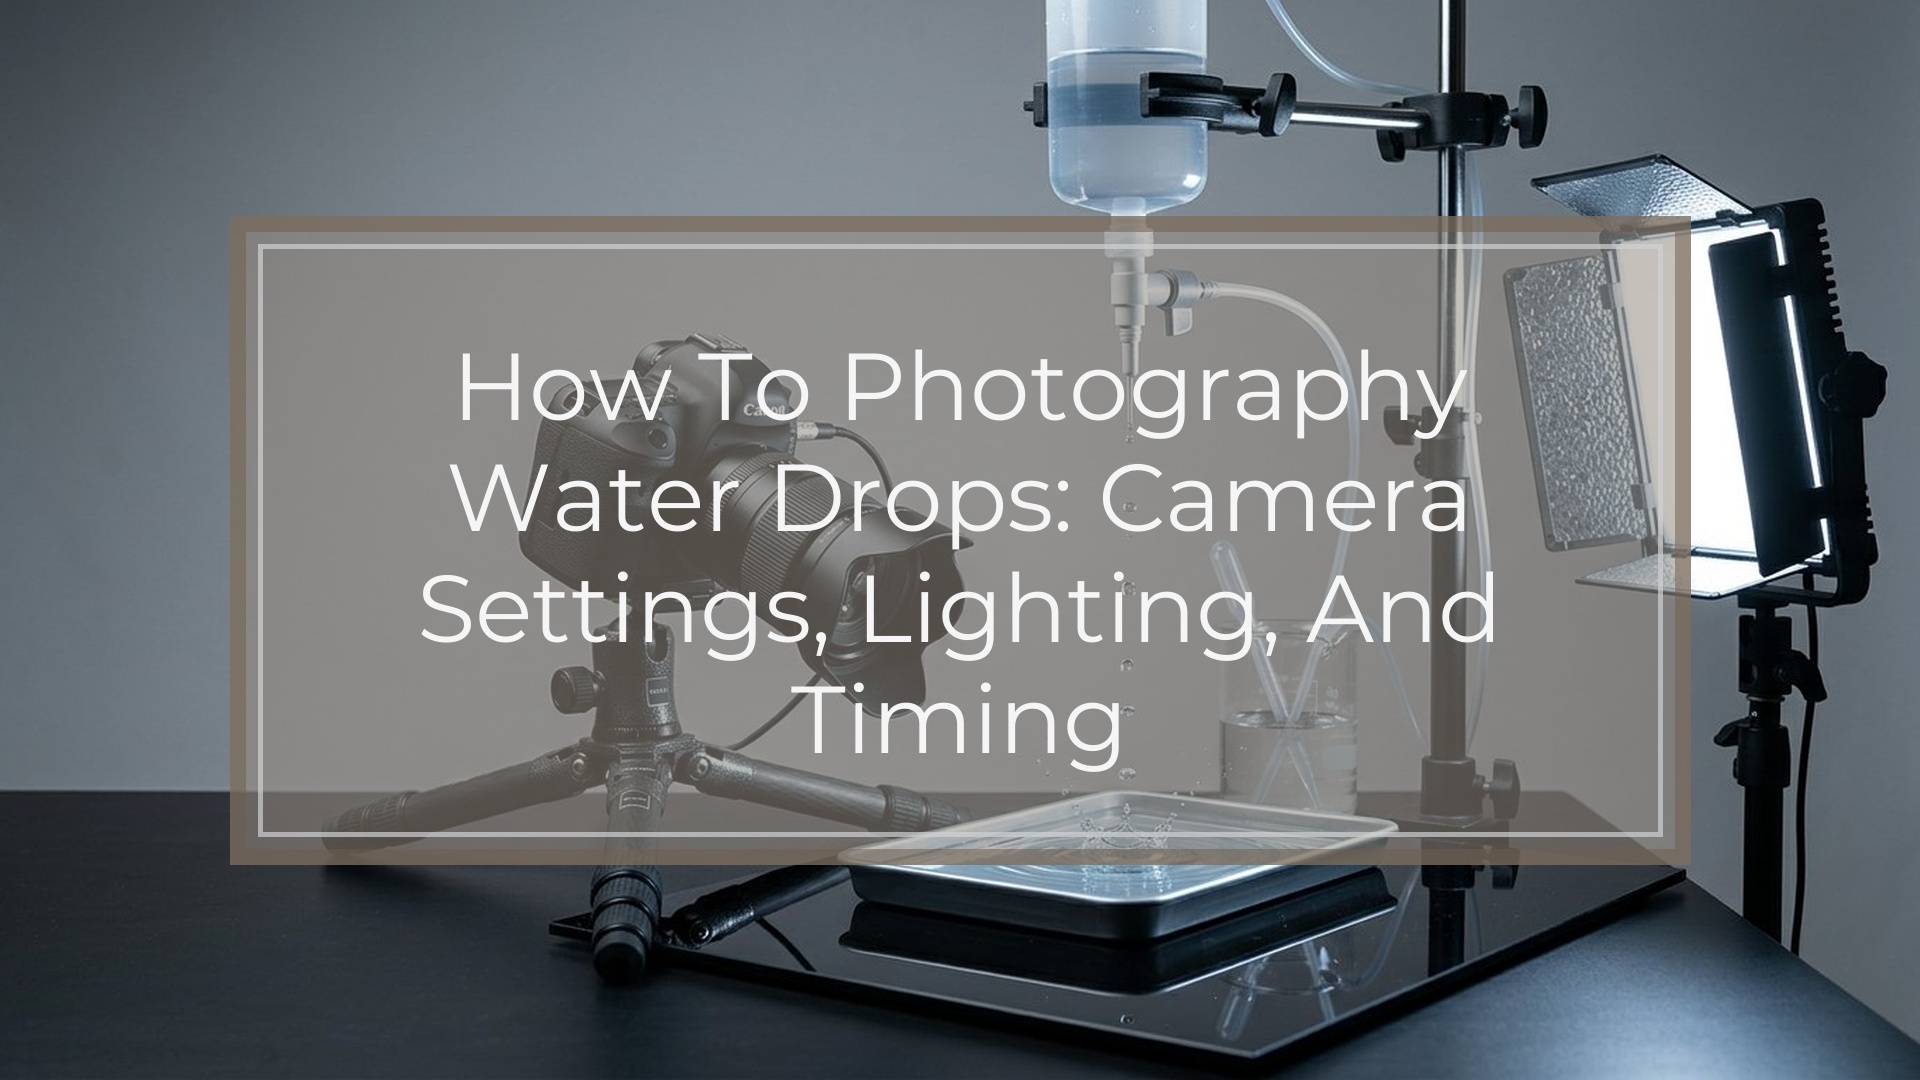
To photograph water drops, you need a controlled drop source, a stable camera, a focused impact point, and enough light to freeze the splash. Start with a bowl or tray of water, a dropper or plastic bag, a tripod, and a bright light or flash. Set your camera to manual mode, use a small-to-medium aperture, keep ISO low, and focus manually where the drop will hit. Then shoot in burst mode while releasing drops at a steady rhythm. The goal is not to capture every drop perfectly; it is to build a repeatable setup so that a few frames are sharp, well-timed, and clean.
What Makes a Good Water Drop Photo?
A strong water drop photo usually has three things: sharp detail, clean light, and a clear subject shape. The viewer should immediately see the drop, crown, splash, or ripple. Because the action happens very fast, the photo depends more on preparation than reaction speed.
Think of the setup as a tiny stage. The drop lands in the same place, the camera is already focused there, and the light reveals the shape of the water. Your job is to remove randomness: keep the drop height consistent, keep the background simple, and keep the camera steady. Once the basic shot works, you can adjust color, reflections, and timing.
Gear You Need for Water Drop Photography
You do not need a professional studio. A basic camera, a stable setup, and a little patience are enough.
Useful gear includes:
- Camera with manual controls: A DSLR, mirrorless camera, or advanced compact camera works well.
- Macro lens or close-focusing lens: A true macro lens is ideal, but a kit lens can work if you crop later.
- Tripod: Keeps framing and focus locked in place.
- Drop source: Use an eyedropper, syringe, squeeze bottle, or plastic bag with a tiny hole.
- Water container: A bowl, baking tray, glass dish, or shallow pan.
- Light source: A flash is best for freezing motion, but a bright LED or desk lamp can work for practice.
- Background: Colored paper, card, fabric, or a tablet screen with a solid color.
- Towels: Water drop photography gets messy quickly.
Optional extras include food coloring, milk, glycerin, and clamps to hold the dropper in position.
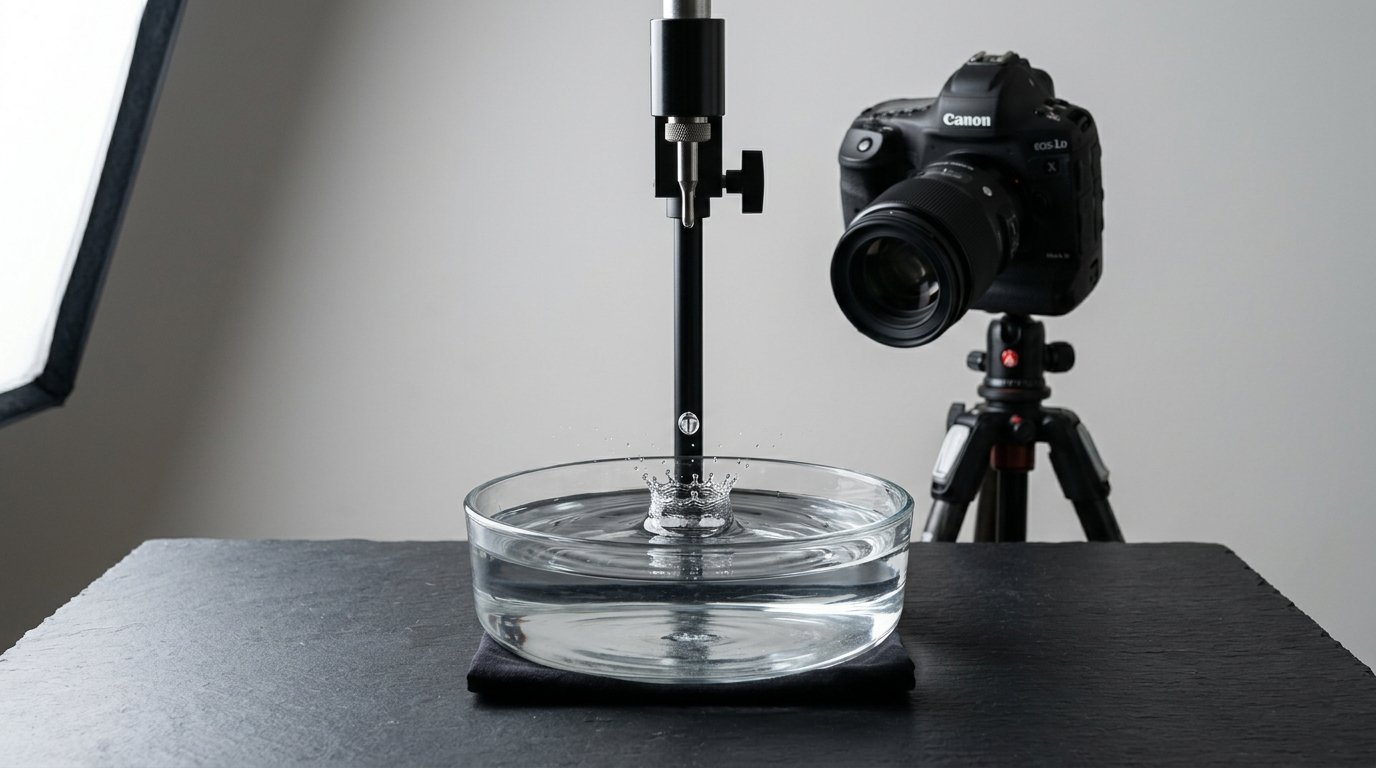
Set up the Scene
Place your bowl or tray on a sturdy table. Fill it with enough water to create a smooth surface, but not so much that every drop splashes out. Put towels around the setup before you begin.
Position the dropper above the water, aiming at one fixed landing point. If you are using a plastic bag, hang it from a shelf, tripod arm, or clamp and make a tiny hole so drops fall steadily. A height of 12 to 24 inches is a good starting point. Higher drops make larger splashes but can become harder to control.
Set the camera on a tripod at water level or slightly above it. A low angle often makes the splash look taller and more dramatic. Keep the background behind the bowl, not too close to the water, so it appears smooth and uncluttered.
Before shooting, wipe the rim of the container and remove distracting bubbles or floating dust.
Choose Camera Settings That Freeze the Splash
Manual mode gives you the most control. Water drops move quickly, so you need either a fast shutter speed or a short flash burst. If you are using flash, the flash duration often freezes the movement more than the shutter speed does.
Use this as a starting point:
| Setting | Starting Point | What It Controls |
|---|---|---|
| — | —: | — |
| Mode | Manual | Keeps exposure consistent |
| Aperture | f/8 to f/11 | Gives enough depth of field for the drop |
| Shutter speed | 1/160 to 1/250 with flash, faster if using continuous light | Controls ambient light and motion blur |
| ISO | 100 to 400 | Keeps noise low while allowing enough brightness |
| Focus | Manual | Prevents the camera from hunting |
| Drive mode | Burst/continuous | Increases your chance of catching the right moment |
If your photos are dark, first increase flash power or move the light closer. If you are using continuous light, you may need a wider aperture, higher ISO, or a faster lens. Avoid relying only on a very slow shutter speed; it will turn the splash into a blur.
For beginners, start at f/8, ISO 200, and your camera’s flash sync speed, often around 1/200 second.
Focus on the Exact Drop Impact Point
Focusing is one of the most important parts of water drop photography. Autofocus often struggles because the drop appears and disappears too quickly. Instead, pre-focus manually on the spot where the drop will land.
An easy method is to place a pencil, chopstick, or spoon handle exactly where the drops hit the water. Use autofocus or manual focus to make that object sharp, then switch the lens to manual focus so it stays locked. Remove the object without moving the bowl or camera.
Use live view and zoom in on the screen if your camera allows it. This helps you fine-tune the focus more accurately than looking through the viewfinder.
After your first test shots, zoom in on the image preview. If the ripples are sharp but the splash is not, your focus may be slightly too low, too high, or too far forward.
Light the Water Drop for Shape and Detail
Water is transparent, so you often light what it reflects rather than the water itself. A plain light pointed directly at the front can look flat. Better results usually come from lighting the background or lighting from the side.
For a simple setup, place a flash or bright lamp behind the water, aimed at a colored background. The water drop will reflect that color and stand out clearly. You can also place the light to one side to reveal texture in the splash and ripples.
If the highlights look harsh, soften the light with white paper, a thin cloth, or a small diffuser. If the image looks dull, move the light closer or use a brighter background.
Keep the front of the scene relatively dark if you want a crisp outline. For a clean look, use one strong background color. For a more playful effect, place striped or patterned paper behind the bowl and let the drops distort the pattern.
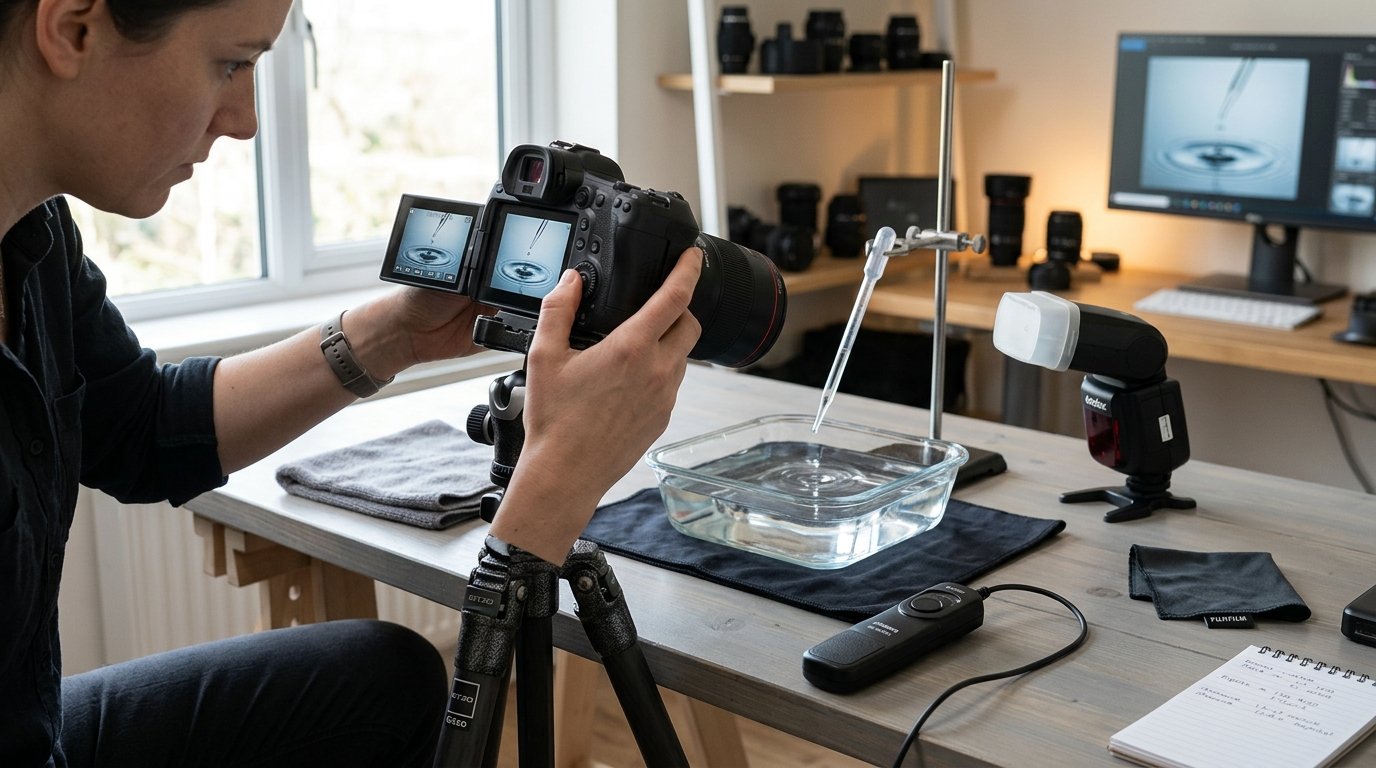
Time the Shot and Capture the Drop
Without a specialized trigger, timing takes practice. The easiest approach is to create a steady drop rhythm and shoot in bursts. Let several drops fall first, watch the timing, then press the shutter just before the next drop hits.
Use continuous shooting mode if your camera has it. Hold the shutter for a short burst while releasing drops. Review the results, then adjust your timing slightly. If you keep missing the splash, do not change everything at once. Keep the camera and focus fixed, and adjust only when you press the shutter.
A remote shutter release can help because it prevents camera shake. If you do not have one, use a two-second timer for still test shots, then switch back to burst shooting for action.
Expect many failed frames. Water drop photography is partly a numbers game. A session with 100 images may produce only a handful of strong shots.
Creative Variations to Try After the Basic Shot
Once you can make a sharp basic splash, change one element at a time.
Try adding a few drops of food coloring to the water or using colored paper as the background. Replace water with milk for thicker, smoother-looking crowns. Mix a small amount of glycerin into water to make drops slightly more rounded and slower to break apart.
You can also photograph drops falling into a wine glass, spoon, or reflective tray. Patterned backgrounds, such as stripes or bright gradients, create interesting refractions inside the drop. Keep the setup simple, though. If the frame becomes busy, the water shape may no longer be the main subject.
Troubleshooting Common Water Drop Photography Problems
If your photos are blurry, check focus first. Pre-focus on the impact point and make sure the camera and bowl have not moved. If the whole frame is soft, use a tripod, remote release, or faster shutter speed.
If the splash has motion blur, add flash or increase shutter speed when using continuous light. A flash placed close to the scene can freeze the drop very effectively.
If your images are too dark, move the light closer, increase flash power, raise ISO slightly, or use a wider aperture. If they are too bright, lower flash power or close the aperture.
If the frame looks messy, clean the bowl, wipe stray water, and simplify the background. Use a shallower depth of field only after you have a clean composition.
If you keep missing the moment, make the drops fall at a steady rhythm. A fixed dropper is easier than hand-squeezing randomly.
A Simple Beginner Workflow to Follow
- Fill a bowl or tray with water.
- Set a dropper above one fixed impact point.
- Place the camera on a tripod.
- Pre-focus manually on the landing spot.
- Start at f/8, ISO 200, and 1/200 second with flash.
- Light the background or side of the splash.
- Shoot bursts while drops fall steadily.
- Review, adjust timing, and repeat.
FAQ
What Should a Beginner Know First About How to Photography Water Drops?
The most important idea is control. Keep the drop landing in the same place, lock your camera on a tripod, and pre-focus before shooting. Good water drop photos come from a repeatable setup, not from trying to react quickly to a random splash.
What Matters Most When Evaluating How to Photography Water Drops?
Sharpness, timing, and light matter most. Check whether the drop or splash edge is crisp, whether the moment is visually interesting, and whether the lighting separates the water from the background. A simple, sharp image is better than a colorful but confusing one.
What Mistakes Should Readers Avoid with How to Photography Water Drops?
Avoid handholding the camera, using autofocus for every shot, and changing too many settings at once. Also avoid cluttered backgrounds and weak lighting. If the setup is inconsistent, it becomes much harder to know whether the problem is focus, timing, or exposure.
What Is the Next Logical Step After Learning About How to Photography Water Drops?
After you can capture a sharp basic splash, experiment with lighting and backgrounds. Try colored cards, side lighting, milk, glycerin, or patterned paper. Change only one thing at a time so you can see exactly how each adjustment affects the final photo.