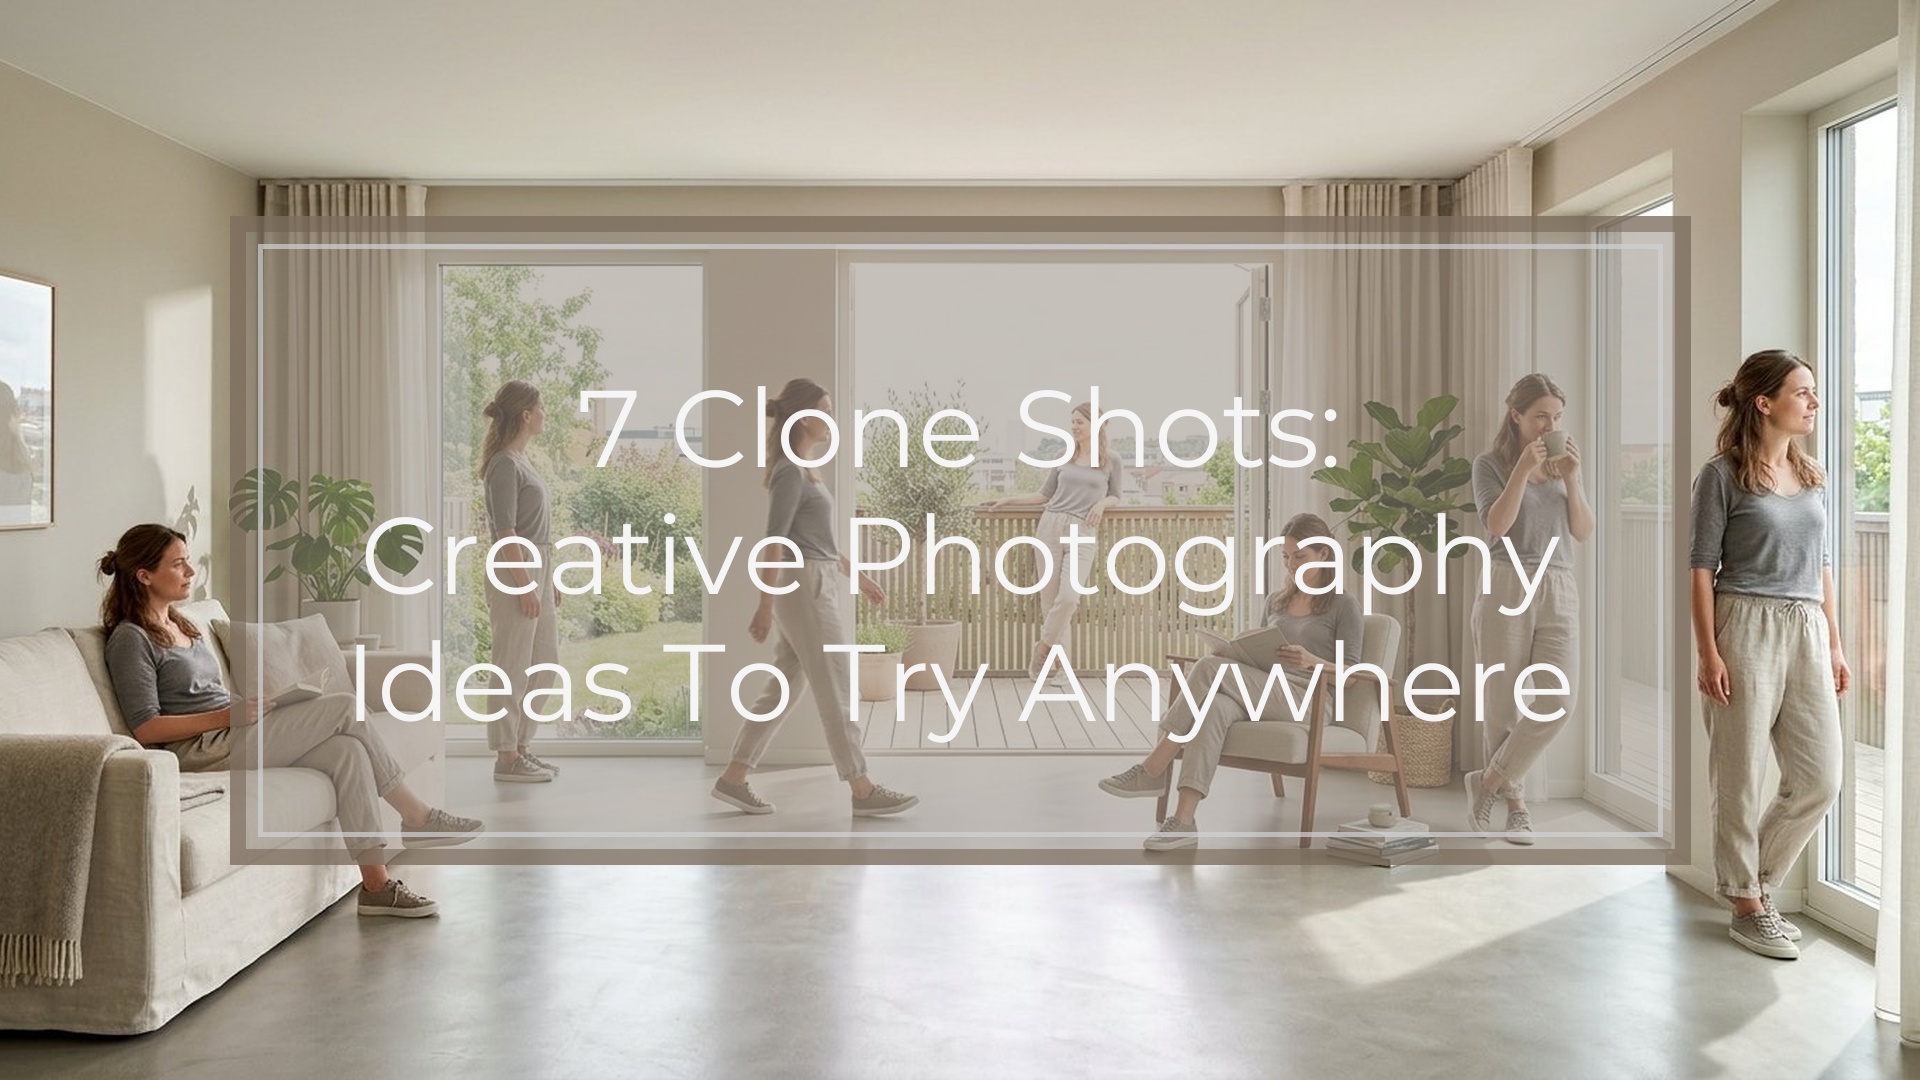
Clone shots are photos where the same person or subject appears multiple times in one frame. They look advanced, but the basic method is simple: keep the camera still, take several photos with the subject in different positions, then blend the images together with layer masks in editing software.
In this guide, you’ll learn seven clone shot ideas, from an easy two-person “conversation” to surreal floating clones. Each idea includes the concept, best setting, shooting tip, and editing tip so you can plan the photo before you press the shutter.
| Clone Shot Idea | Difficulty | Best Location | Editing Effort |
|---|---|---|---|
| — | —: | — | —: |
| Two-clone conversation | Easy | Room, bench, table | Low |
| Action sequence | Easy–Medium | Yard, street, sports area | Medium |
| Mirror or reaction | Easy | Bedroom, bathroom, studio corner | Low |
| Daily routine | Medium | Kitchen, desk, living room | Medium |
| Object handoff | Medium | Anywhere with space | Medium |
| Crowd of one | Medium–Hard | Wide indoor or outdoor scene | High |
| Floating or mini-me | Hard | Simple background | High |
What Is a Clone Shot?
A clone shot is a composite image made from multiple photos taken from the same camera position. The subject moves around the scene, but the camera, background, exposure, and focus stay consistent.
Think of it like photographing several “versions” of the same person in an empty stage set. In editing, you stack the photos as layers and reveal the parts of each frame that contain the subject. If the background lines up, the final image looks like one impossible moment captured in-camera.
The cleaner your setup, the easier the edit becomes.
Quick Setup for Any Clone Shot
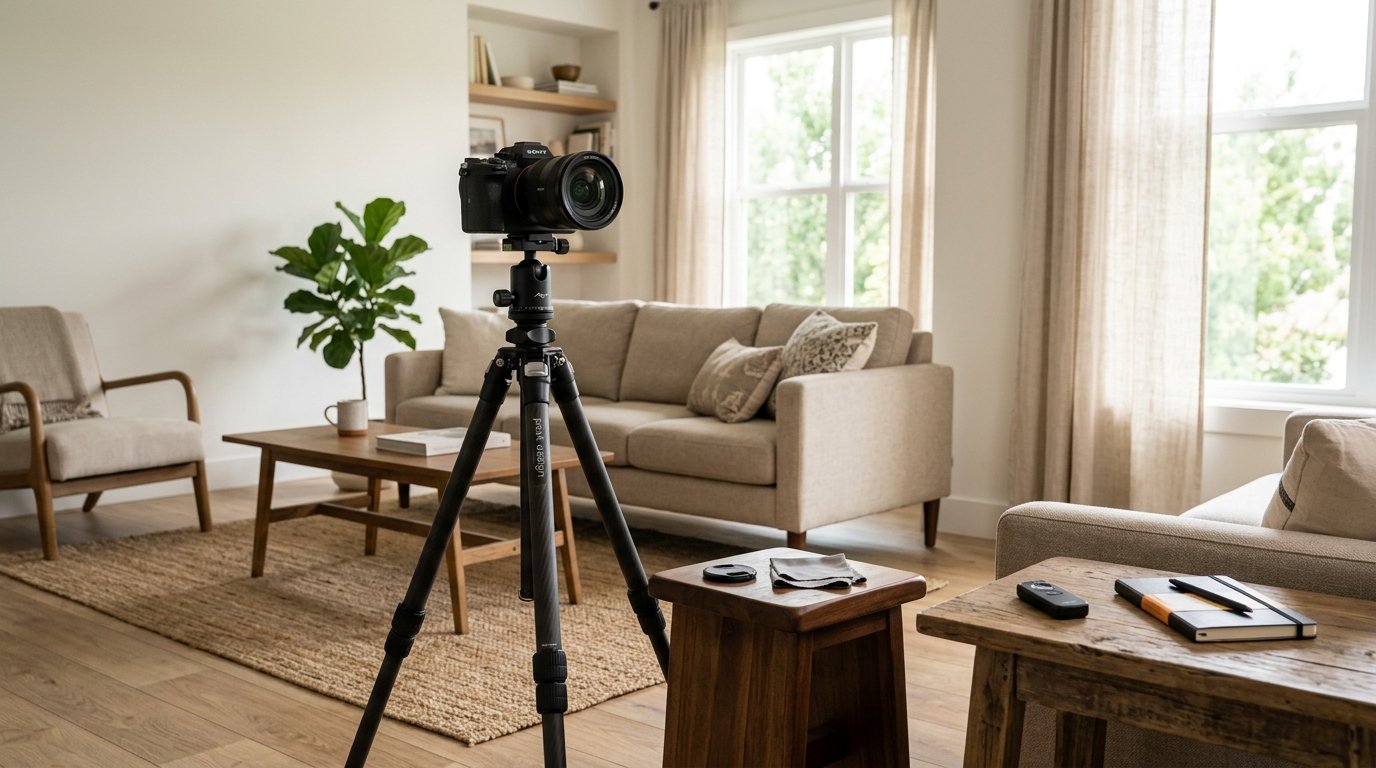
Use a tripod or place your camera on a stable surface. Turn off auto settings that may change between frames. Manual exposure, manual focus, and fixed white balance help every photo match.
Frame the scene wider than you think you need. Leave room for each clone so bodies do not overlap unless you want a more advanced edit. Take one empty background plate before the subject enters the scene; this gives you a clean layer for fixing mistakes.
Shoot each clone position separately. Use a self-timer, remote, or interval timer if you are photographing yourself.
In editing, open the photos as layers. Put the empty background at the bottom, then add each clone image above it. Use a black layer mask to hide each upper layer, then paint white over the subject to reveal that clone. Keep mask edges soft when blending shadows or hair.
1. the Two-clone Conversation Shot
This is the best first clone shot because the story is clear: one version of the subject talks to another. Use a table, couch, park bench, or doorway.
Pose one clone looking left and the other looking right. Make the eyelines match so they appear to notice each other. Add different expressions, such as one clone being serious and the other laughing.
Editing tip: keep space between the two bodies. If they do not overlap, you can reveal each clone with simple layer masks and very little cleanup.
2. the Action Sequence Clone Shot
An action sequence shows one person moving through several stages of an activity. Try jumping, skateboarding, dancing, throwing a ball, walking across a path, or climbing stairs.
Choose a location where the motion reads from left to right or front to back. Keep the camera locked down and shoot each position separately, even if the action is fast. You can also use burst mode and pick the best frames later.
Editing tip: reveal each body position in order. If limbs overlap, use a smaller brush and zoom in so the sequence still feels clean and believable.
3. the Mirror or Reaction Clone Shot
This idea works well for comedy, drama, or social media portraits. One clone reacts to another as if seeing a strange version of themselves. You can use a real mirror, a doorway, a window, or simply opposite sides of the frame.
The key is expression. One clone might look shocked, bored, scared, or impressed. The other clone can pose confidently or do something unexpected.
Editing tip: watch reflections and shadows. If a mirror is involved, make sure the reflected angle makes sense. For beginners, a “fake mirror” setup with two sides of a room is easier.
4. the Daily Routine Clone Shot
A daily routine clone shot tells a mini story in one frame. Place several versions of the subject doing different tasks: making coffee, checking a phone, reading, stretching, cooking, or working at a desk.
This idea is great indoors because familiar objects help the viewer understand the scene. Use a wide composition, and assign each clone a clear role. Avoid placing every clone at the same height or distance; mix sitting, standing, and leaning poses.
Editing tip: keep lighting consistent. Window light can change quickly, so shoot efficiently or use lamps with steady brightness.
5. the Object Handoff Clone Shot
The object handoff creates the illusion that one clone is passing something to another. It could be a mug, book, camera, ball, umbrella, or gift.
Plan the exact hand positions before shooting. In the first photo, one clone reaches out with the object. In the second, the other clone reaches toward the same spot. The closer the hands align, the stronger the illusion.
Editing tip: photograph the object in both positions, then choose the cleaner version during masking. If the hands overlap, use a hard-edged brush around fingers and a soft brush around shadows.
6. the Crowd of One Clone Shot
The crowd of one is a bigger composition where the same person appears many times in a scene. It can look like a party, meeting, classroom, audience, or busy street made from one subject.
Start with five to eight clones instead of trying twenty. Give each clone a different posture and direction: one sitting, one walking, one looking at the camera, one turned away. Clothing changes can help, but they are not required.
Editing tip: plan the front-to-back order. Mask distant clones first, then foreground clones. If clones overlap, the person closer to the camera should usually appear on top.
7. the Surreal Floating or Mini-me Clone Shot
This is the most imaginative of the 7 clone shots. A floating clone might hover above a bed or chair. A mini-me clone might stand on a desk, shoulder, book, or camera.
For floating shots, support the subject with a stool, chair, or box, then shoot a clean background plate without the support. For mini-me shots, photograph the subject separately against a simple background and resize them in editing.
Editing tip: shadows sell the effect. Add or preserve a soft shadow under the floating or tiny clone so the subject feels connected to the scene instead of pasted on.
Common Clone Shot Mistakes to Avoid
The biggest mistake is moving the camera between shots. Even a tiny shift can make the background hard to align. Use a tripod and avoid touching the camera when possible.
Another common problem is changing exposure or focus. If the camera keeps adjusting, each layer may look slightly different. Use manual settings.
Avoid messy overlaps when you are starting out. Clones that cross arms, hair, or clothing are harder to mask. Also watch for inconsistent shadows, changing sunlight, and props that move between frames. Small continuity errors can break the illusion quickly.
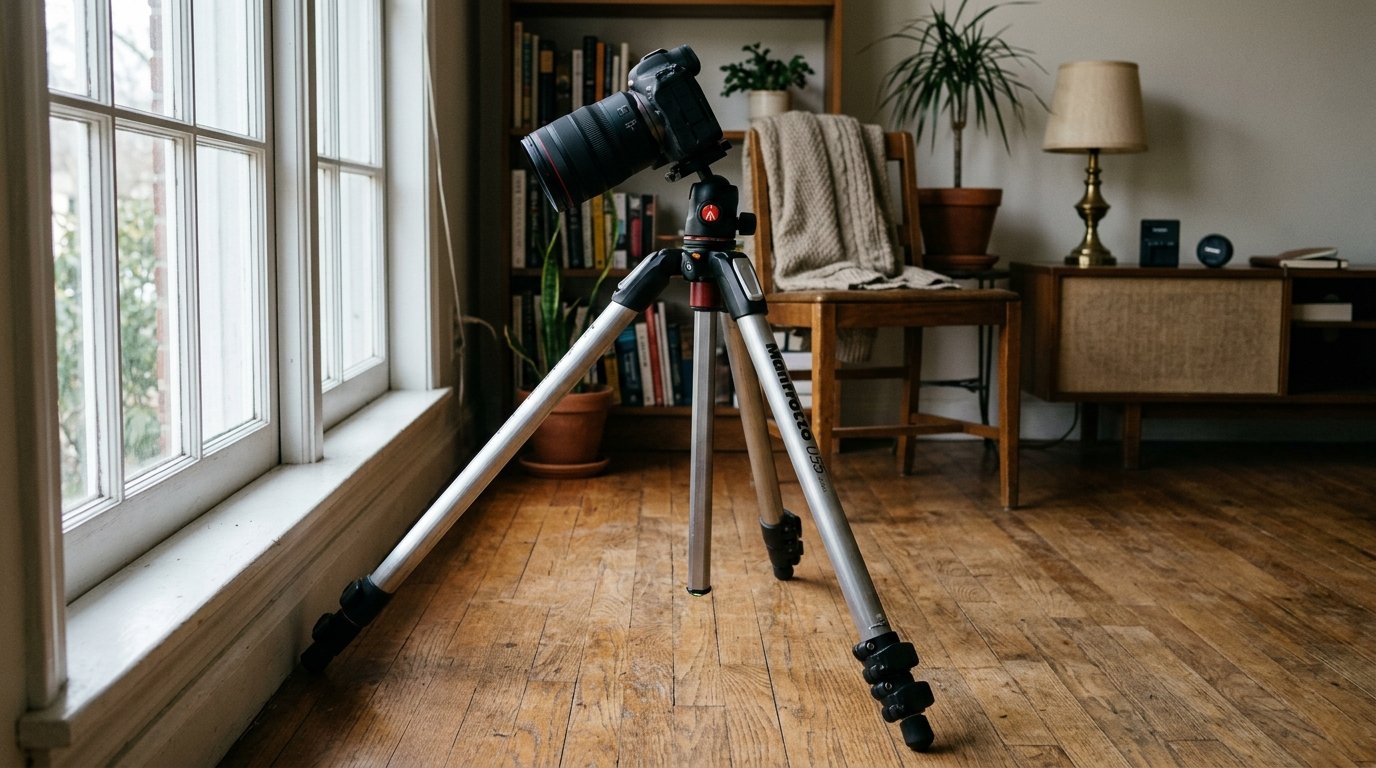
Simple Gear and Settings for Clone Photography
You do not need expensive gear. A camera or phone, tripod, and editing app with layers are enough. A remote shutter or self-timer makes self-portraits easier.
For camera settings, start with manual mode. Choose an aperture around f/5.6 to f/8 for enough depth of field, a shutter speed fast enough to avoid motion blur, and the lowest ISO that still gives a good exposure. Lock focus after focusing on the area where the subject will stand.
If using a phone, lock exposure and focus if your camera app allows it.
Final Tips for Planning Your First Clone Shot
Start simple. Choose one location, two or three clone positions, and a clear idea. Sketch the frame or take a test photo, then decide where each clone will stand.
Shoot more frames than you think you need, including an empty background. When editing, build the image one clone at a time. Your first result does not need to be perfect; each attempt teaches you better spacing, posing, and masking.
FAQ
What Should a Beginner Know First About 7 Clone Shots?
A beginner should know that clone shots depend more on consistency than complicated gear. Keep the camera still, use the same exposure and focus, and photograph each clone position separately. If the background matches across every frame, the editing becomes much easier.
What Matters Most When Evaluating 7 Clone Shots?
The most important things are believability, spacing, and story. A good clone shot should make it clear why each version of the subject is there. Clean masks, matching light, natural shadows, and convincing eyelines all help the final image feel intentional.
What Mistakes Should Readers Avoid with 7 Clone Shots?
Avoid moving the camera, using changing auto exposure, and placing clones in positions that overlap too much. Also watch for props, curtains, shadows, or background objects that shift between frames. These small changes can make the composite harder to blend.
What Is the Next Logical Step After Learning About 7 Clone Shots?
Pick the easiest idea: the two-clone conversation shot. Set up a tripod, take an empty background photo, shoot two separate poses, and blend them with layer masks. Once that works, try action sequences, handoffs, or more ambitious crowd-style clone photos.