Depth of field in video is simply how much of your image looks acceptably sharp from front to back. A shallow depth of field keeps your subject sharp and blurs the background. A deep depth of field keeps more of the scene in focus.
To control it, think about four main factors: aperture, focal length, camera-to-subject distance, and subject-to-background distance. Sensor size also affects the look, but it is not the first control to change on a shoot.
For beginners, the easiest path is this: use a wider aperture, move closer to your subject, and place the background farther away if you want blur. Stop down the aperture and step back if you want more of the frame sharp. Once that mental model clicks, depth of field becomes much easier to predict.
What Depth of Field Means in Video
Depth of field describes the zone of acceptable sharpness in your shot. If only your subject’s eyes are sharp and the background melts away, that is shallow depth of field. If your subject and the room behind them both look clear, that is deep depth of field.
In video, depth of field matters because it changes how viewers pay attention. A shallow look isolates a person or object and feels more cinematic. A deep look gives context and is often better for travel, events, tutorials, or scenes where movement makes focus harder to maintain.
A useful beginner mental model is this: depth of field is not just a camera setting. It is the result of how your lens, distance, and composition work together. Instead of asking, “What f-stop should I use?” ask, “How much of this scene do I want the viewer to notice?”
The 4 Main Controls That Change Depth of Field
These are the four controls that matter most in real shooting:
- Aperture: A wider aperture like f/1.8 or f/2.8 creates shallower depth of field. A narrower aperture like f/8 or f/11 creates deeper depth of field.
- Focal length: Longer lenses, such as 85mm, make background blur easier to see than wider lenses like 24mm.
- Camera-to-subject distance: The closer you are to your subject, the shallower the depth of field appears.
- Subject-to-background distance: The farther your subject is from the background, the blurrier that background can look.
Here is the quick reference version:
| Change you make | Result |
|---|---|
| Open aperture wider | Shallower depth of field |
| Close aperture down | Deeper depth of field |
| Use a longer lens | More background blur |
| Use a wider lens | More of scene appears in focus |
| Move closer to subject | Shallower depth of field |
| Move farther from subject | Deeper depth of field |
| Move subject away from background | Stronger blur behind subject |
| Put subject near background | Less visible blur |
For beginners, the most common mistake is changing only one factor and expecting a huge difference. Depth of field usually becomes obvious when two or three of these work together.
How Sensor Size Affects the Look
Sensor size affects depth of field, but not in a magical way. For the same framing and aperture, a larger sensor usually makes it easier to get a shallower look than a smaller sensor.
That is why full-frame cameras are popular for cinematic video. Micro Four Thirds and many phones tend to keep more of the frame in focus unless you work harder with lens choice and distance.
Still, do not let sensor size distract you from the basics. A small-sensor camera can still create background blur with a fast lens, close subject distance, and good separation from the background. A full-frame camera can still look flat if the subject stands right against the wall.
Step-by-step: How to Get Shallow Depth of Field in Video
If you want that soft, cinematic background, use this workflow:
1. Choose a wide aperture.
Start around f/1.8, f/2, or f/2.8 if your lens allows it. This is the fastest way to reduce depth of field.
2. Pick a lens with some reach.
A normal or short telephoto lens often helps more than a very wide lens. Think 50mm, 85mm, or the equivalent on your camera.
3. Move closer to your subject.
A medium close-up will blur the background more easily than a wide shot from far away.
4. Increase background distance.
Pull your subject away from walls, shelves, or trees. Even a few extra feet can make blur look much stronger.
5. Focus carefully.
Shallow depth of field looks great only when focus lands exactly where it should. For people, focus on the eyes.
6. Control exposure without closing the aperture.
In bright light, your image may get too bright at f/1.8. Instead of stopping down to f/8 and losing the look, use lower ISO, appropriate shutter settings for video, or an ND filter if needed.
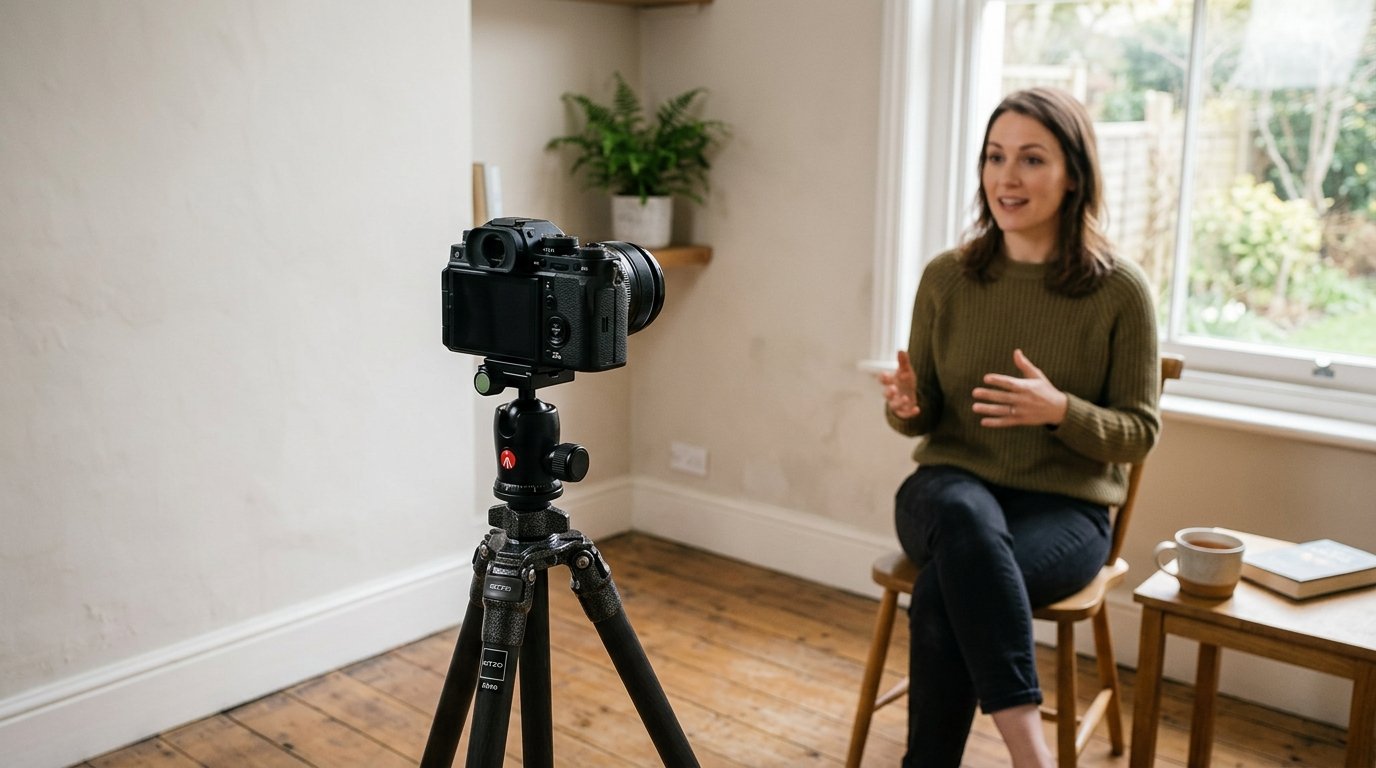
A simple setup for an interview is: subject seated six feet from the background, lens around 50mm, aperture at f/2.8, camera fairly close. That gives you separation without making focus impossibly thin.
Step-by-step: How to Keep More of the Scene in Focus
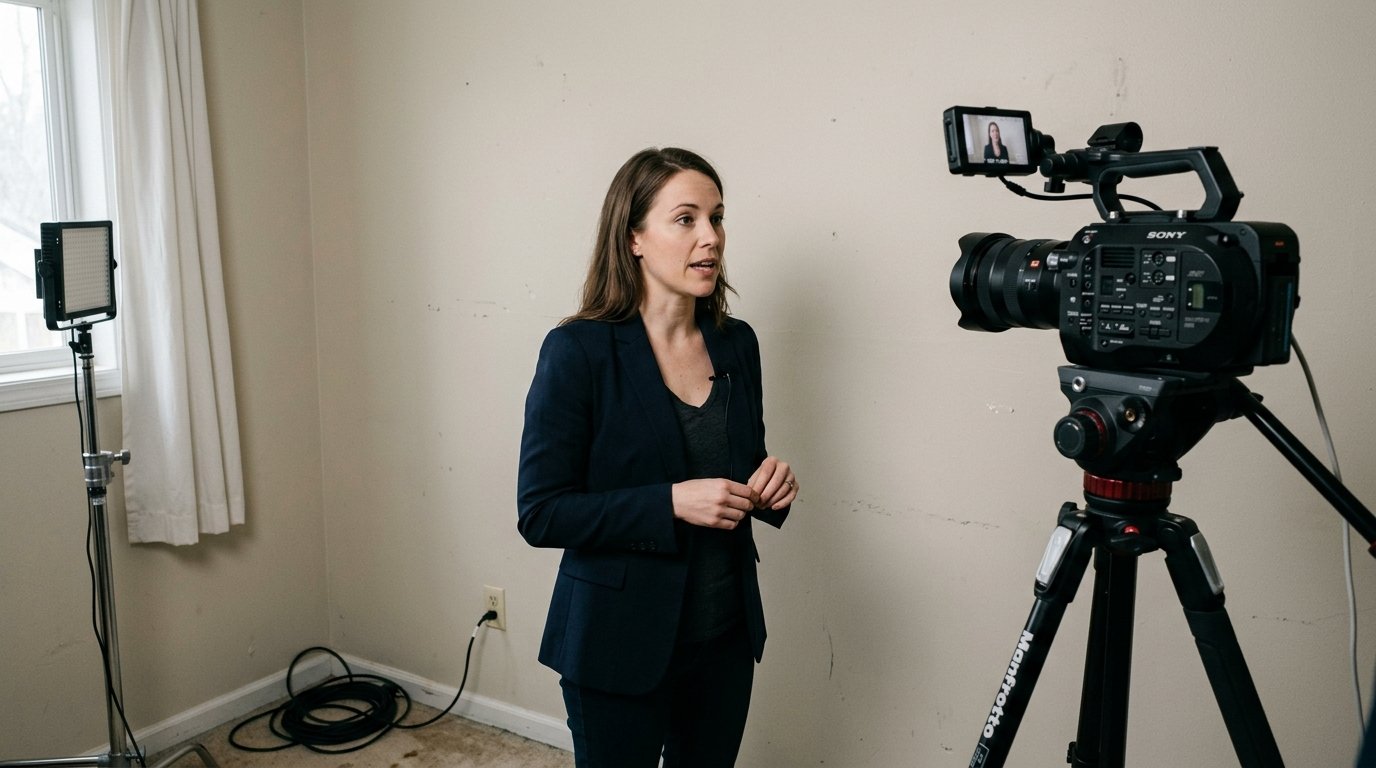
Sometimes shallow depth of field is the wrong choice. If your subject moves unpredictably, if you are filming landscapes, or if you want viewers to see the environment clearly, aim for deeper depth of field.
Use this workflow:
1. Stop down the aperture.
Start around f/5.6, f/8, or higher if light allows.
2. Use a wider lens.
A 16mm, 24mm, or similar focal length naturally keeps more of the scene looking sharp.
3. Step back from the subject.
Being farther away increases the area that appears in focus.
4. Keep the subject closer to the background if needed.
If separation is not the goal, there is no reason to force lots of distance behind them.
5. Check focus across the frame.
For a room tour or cooking video, make sure both the presenter and key objects stay sharp enough to be useful.
This is especially helpful for vlogging, documentary work, and tutorials where the audience needs to see hands, products, or surroundings. Deep depth of field is not less professional. It is often the more practical and readable choice.
3 Quick Shooting Examples Beginners Can Copy
1. Talking-head Video Indoors
Use a 35mm or 50mm lens, set aperture around f/2.8, and place your subject several feet from the wall. Frame from chest up and focus on the eyes. This gives you a clean, flattering blur without making focus too risky.
2. Product Close-up
Move the camera close to the item, use a wide aperture, and keep the background far behind it. Even a simple desk setup can look polished because nearby subjects plus distance behind them naturally create strong separation.
3. Travel or Street Walk-and-talk
Use a wider lens and stop down a bit, maybe around f/4 to f/5.6 depending on light. That keeps your face and more of the environment visible while making focus easier during movement. It feels less cinematic than f/1.8, but it is far more reliable.
These examples show the bigger lesson: choose depth of field based on what viewers need to notice, not on a fixed idea that “more blur is always better.”
Common Depth of Field Mistakes in Video
One common mistake is using the widest possible aperture all the time. At f/1.4, focus can be so thin that small body movements ruin the shot.
Another is standing the subject too close to the background. Even with a fast lens, the blur will look weak if the wall is right behind them.
Beginners also use very wide lenses and expect dramatic background blur. Wide lenses can look great, but they usually need close subject distance and strong background separation to show the effect clearly.
Finally, do not confuse blur with softness. If your subject is not sharply focused, that is a focus problem, not a depth of field style choice.
A Simple Rule of Thumb for Choosing the Right Depth of Field
Use shallow depth of field when you want to isolate one subject and guide attention. Use deeper depth of field when information, movement, or location matters.
If the viewer should feel, “Look at this person,” go shallow. If the viewer should feel, “Understand this whole scene,” go deeper.
When unsure, choose the most usable setup first. A slightly deeper shot that stays in focus is better than a beautifully blurred shot that misses focus.
FAQ
What is depth of field in video?
Depth of field is the amount of your video frame that appears acceptably sharp from front to back. Shallow depth of field keeps only part of the image sharp, while deep depth of field keeps more of the scene in focus.
How do I get a blurry background in video?
Use a wide aperture, move closer to your subject, use a longer lens if possible, and place the subject farther from the background. Combining these factors usually creates much stronger background blur than changing only one setting.
Does aperture affect video depth of field?
Yes. A wider aperture such as f/1.8 creates shallower depth of field, while a narrower aperture such as f/8 creates deeper depth of field. Aperture is one of the fastest and most direct ways to change the look.
Is full-frame better for shallow depth of field?
Usually yes. Full-frame cameras make shallow depth of field easier to achieve for the same framing and aperture. But lens choice, subject distance, and background distance still matter a lot, so sensor size is only part of the result.
Why is my video background not blurry?
You may be using a wide lens, standing too far from the subject, keeping the subject too close to the background, or using a small aperture. Try opening the aperture, moving closer, and increasing the distance behind your subject.