

Generation X was all about Polaroid cameras. Now Generation Z has their Instax. They’re different brands, but both produce instant snaps and communicate using lights.
Polaroid flashes orange when the battery is low, as does the Instax. It will flash between shots, turning solid when it has enough juice to snap the picture. The 8 orange LED lights indicate the number of films remaining in a pack. So, if there are 2 orange LED lights, there are 2 shots left.
The orange light isn’t the only blinking feature the Polaroid sports. Instax can also light up like Christmas. Sure, it would be easier if the devices just sent us a text. But until then, we’ve got the translations to your camera’s unique flickering speech.
Why Is My Polaroid Flashing Orange?
A Polaroid OneStep 2 i-Type flashes orange when the battery is low (see M), meaning you have enough power to get through about a pack of film. The light will bring as the camera is powering up. Once it has enough juice, the light will stop flashing, turning to a solid orange, and you can now snap another picture. After you take the shot, it will start the flashing process all over again.
The light will switch to a flashing red when the camera has run out of power. You won’t be able to take any more photos until the camera has been recharged (it takes around two hours in a wall socket, four with a USB). A fully charged Polaroid will last the typical user through 15-20 packs of film (120 – 160 pictures).
Why Is The Self-Timer Flashing Orange?
The Polaroid OneStep 2 i-Type has an 8-second self-timer (K) that will flash orange when it is counting down. To work the self-timer you:
- Press it, and it will turn solid orange
- Click the shutter (I)
- The self-timer will begin to count to 8, with 1 orange blink for each second
Note: The flash will also blink during the countdown if you are photographing in a bright area, such as full sunlight.
How Much Battery Life Does My Polaroid Have Left?
A solid green light (M) means your Polaroid is charged enough for at least two film packs, and it is ready to shoot. If the green light is blinking, it is powering back up between shots.
Orange (M) means 8 shots or fewer.
Red (M) means no more photos until your camera is recharged.
You can also check your Polaroid’s battery life by doing the following:
- Turn your Polaroid off (L)
- Turn your Polaroid on (L) while holding the self-timer button (A) at the front
- Look at the 8 LED lights at the top (K)
- The number of flashing lights indicates the charge. Example, 8 = full, and 4 = 50%
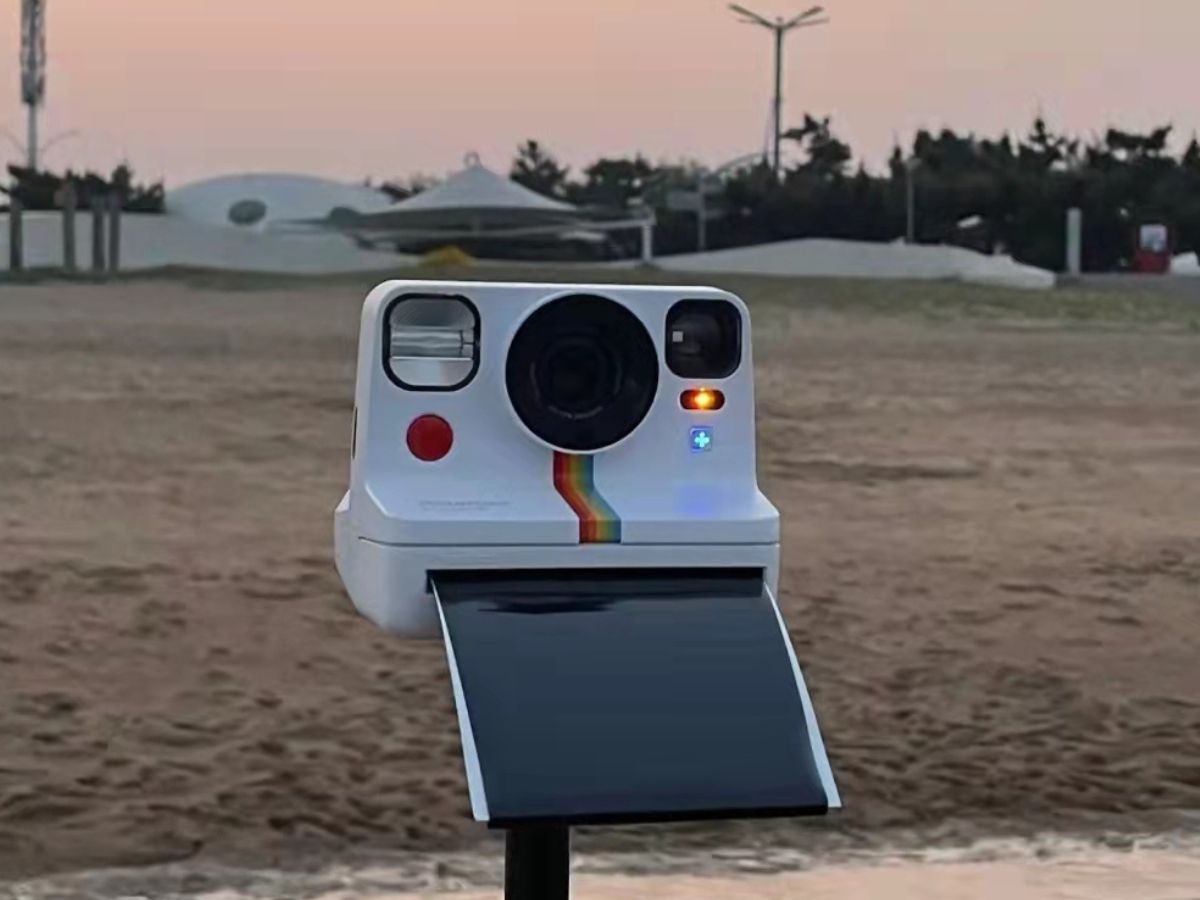
What Are The 8 Orange Lights On My Polaroid?
The Polaroid OneStep 2 i-Type also uses a series of orange lights to communicate how many shots are left in a film pack (see K). You begin with eight, and a light goes out with each consecutive photo. When the last snap has been taken, all 8 lights will start to flash, indicating you need a new film pack.
Why Are All The Lights On My Polaroid Flashing?
All the eight lights of a Polaroid OneStep 2 i-Type will flash when you are out of shots and need a new film pack. The other flashing patterns are as follows:
Every other light is flashing: The “zigzag pattern” means you’ve inserted a fresh film pack, and it’s gearing up to release the dark slide. However, if the black photo doesn’t slide out and the lights continue to blink, you should remove the film and insert it again.
Two flashes left, two flash right: If the exterior lights are taking turns flashing while you’re trying to take a snap, it means your film door wasn’t closed properly.
Eight solid lights: You’ve got a full film pack ready for you to start clicking away.
Seven or fewer solid lights: Indicates the number of shots left in your film pack. 3 lights mean three shots.
Why Is My Polaroid Blinking Red?
A Polaroid OneStep 2 i-Type blinks red when the battery needs to be charged. The red light will continue to flash as it charges. Once the light goes off, the camera is fully charged and may be unplugged.
How Do I Change My Polaroid’s Battery?
Modern Polaroid cameras like the OneStep 2 i-Type don’t require a battery change. Instead, you charge the battery by:
- Plugging it into a wall outlet. It will take around 2 hours to charge.
- Plugging it into a USB port, such as your computer. It will take approximately 4 hours to charge.
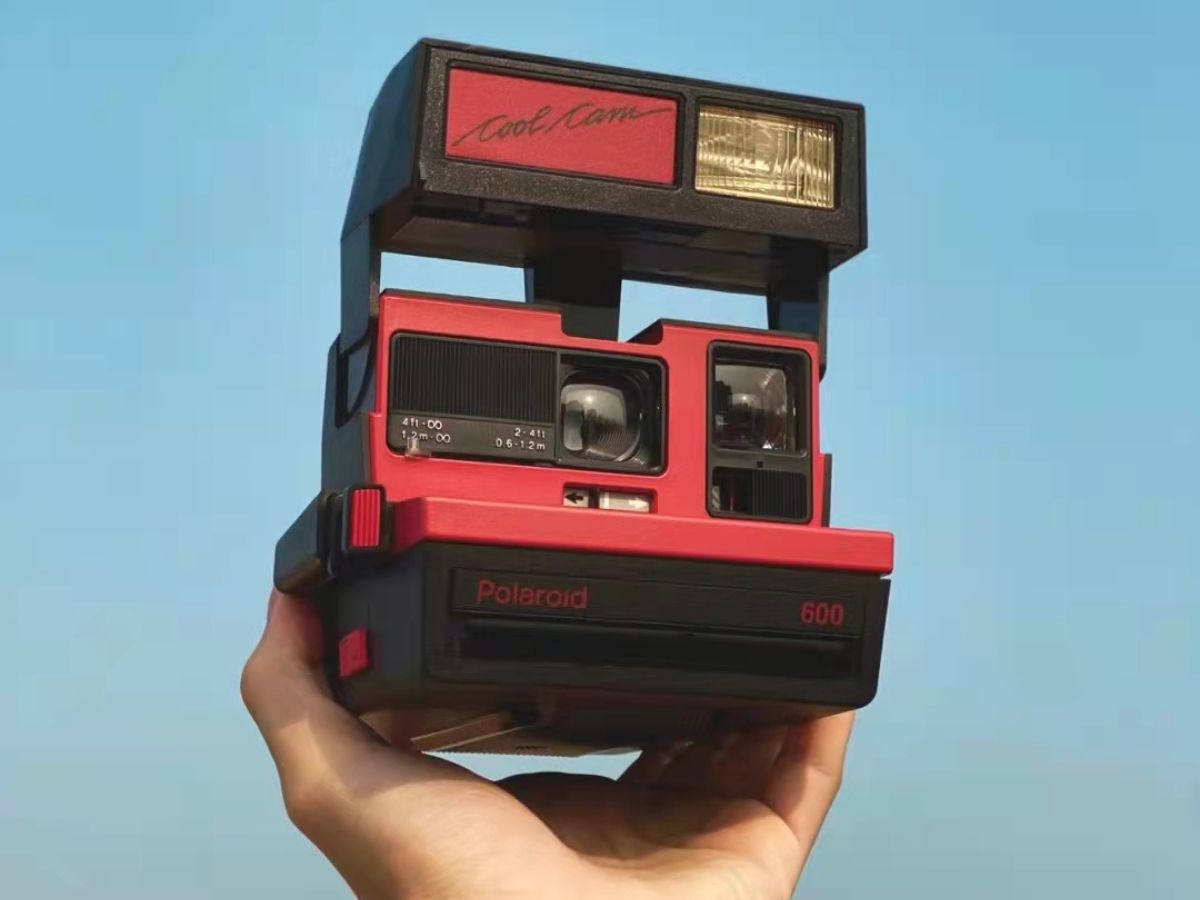
However, the camera doesn’t have a battery if you own a Polaroid 600 One Step. Instead, the battery is in the film cartridge (true story). So, if that film cartridge has been through a few Gulf Wars, it might be time to toss it out and get a new one. (Yes, you can still buy film for the 600.)
How Do I Reset My Polaroid Camera?
Resetting a polaroid camera is pretty straightforward. First, if it is acting oddly, you can try the long-standing solution suggested by IT personnel around the globe: shutting it off and back on. But if that doesn’t work, you can do a proper reset. However, this will not work on a dead battery. If the battery is dead, charge the camera for at least one hour before performing the following (unplugged):
- Open the paper tray/film drawer
- In the “roof” of its “mouth,” look for a tiny hole the size iPhones have to open sim card trays
- Find an object, such as a paperclip or a sim card pin
- Insert the object through the hold, pressing the button
- Hold it for about 10 seconds
- Close the paper tray
- Charge the camera for at least one more hour
Why Is My Instax Flashing Orange?
An Instax Max will flash slowly or quickly due to the following:
- Charging (slowly)
- An Error (quickly)
Why Is My Instax Flashing Slowly?
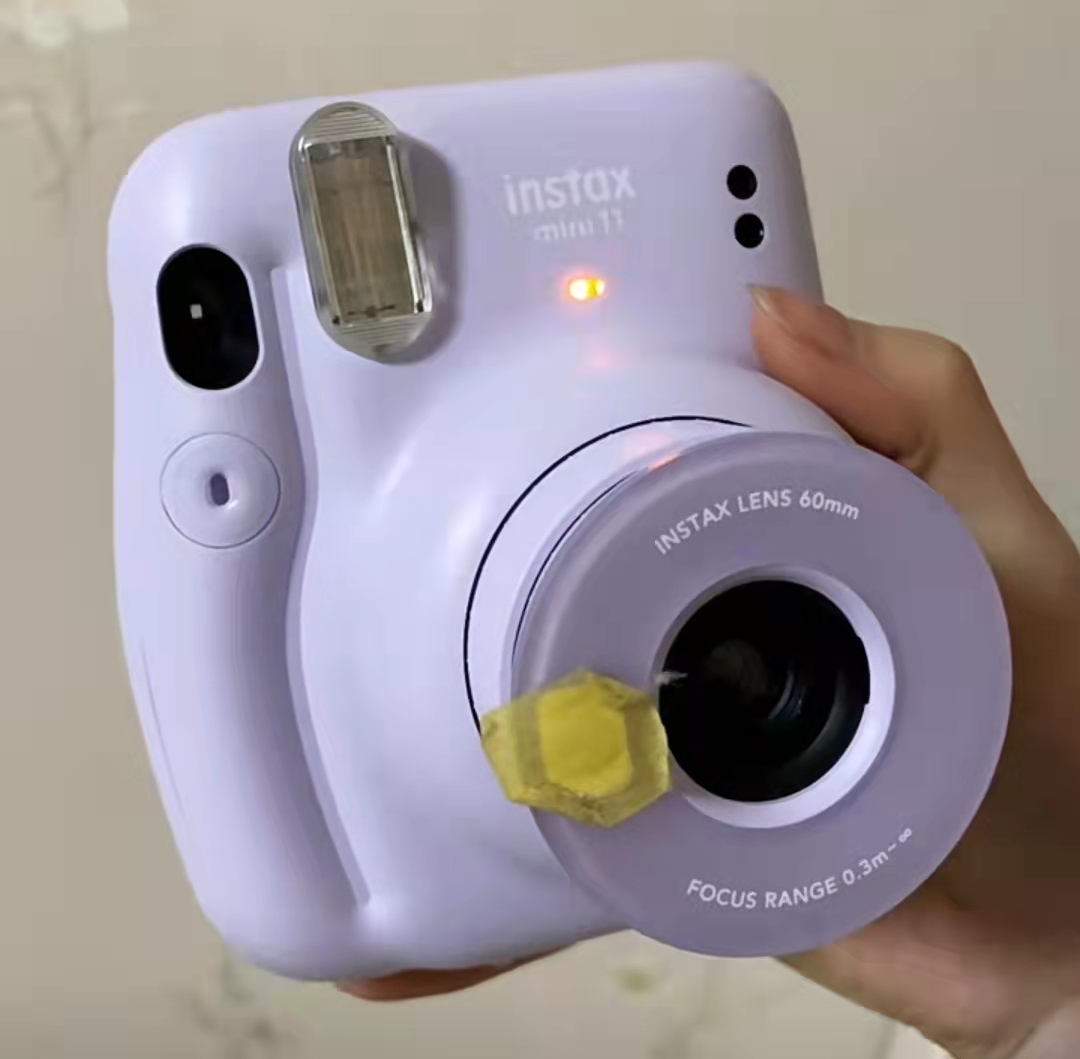
An Instax flashes slowly when it’s charging the lamp lights to its flash. Once it is charged (takes 3-10 seconds), it will cease flashing, and then you’ll be able to snap the photo.
Why Is My Instax Flashing Fast?
An Instax flashes quickly when there has been an error. The two main causes are the following:
- Battery check failed
- Film jammed
Fixing Your Instax After The Battery Check Failed
An Instax performs a battery check to see if there is enough voltage to charge the flash. If the check has failed, you will need to replace the camera’s batteries. Once done, you can use your Instax.
Fixing Your Instax After The Film Jammed
Instax cameras sometimes experience a film jam when their battery is low. There isn’t enough power to fully eject the film.
First, don’t pull the film out. We know it is tempting but resist. Instead, change the batteries, and the problem should resolve itself all on its own.
How To Get The Jammed Film Out Of The Instax Camera?
Instax cameras occasionally get a film jam so bad that replacing the batteries won’t fix the problem. Worse, it can happen while the lens is out. But don’t panic; there are other ways to get the film out.
- If the lens is out, retract it. You may need to push the power button repeatedly to do this.
- If you are desperate to save the rest of the film, do the next steps in a dark area, such as a closet
- Open the back where the film canister lives
- Next, grip the canister as lightly as possible
- Don’t push on the canister, as this can break the chemicals inside it
- Gently begin to wiggle it, tugging lightly. There is a mechanism you can easily break if you yank.
- Continue to wiggle, mostly rocking it back and forth, until the canister is halfway out
- Change your grip so you are holding it from the back, furthest away from the rollers
- Gently zigzag rock it, trying to wiggle the canister out from the film stuck in the rollers
- Once the canister is free from the stuck photo, set it aside in a dark place, facing down
- If you are not trying to save the film, toss the canister away
- You may move into the light
- Examine the films and see how many are stuck
- Carefully grab the top film (never grab more than one at a time)
- Gently rock it out, tugging so there is pressure on one corner, then the next, and repeat
- Once the film is free, continue the gentle, alternative tugs with the next film
- Do this until the camera is free of all film sheets
Normal Mistakes When Using Instax
Instax cameras are very user-friendly. But so are toasters, yet the appliance kills about 700 people yearly. Thankfully, the most common mistakes made using an Instax don’t have deadly consequences.
Finger Blocks The Lens
People have snapped pictures with their thumb in the shot as long as cameras have been around. But with Instax, if your finger is touching the lens, it might not work at all. Sometimes it will still take the shot, but it will be slightly blurry or leave lines at the top or bottom. So practice holding your camera correctly.
Finger Covers The Light Sensor
Instax has light sensors at the front. If you hold the camera wrong, these can get blocked, resulting in bleached-out photos. Tuck the fingers back.
Finger Over The Flash
Getting a finger over the flash leaves photos too dark. Fix by readjusting your grip.
Ignoring The Film Counter
Instax cameras can’t take many pictures before needing the cartridge changed. So keep an eye on that counter, so you don’t end up lining up the perfect shot only to discover you’ve run out of film.
Instax Batteries Improperly Inserted
It is common to pop batteries into an Instax the wrong way around. Pay attention to the + and – and line those AA batteries accordingly.
Removing The Dark Slide To the Film Cartridge
Instax film cartridges come with packaging. But don’t get carried away when taking it out of the box. That first black slide is there for your film’s protection. The camera will dispose of it once the cartridge is in place. Take it off yourself, and you’ll have ruined at least one photo in advance and possibly a few more.
Opening The Film Door When Cartridge Is In Use
It is good to be curious, but leave the film door closed until the cartridge is empty. That’s actual film in there, and opening the door exposes it to sunlight, wrecking your next snap.
Snapping A Selfie Without Using The Selfie Lens
Instax has a handy selfie lens that must be manually popped out. Failure to do so will leave you with a blurry photo.
Taking A Photo Without Closing The Selfie Lens
It’s very easy after you’ve taken a selfie to turn that camera back around and try to capture an image further away. Unfortunately, this leads to unfortunate results. To close the selfie lens, you must shut the camera off and then pop it back on.
Taking A Photo With Too Much Light
Instax has light settings, but these only work so well. Due to limited shutter speeds, it gets overwhelmed by the bright midday sun. As a result, the photos have this white “snowed” effect that disappoints most photographers.
There Is no perfect fix. Ideally, you want to photograph in better light conditions earlier or later in the day. But using sunglasses as a filter can also produce some satisfying results. Try different pairs and see which effect you like the best.
Using Your Instax Without Enough Light
Instax comes with a flash, but its powers are limited. You will be disappointed if you try to take pictures outdoors at night or in dimly lit rooms. Some will lack definition and be muddy. Others will come out so black it will be as if the camera is delivering the film packs dark slide. Unfortunately, the only real fix for this one is to wait until the sun returns or turn on some lights.
Conclusion
Polaroid and Instax communicate through lights, such as a flashing orange. Generally, if the light is solid, you’re good to take pictures. If the light is blinking, the camera is telling you to slow down: it is either juicing up between photographs, running out of battery, or there is an error that requires your attention.