Yes, taking better photos by taking more photos is real advice, but only if “more” includes attention and review. Every frame gives you feedback: what worked, what failed, what you missed, and what you should try next. That repetition builds faster instincts for light, composition, timing, focus, and camera settings.
The mental model is simple: shoot, notice, adjust, repeat. You do not improve because your camera count goes up. You improve because each photo teaches you something small, and those small lessons stack. For beginners, frequent practice is often the fastest path to more consistent results.
Why Taking More Photos Helps You Improve
Photography is a skill made of many quick decisions. Where do you stand? What goes in the frame? Is the light helping or hurting? Should you wait half a second? Is your subject sharp? These choices get better with repetition.
Taking more photos increases the number of times you face those decisions. That matters because beginners usually do not struggle with information alone. They struggle with recognition. You may know the rule of thirds, but not notice when a background is distracting. You may understand shutter speed, but not spot motion blur until you review your images.
More photos create more chances to connect cause and effect. You change angle, and the background improves. You expose for the highlights, and the sky keeps detail. You move closer, and the photo feels stronger. Over time, these lessons stop being theory and become instinct.
That is why volume helps: it multiplies your learning opportunities.
What You Actually Learn Each Time You Press the Shutter
Each photo teaches more than one thing, even when the image is not successful.
First, you learn composition. You start noticing edges, clutter, empty space, and subject placement. A photo that feels weak often shows you exactly what to remove or rearrange next time.
Second, you learn light. Bright midday sun, window light, shade, and backlighting all behave differently. After enough attempts, you begin to predict where shadows will fall and when faces will look flattering.
Third, you learn timing. A step too early or too late can change a street scene, portrait expression, or action shot. Frequent shooting trains you to anticipate moments instead of reacting after they pass.
Fourth, you learn camera control. You see what happened when shutter speed was too slow, when depth of field was too shallow, or when exposure compensation was needed. Settings start making sense because they are tied to real outcomes.
Finally, you learn your own habits. Maybe you always crop too tight, tilt horizons, or ignore backgrounds. Repetition reveals patterns, and patterns are fixable.
How to Practice so More Photos Lead to Better Photos
The goal is not mindless spraying. It is deliberate repetition.
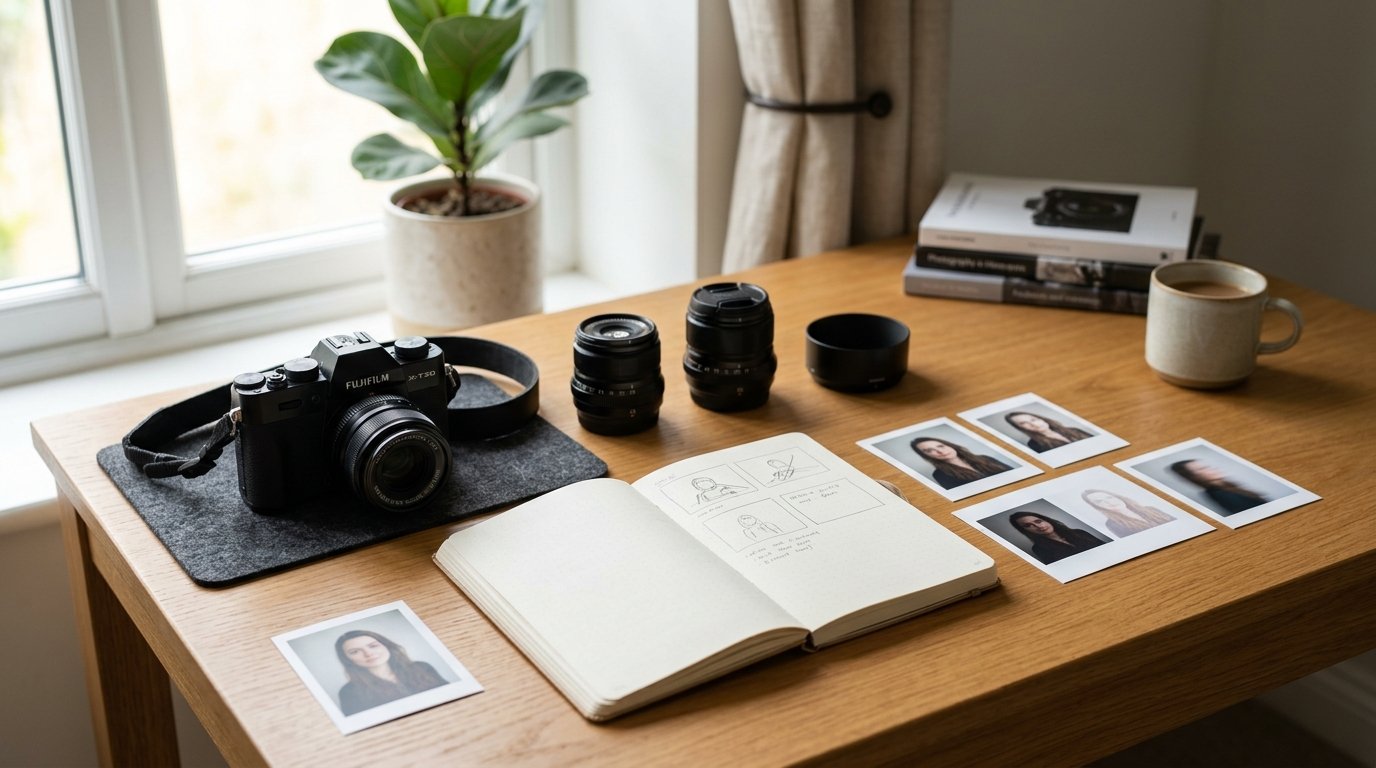
Start by giving each outing a small focus. One day, practice finding clean backgrounds. Another day, work only on exposure. Another, shoot moving subjects and test shutter speeds. When you limit the lesson, your results become easier to evaluate.
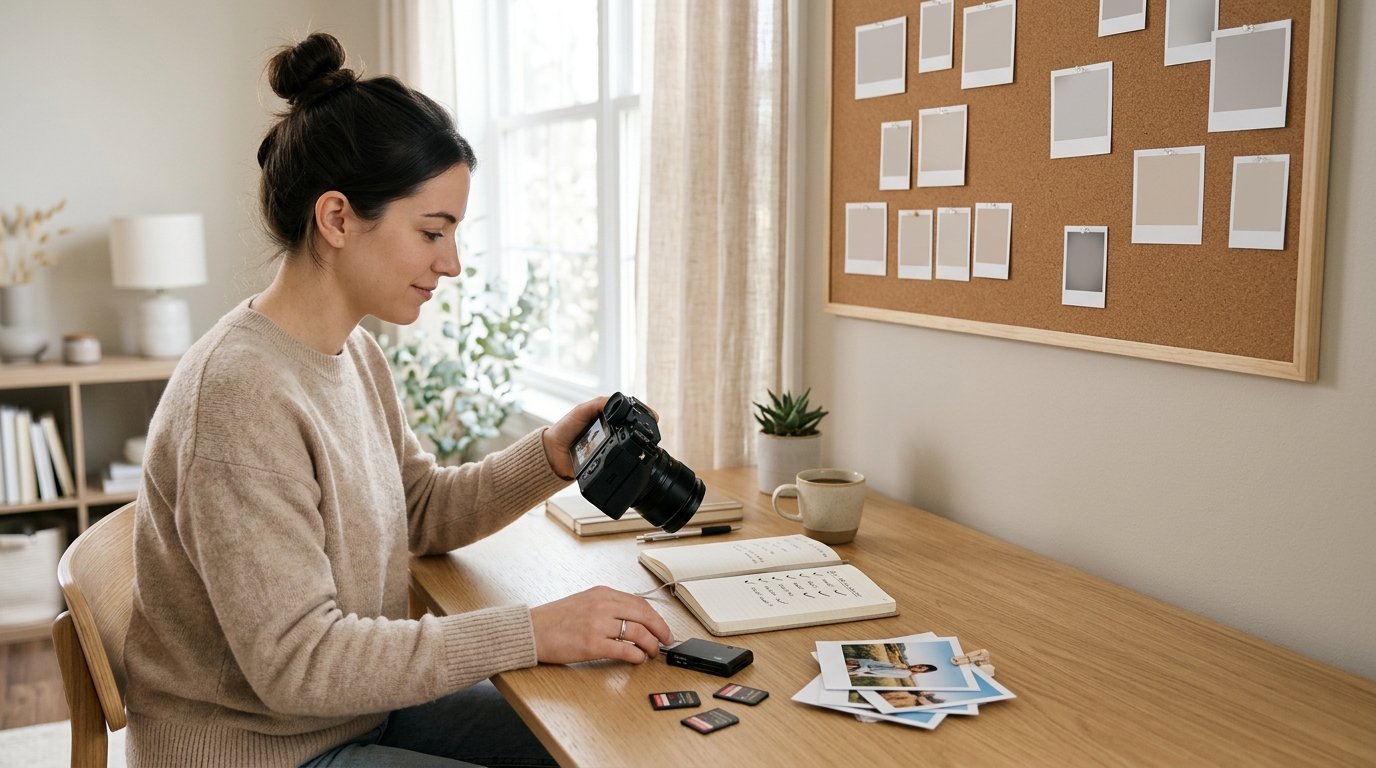
Use short feedback loops. After 20 or 30 photos, pause and review a few images on the camera screen. Ask simple questions: Is my subject clear? Is the photo sharp where it should be? Is the light helping? What is distracting? Then adjust immediately and keep shooting.
Repeat scenes with intention. If a photo is close but not quite right, do not move on too fast. Take it again from a lower angle. Take one closer. Wait for a better expression. Change exposure. Good practice often comes from improving one scene through several attempts.
Also, compare similar frames later on a larger screen. Beginners improve quickly when they can see why frame 17 is stronger than frame 12. That comparison teaches selection, which is part of photography too.
A useful pattern is this:
- Pick one subject or skill.
- Shoot variations.
- Review quickly.
- Adjust one thing.
- Repeat.
That process turns quantity into progress.
A Simple Practice Table for Beginner Photographers
| Practice habit | What to shoot | What to look for later | Skill built |
|---|---|---|---|
| 10 photos from different angles | One still subject | Which angle simplifies the frame | Composition |
| 15 photos in different light | A person or object by a window, in shade, outdoors | How light changes mood and detail | Seeing light |
| 20 moving-subject shots | Kids, pets, bikes, traffic | Which shutter speeds freeze or blur motion | Timing and settings |
| 5 retries of the same scene | Any “almost good” photo | What one small change improved most | Problem-solving |
How Many Photos Should You Take to Improve?
There is no magic number. You do not need to shoot hundreds every day to get better. What matters is steady practice and honest review.
For most beginners, a realistic goal is two to four focused sessions per week, even if each session lasts only 20 to 30 minutes. During that time, taking 30 to 100 photos with a clear purpose is plenty.
If you only shoot occasionally, progress feels slow because the feedback loop is too spread out. If you shoot a lot but never review, progress also slows because the lessons never stick.
Think in terms of consistency, not volume records. Fifty thoughtful photos every few days will usually teach you more than 500 random ones once a month.
Mistakes to Avoid When Trying to Improve by Shooting More
The biggest mistake is confusing more photos with better practice. Holding the shutter down without thinking can fill your memory card without teaching you much.
Another mistake is never reviewing your work. If you do not look for patterns, you will repeat the same weak framing, bad timing, or exposure problems.
Avoid changing too many variables at once. If you move position, change focal length, and adjust exposure all together, it becomes hard to know what improved the image.
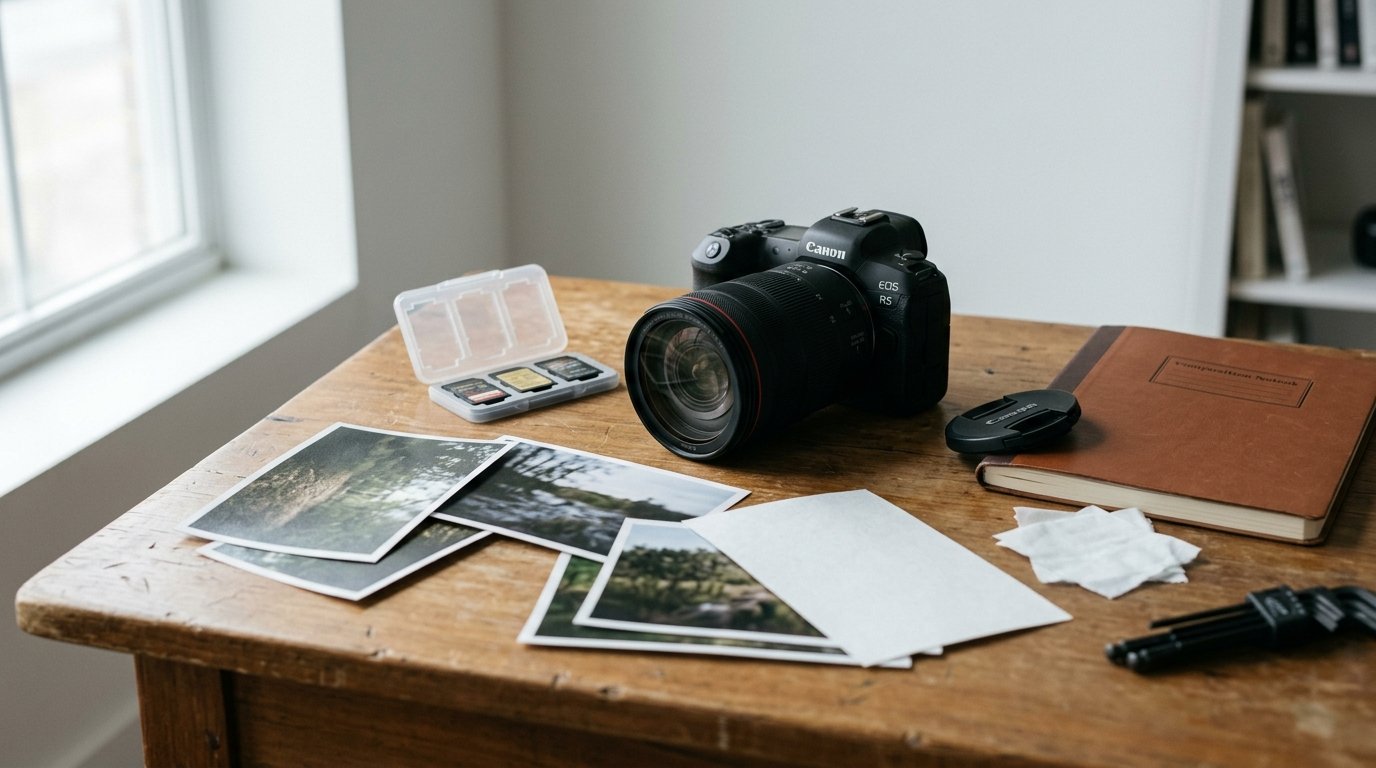
Do not delete everything too quickly, either. Even weak photos can be useful teachers when you compare them with stronger ones.
Finally, do not measure progress only by “keeper rate.” Early improvement often looks like better decisions, not perfect photos.
A 30-day Plan to Start Taking Better Photos
Keep this simple enough that you will actually do it.
Week 1: Notice composition
Shoot one subject a day from multiple distances and angles. Review each set and pick your best frame. Write one sentence about why it worked.
Week 2: Study light
Photograph the same kind of subject in morning light, shade, window light, and late afternoon light. Compare shadows, skin tones, and contrast.
Week 3: Practice timing and settings
Photograph movement: walking people, pets, or traffic. Test faster and slower shutter speeds. Notice when blur becomes useful and when it becomes a mistake.
Week 4: Combine everything
Take short photo walks and apply what you learned. For each outing, choose five photos to review carefully. Ask: What did I see well? What did I miss? What will I try next time?
By day 30, the biggest change may not be your best single image. It may be that you now notice problems before pressing the shutter.
FAQ
Does Taking More Photos Automatically Make You Better?
No. More photos help only when they create feedback. You need to review your images, notice patterns, and try adjustments. Repetition without reflection can build bad habits just as easily as good ones.
Is It Better to Take Many Photos or Slow Down and Take Fewer?
Both can help. Take enough photos to explore options, but slow down enough to notice what changes from frame to frame. The best practice is thoughtful repetition, not either extreme by itself.
Can You Improve Photography Without Expensive Gear?
Yes. Beginners usually improve faster through observation, timing, composition, and light awareness than through new equipment. A basic camera or phone is enough to practice the decisions that make photos stronger.
What Should I Review After a Photo Session?
Check sharpness, exposure, composition, background distractions, timing, and subject clarity. Then compare similar frames and identify the strongest one. Most importantly, decide one thing to do differently in your next session.