I made a time-lapse movie with my DSLR by shooting a long sequence of still photos from a locked-down tripod, keeping the exposure and focus consistent, then combining those photos into a video file at a normal frame rate. The basic idea is simple: each photo becomes one frame of the final movie.
For my beginner project, I chose a sunset because it changes slowly, looks dramatic, and does not require complicated camera movement. I planned the final video length first, calculated how many photos I needed, chose an interval between shots, and used manual camera settings to avoid flicker.
The workflow was: set up the DSLR on a tripod, frame and focus the scene, shoot hundreds of photos with an interval timer, edit one photo, sync those edits across the sequence, then export the images into a finished time-lapse movie.
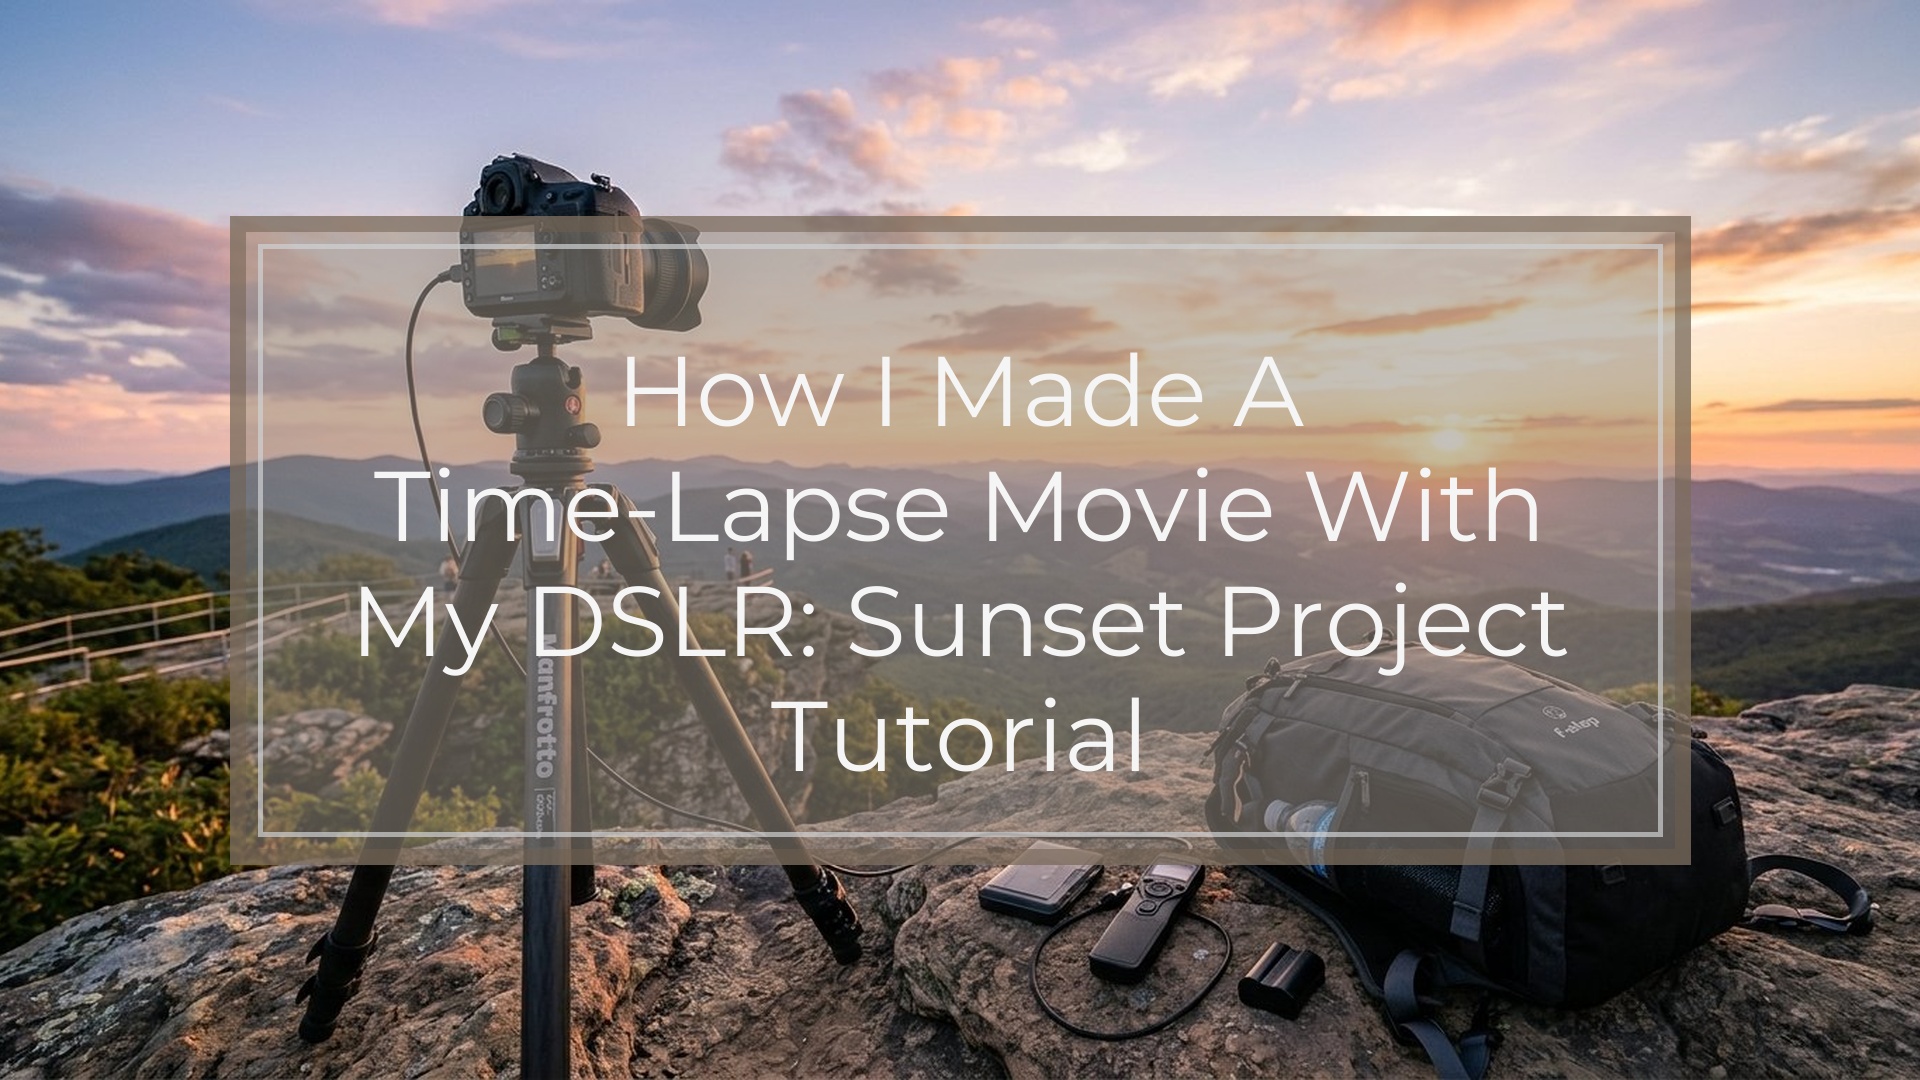
The Project I Shot: a Simple Sunset Time-lapse
For my first DSLR time-lapse, I kept the project simple: a sunset over a skyline. I wanted clouds moving, light changing, and the sun dropping toward the horizon. That gave the movie visible motion without needing people, traffic, or a moving camera.
The goal was a short finished clip, about 10 to 15 seconds long, suitable for sharing online. I did not try to make a full cinematic sequence. I only wanted to learn the process from start to finish: capture, edit, assemble, and export.
Choosing one fixed scene helped me focus on the important skills: stable framing, consistent exposure, sharp focus, and smooth timing.
What I Needed Before Shooting
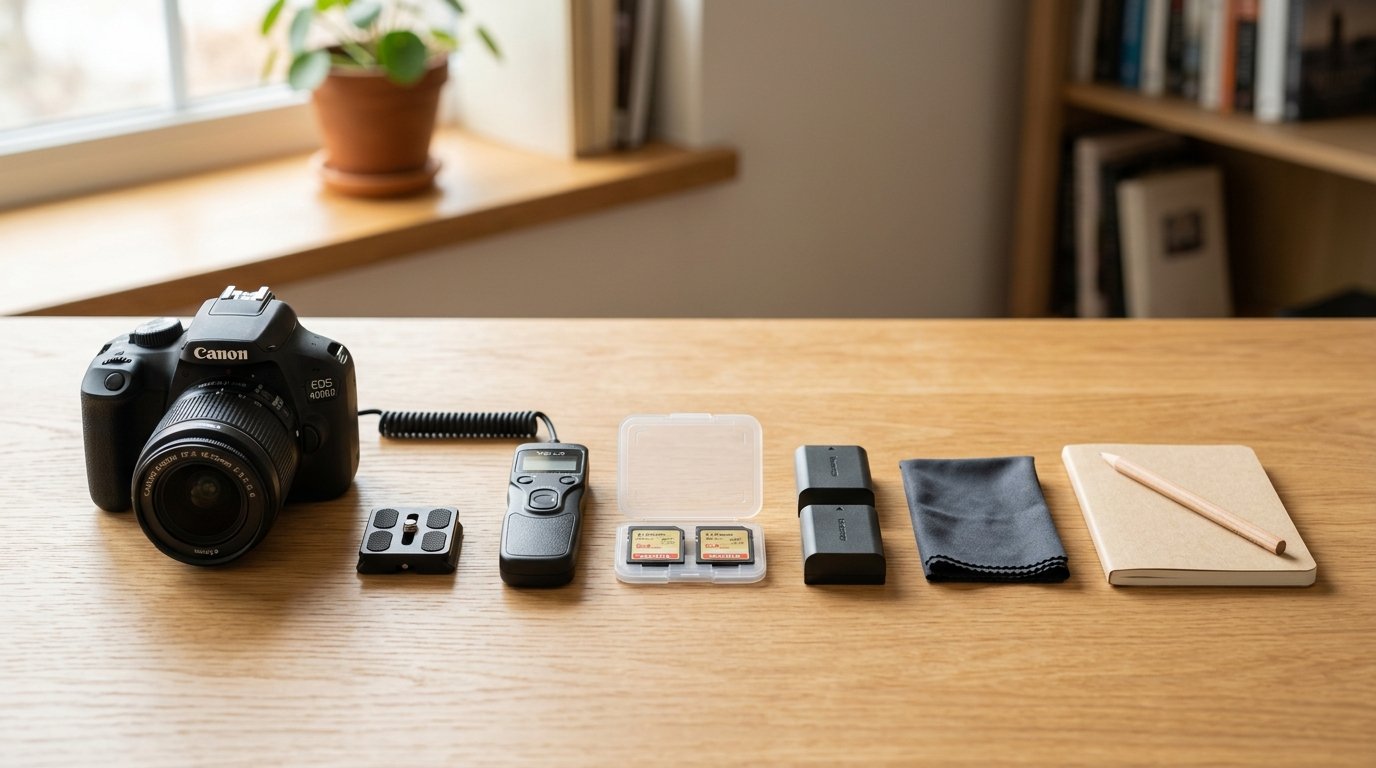
The minimum gear was not complicated. I used a DSLR, a lens, a sturdy tripod, a memory card with enough space, and a full battery. The tripod mattered more than the camera model because any movement between frames would show up as a distracting jump in the final movie.
I also used an intervalometer, which is a timer that tells the camera to take a photo every few seconds. Some DSLRs have this built in. If yours does not, an inexpensive wired remote intervalometer works well.
Helpful extras included a second battery, a larger memory card, a lens cloth, and warm clothing if shooting outside. For editing, I used photo software that could apply the same adjustments to many images, plus video software that could import an image sequence.
The Simple Math: How Many Photos I Needed
The most useful mental model is this: a time-lapse movie is just many still photos played quickly. If the finished movie plays at 24 frames per second, then 24 photos create one second of video.
So the formula is:
Final video length × frame rate = number of photos needed
For a 10-second movie at 24 frames per second:
10 × 24 = 240 photos
For a 15-second movie:
15 × 24 = 360 photos
Then I worked backward to shooting time. If I took one photo every 5 seconds and needed 240 photos, the camera had to shoot for 1,200 seconds, or 20 minutes.
This math kept me from guessing. It also helped me decide whether the sunset would change enough during the shoot to make the final clip interesting.
The Camera Settings I Used
I used manual settings because consistency is the key to a smooth DSLR time-lapse. If the camera changes exposure, white balance, or focus from frame to frame, the final movie can flicker or pulse.
For my sunset, I started with these settings:
- Mode: Manual exposure
- File type: RAW, if storage allowed
- Focus: Manual focus after focusing once
- White balance: Fixed preset, not Auto
- ISO: Low, such as ISO 100 or 200
- Aperture: Around f/8 for good depth of field
- Shutter speed: Adjusted for the correct exposure
I focused using live view, zoomed in on a distant building, then switched the lens to manual focus so the camera would not refocus every shot.
For exposure, I watched the histogram instead of trusting only the rear screen. With sunset scenes, the light changes quickly, so there is a tradeoff. Locking exposure gives consistency, but the scene may become darker near the end. For a first project, I accepted that and exposed for the brighter part of the sunset without clipping important highlights.
How I Set up the Shot on Location
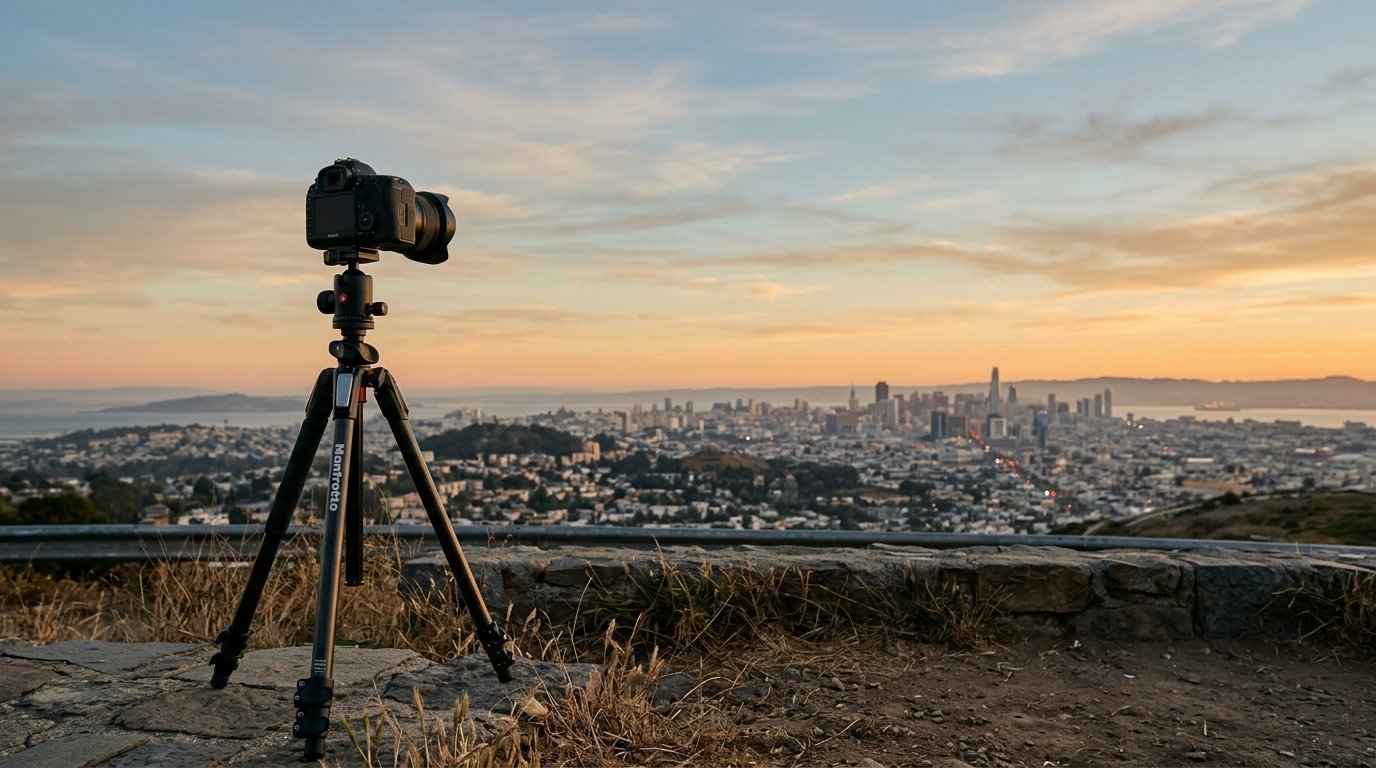
On location, I arrived early enough to test the composition before the best light started. I placed the tripod on firm ground and avoided spots where people might bump it.
I framed the scene with some sky, some foreground, and a clear subject shape, such as the skyline. Too much empty sky can work if the clouds are moving, but I wanted the viewer to feel the sun setting over a place, not just see color changes.
Before starting the interval timer, I checked four things: the tripod was locked, the image was level, the focus was manual, and the battery had enough charge. I also turned off image stabilization on the lens because the camera was already on a tripod.
Choosing the Right Interval
The interval controls how fast time appears to move. A short interval creates smoother motion and works for faster subjects. A longer interval creates more dramatic jumps and works for slow changes.
Here are practical starting points:
| Subject | Starting interval | Notes |
|---|---|---|
| — | —: | — |
| Fast clouds | 1–3 seconds | Good for smooth, energetic motion |
| Sunset or sunrise | 3–8 seconds | My sunset worked well around this range |
| Street traffic | 1–2 seconds | Cars move quickly, so keep the gap short |
| Growing shadows | 5–15 seconds | Slow changes need more real time |
| Stars | 15–30 seconds | Depends on exposure time and lens |
For my sunset, I chose a 5-second interval. That gave enough photos for a smooth clip while still covering a meaningful stretch of real time. I also made sure my shutter speed was shorter than the interval, so the camera had time to save each photo before the next one.
Shooting the Sequence
Once everything was set, I started the intervalometer and tried not to touch the camera. This is harder than it sounds. It is tempting to keep checking the framing or changing settings, but every touch can introduce movement.
During the shoot, I monitored only the basics: battery level, remaining card space, and whether the camera was still firing. I stood where I would not cast shadows into the frame or block the view.
For a sunset, the light can fade quickly near the end. I let the sequence finish rather than constantly adjusting exposure. A slightly imperfect but smooth sequence is usually better than a sequence with visible jumps.
Importing and Editing the Photos
After the shoot, I copied all the images into one folder and kept the file names in order. This matters because the video software needs to read the photos as a continuous sequence.
I opened the photos in editing software and chose one representative image from the middle of the sequence. I adjusted exposure, contrast, highlights, shadows, color temperature, and cropping. Then I synced those same edits to every photo in the sequence.
The goal was consistency, not heavy editing. Big changes from frame to frame cause flicker, so I avoided local adjustments that might behave unpredictably across hundreds of images.
Finally, I exported the edited photos as JPEGs into a new folder. I used a consistent size, such as 4K or 1080p, depending on the final video I wanted.
Turning the Photos Into a Time-lapse Movie
To make the movie, I imported the edited JPEGs as an image sequence in video software. Most editing programs have some version of this option. Instead of importing 300 separate photos as individual clips, the software treats the folder as one continuous video clip.
I set the frame rate to 24 frames per second. That means every 24 photos became one second of finished video. If the sequence felt too fast, I could use a lower frame rate or add more photos next time. If it felt too slow, I could speed up the clip in the editor.
Then I added a simple fade in and fade out, checked the motion for flicker or bumps, and exported the final movie as an MP4. For online sharing, 1080p was enough, though 4K would preserve more detail.
Mistakes I’d Avoid Next Time
The biggest mistake I would avoid is arriving too late. Time-lapse rewards preparation. If the light is already perfect when you start setting up, you are probably late.
I would also double-check focus before starting. A slightly soft time-lapse stays soft for every frame, and it is painful to discover that after shooting hundreds of photos.
Another mistake is using Auto White Balance. It may look fine in single photos, but in a time-lapse it can shift color between frames. I would also avoid touching the tripod, changing zoom, or adjusting composition once the sequence begins.
Finally, I would shoot more photos than I think I need. Extra frames give more flexibility when editing.
My Beginner-friendly Dslr Time-lapse Workflow
Here is the repeatable workflow I would use again:
- Choose a subject with visible change.
- Decide the final video length and frame rate.
- Calculate how many photos are needed.
- Pick an interval that fits the subject.
- Set the DSLR on a tripod.
- Use manual exposure, manual focus, and fixed white balance.
- Start the interval timer and avoid touching the camera.
- Edit one photo and sync the edits.
- Export the photos in order.
- Import them as an image sequence and export the movie.
FAQ
What Should a Beginner Know First About How I Made a Time Lapse Movie with My Dslr?
The most important idea is that the movie is made from still photos. Your DSLR takes hundreds of images at a set interval, and software plays them back at a video frame rate. Stable framing, consistent settings, and enough photos matter more than advanced gear.
What Matters Most When Evaluating How I Made a Time Lapse Movie with My Dslr?
The smoothness of the final clip matters most. Look for stable composition, steady exposure, consistent color, sharp focus, and motion that feels natural. A simple subject shot cleanly usually looks better than a complex scene with flicker, camera shake, or missed focus.
What Mistakes Should Readers Avoid with How I Made a Time Lapse Movie with My Dslr?
Avoid handheld shooting, autofocus during the sequence, Auto White Balance, weak batteries, small memory cards, and changing settings halfway through. Also avoid guessing the number of photos. Plan the final video length, frame rate, and interval before you start shooting.
What Is the Next Logical Step After Learning About How I Made a Time Lapse Movie with My Dslr?
The next step is to repeat the process with a different subject, such as clouds, traffic, or stars. Keep the same basic workflow, then experiment with intervals, longer shooting times, and more polished editing. Once you are confident, try adding camera movement.