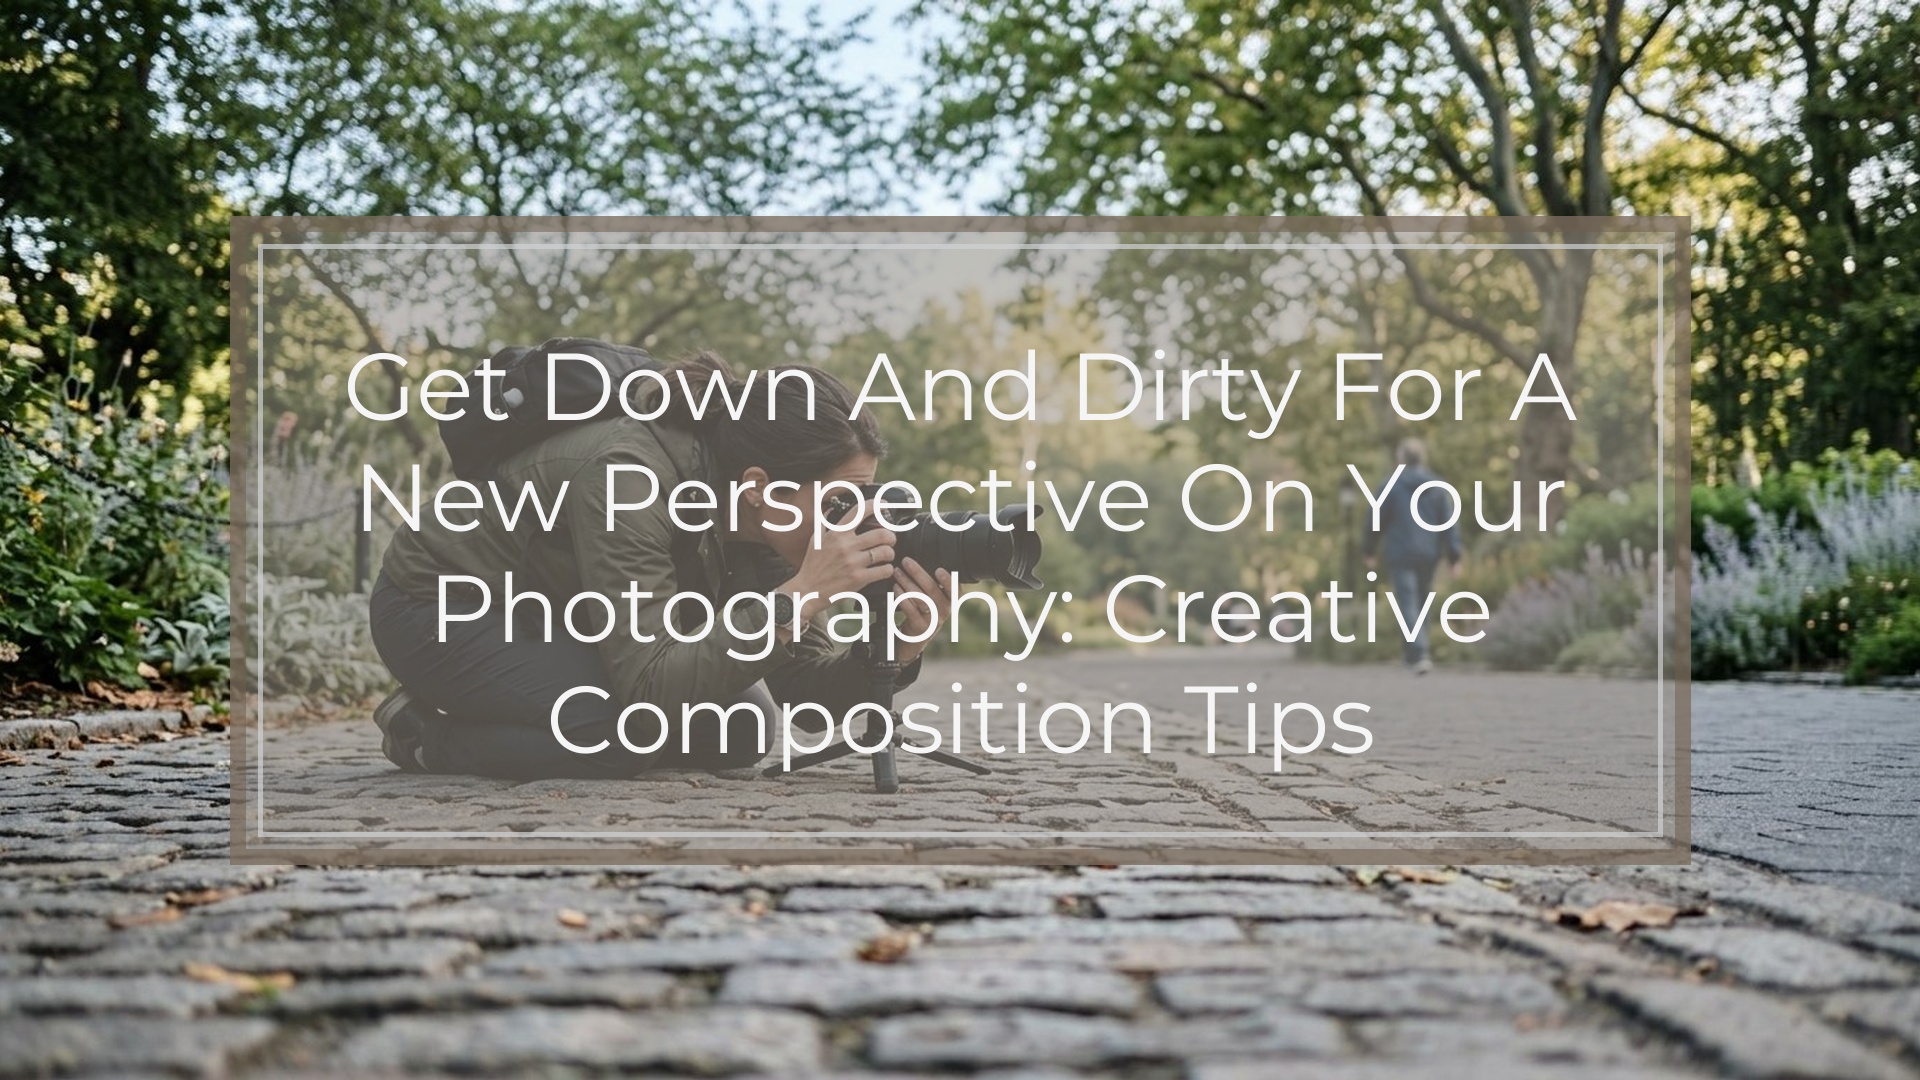
Getting low to the ground is one of the simplest ways to make ordinary photos feel more dramatic, immersive, and intentional. In practice, “get down and dirty” means lowering your camera well below normal eye level so foreground elements grow, lines stretch, and familiar subjects look fresh. It works because perspective changes with camera position, not just lens choice. For beginners, this is a practical composition tool: kneel, crouch, or place the camera near the ground, then use that angle to simplify backgrounds, add depth, and give the viewer a stronger sense of being inside the scene.
Quick Answer
If you want a new perspective on your photography, stop shooting everything from standing height. Lowering the camera changes the relationship between foreground, subject, and background, which can make scenes look bigger, more layered, and more engaging.
A low perspective works especially well when you want to:
- make a subject feel stronger or more dramatic
- exaggerate leading lines like roads, paths, fences, or floor tiles
- include foreground texture such as grass, sand, puddles, or flowers
- simplify cluttered backgrounds by replacing them with sky or distant space
- create a more immersive point of view for viewers
The main takeaway is simple: perspective comes from where you place the camera. A different height often matters more than buying a new lens.
Start by looking for scenes with something interesting close to the camera and a clear main subject a bit farther back. Then get as low as is practical, frame carefully, and check the edges of the image. Even a small drop from eye level to knee level can noticeably change the photo. Going all the way to ground level can create a much stronger effect when the scene supports it.
How to Think About This Topic
A useful mental model is this: low-angle photography changes importance, depth, and background.
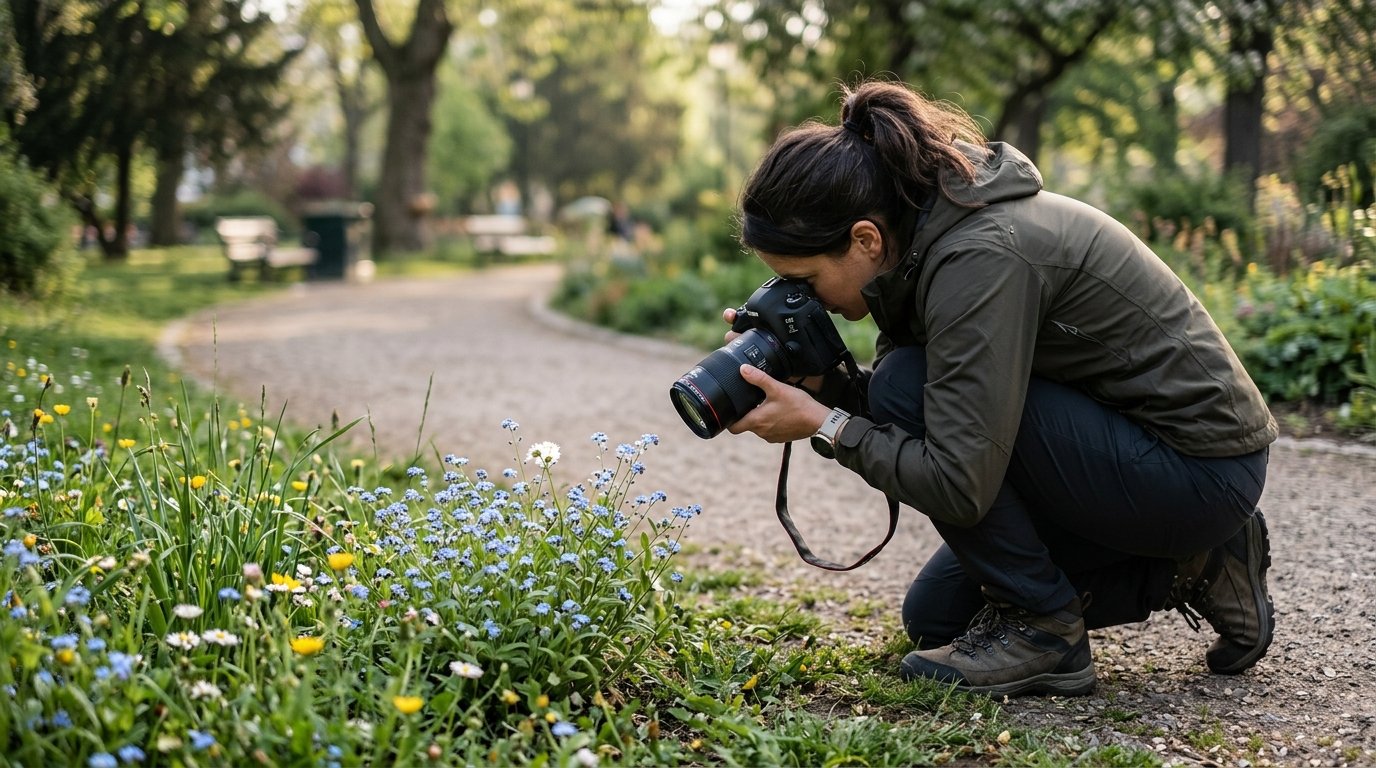
First, it changes importance. Objects closer to the camera look larger. So when you get down low, anything near the lens gains visual weight. A small patch of flowers can suddenly become a strong foreground. A child, dog, bicycle, or tree can feel more prominent and alive. This is why ground-level shooting can make common scenes feel more intentional.
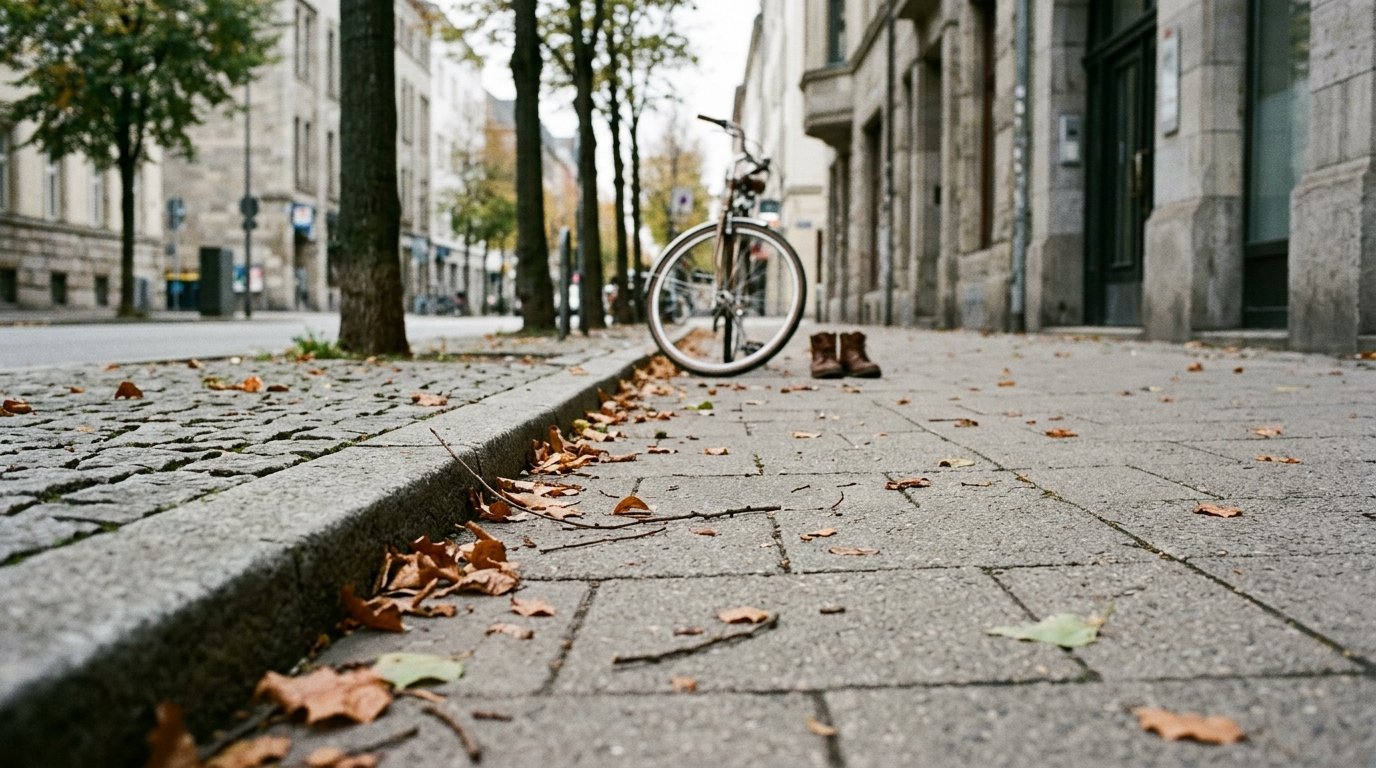
Second, it changes depth. A lower camera position stretches the distance between near and far elements in a way that feels more three-dimensional. That effect is especially strong when the frame includes layers: something close, your main subject in the middle, and a background that supports the story. If your goal is to make photos feel less flat, this is one of the easiest compositional fixes.
Third, it changes background. From eye level, busy objects often sit directly behind the subject: parked cars, signs, random people, fences, or messy furniture. Drop the camera lower and you may replace that clutter with open sky, distant trees, a clean wall, or simple negative space. That can make your subject stand out without any editing.
This ties directly to the reason people search for this technique: they want their photos to look less ordinary. The usual beginner problem is not a lack of interesting subjects. It is repeating the same standing viewpoint. Once you understand that camera height is a creative choice, you start seeing more options in familiar places.
It also helps to think in terms of when low is useful and when it is not. A low perspective is great when the foreground adds something, when lines can lead the eye, or when you want more drama. It is less useful when the foreground is messy, when the subject needs a neutral documentary look, or when the angle makes faces or buildings look awkward.
So the question is not “Should I always shoot low?” It is “Does a lower camera position improve the story, composition, or mood of this scene?” That judgment is what turns a trick into a reliable technique.
Practical Guidance
The easiest way to use this technique well is to follow a simple shooting workflow.
1. Choose Scenes That Benefit from a Low Viewpoint
Look for subjects and situations where the ground itself helps the photo:
- flowers, grass, leaves, snow, sand, or puddles
- roads, sidewalks, train tracks, boardwalks, and stair lines
- pets, children, and athletes in motion
- cars, bikes, statues, and architecture you want to feel larger
- landscapes with strong foreground texture
For example, if you photograph a dog from standing height, you mostly see its back and the ground. If you crouch to the dog’s level, the photo feels more personal. If you go even lower, with grass in the foreground and sky behind, the image can feel playful and cinematic.
2. Build the Frame from Front to Back
When you get low, the foreground becomes powerful very quickly. Use that on purpose.
A simple checklist:
- Foreground: Is there texture or shape near the camera?
- Subject: Is the main subject clearly separated?
- Background: Is it cleaner from this angle?
If one of those parts is weak, adjust position before worrying about camera settings. Move left or right a little. Lower the camera more. Raise it slightly if the foreground becomes distracting. Small position changes matter a lot at ground level.
3. Keep Settings Simple
You do not need advanced gear. Beginner-friendly settings are enough.
- Use a faster shutter speed if handholding from an awkward crouch, especially for people, pets, or street scenes.
- If the whole image needs to feel sharp, choose a middle aperture such as f/5.6 to f/8.
- If light is low, raise ISO rather than accepting blur.
- Use single-point autofocus and place it on the subject, not the foreground by accident.
If your camera has a flip screen, use it. If not, take a shot, review it, and adjust. Low-angle photography often improves through quick trial and error.
4. Watch for Common Mistakes
Beginners often go low and assume the photo will automatically look better. It will not unless the frame is controlled.
Common problems include:
- a messy foreground taking over the picture
- tilted horizons from awkward body position
- distorted faces when shooting too close with a wide lens
- blocked subjects because grass or objects cover important details
- soft images caused by slow shutter speed or missed focus
A good habit is to check the corners and edges after every few shots. Ground-level framing can introduce distractions you did not notice while composing.
5. Match the Angle to the Subject
Use restraint. Low angle should support the subject, not fight it.
- Portraits: Slightly low can look confident; too low can be unflattering.
- Landscapes: Low works well when foreground texture matters.
- Architecture: Great for scale, but keep vertical lines in mind.
- Street photography: Use it sparingly for emphasis or storytelling.
- Macro-style close-ups: Even without a macro lens, low positioning can make tiny details feel important.
6. Try a Fast Beginner Exercise
Visit one simple location, like a park path or your backyard. Photograph the same subject three ways:
- standing height
- knee height
- ground level
Then compare the images. Which one has the cleanest background? Which feels deepest? Which tells the story best? This comparison quickly teaches you when “get down and dirty” adds impact and when it is just a gimmick.
FAQ
What Is a Low-angle Shot in Photography?
A low-angle shot is a photo taken with the camera positioned below normal eye level, often near the subject or close to the ground. It changes perspective, making foreground elements larger and subjects feel more dramatic, immersive, or visually important.
Do I Need a Wide-angle Lens to Shoot from a Low Perspective?
No. Perspective comes from camera position, not just focal length. A wide-angle lens can exaggerate the effect, but a standard lens works too. Start by changing your camera height first, then choose the focal length that frames the scene best.
How Do I Keep Low-angle Photos Sharp?
Use a shutter speed fast enough for handheld shooting, focus on the main subject, and raise ISO if needed. A middle aperture like f/5.6 to f/8 often helps. If possible, brace your elbows, use a flip screen, or rest the camera on the ground.
Why Do Low-angle Photos Sometimes Look Distorted?
They look distorted when you shoot very close with a wide lens or tilt the camera too aggressively. Near objects become oversized and lines can stretch. That can be creative, but if it looks awkward, back up a little or raise the camera slightly.
What Subjects Look Best from Ground Level?
Subjects with interesting foregrounds or strong shape usually work best: flowers, pets, kids, roads, puddles, bikes, statues, and some landscapes. Ground level is also useful when you want cleaner backgrounds, stronger leading lines, or a more immersive point of view.