Beach photography rewards you with clean horizons, bright color, reflections, and dramatic skies, but it also exposes your camera to three main threats: intense light, blowing sand, and salt moisture. The easiest way to think about it is this: every beach photo is a balance between image-making and gear protection. You want settings that handle bright scenes, composition choices that avoid unnecessary risk, and simple maintenance habits that stop small exposure from becoming long-term damage.
For beginners, the best approach is to plan before you leave, shoot during better light, keep your camera sealed and stable while working, and clean it properly when you get home. That workflow improves your photos and reduces the chance of scratched lenses, sticky buttons, sensor dust, or corrosion. Once you see beach shooting as both a photography task and a care routine, the whole process becomes much easier.
That same mix of planning, timing, and camera care also matters in surf photography for beginners, where the action moves faster near the water.
Start with a Simple Beach Photography Mental Model
A beach scene looks simple, but it creates two challenges at once. First, the light is often harsh and reflective, which can blow out highlights and fool your camera meter. Second, the environment is physically hostile to electronics because sand, salt, wind, and humidity can get into small openings.
A useful beginner mental model is: see the light, control the exposure, reduce the exposure of the camera itself. That means you watch where the sun is, choose settings for bright conditions, and avoid actions that invite damage, like changing lenses in the wind or placing your camera on a towel full of sand.
If you make every decision through those three checks, beach photography and digital camera maintenance naturally work together.
Prepare Your Camera Gear Before You Head to the Beach
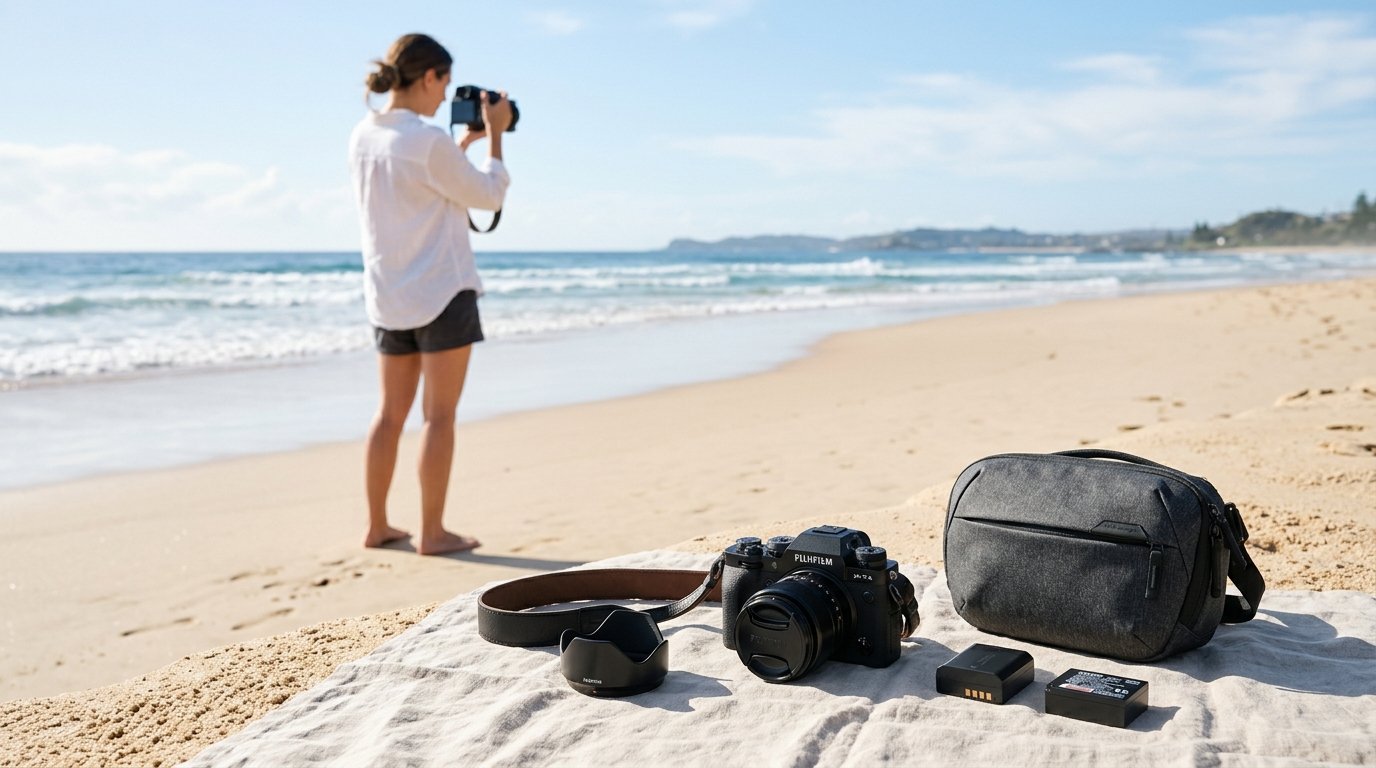
Good beach results start at home, not on the shoreline. Charge all batteries, clear and format memory cards, and mount the lens you expect to use most. The less you need to open your bag or swap gear outdoors, the better.
If possible, bring one camera body and one versatile lens. A zoom like a standard walkaround range often works better than carrying multiple lenses that increase sensor exposure. Attach a lens hood to reduce flare and add light physical protection. A clear or UV filter can help protect the front element from spray and blowing grit, though image quality matters more than cheap glass.
Pack with protection in mind: a zip bag or dry pouch, a microfiber cloth, a blower, spare battery, fresh silica gel, and a soft brush. Use a bag that closes fully, not an open-top tote.
Before leaving, check your camera strap, weather seals if your model has them, and forecast conditions. Strong wind matters as much as sun. The best preparation reduces both rushed shooting decisions and unnecessary cleaning later.
| Beach condition | Common photo problem | Smart camera-care action |
|---|---|---|
| Harsh midday sun | Washed highlights, deep shadows | Use exposure compensation and keep lens hood on |
| Windy dry sand | Soft images from grit on lens, sensor risk | Avoid lens changes and keep camera in closed bag when not shooting |
| Salt spray near waves | Hazy front element, corrosion risk | Step back, wipe only after loose moisture settles, clean fully later |
| Humid sunset air | Fogging on lens or screen | Let gear acclimate gradually and keep sealed when moving environments |
Use the Best Light and Timing for Beach Photos
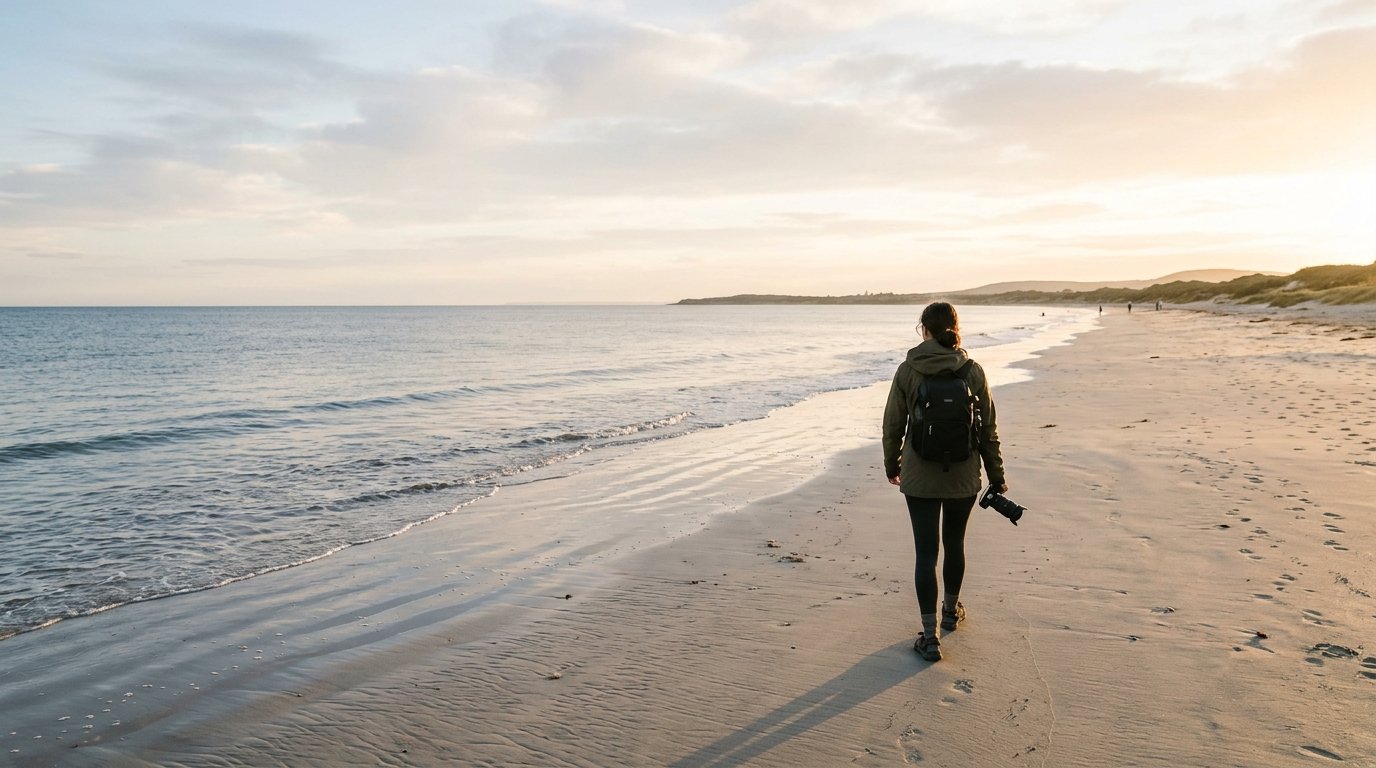
The easiest way to improve beach photos is to choose better light. Early morning and late afternoon usually give you lower contrast, warmer color, softer shadows, and more texture in the sand and water. Those times also tend to be cooler and sometimes less crowded, which helps both your composition and your camera handling.
Midday can still work, especially for bright blue water, high-key family scenes, or graphic shadows, but it is less forgiving. White sand and reflective water can push highlights too far, and heat can make long sessions uncomfortable for both you and your gear.
Try to arrive 20 to 30 minutes before the light you want. That gives you time to set exposure, clean the front element, and choose a safer position before conditions peak. Better timing is not just an artistic choice. It also reduces the need to fight the harshest sun, heat, and glare.
Dial in Camera Settings for Common Beach Scenes
Beach scenes often look brighter than your camera expects, so exposure mistakes are common. Start by watching your histogram rather than trusting the screen alone. If the sand looks gray or the sky loses detail, make small corrections.
For a simple all-purpose starting point in bright sun, use Aperture Priority, ISO 100, and an aperture around f/8 for landscapes. If your image looks too dark because the meter is trying to protect the bright sand, add +0.3 to +1.0 exposure compensation. Check that highlights in clouds or wave foam are still intact.
For moving subjects like kids running or splashing at a safe distance, switch to Shutter Priority or Manual with auto ISO and aim for 1/1000 sec or faster. In softer evening light, 1/250 to 1/500 sec may be enough for slower movement. Use continuous autofocus if subjects are moving toward or across the frame.
For portraits on the beach, try f/2.8 to f/5.6 if you want background blur, but watch your shutter speed in bright light. If your camera is hitting its maximum shutter speed, lower ISO to base or stop down slightly. For groups, use f/5.6 to f/8 to keep faces sharp.
For sunsets, meter for the sky, not the sand. Underexposing slightly often keeps color stronger. A starting point might be ISO 100, f/8, and a shutter speed based on the scene, then adjust after checking the histogram. If you want silhouettes, expose for the brightest part of the sky and let foreground subjects go dark.
White balance can stay on Auto in many cases, but Daylight gives more consistent color across a series. Keep your settings simple. The real goal is controlled exposure in bright, reflective conditions.
Compose Better Beach Photos Without Taking Unnecessary Risks
Better beach composition does not require standing ankle-deep in surf with your camera inches above the water. Start with stable, dry ground and look for layers: foreground sand patterns, a subject in the middle, and sky or horizon in the background.
Keep the horizon level, especially over open water. Place it high when the sand or shoreline textures matter most, and low when the sky is the story. Use footprints, tide lines, umbrellas, piers, or receding waves as leading lines.
Instead of moving dangerously close to spray, zoom in. Instead of crouching in wet sand, shift a few feet and use a different angle. Cleaner composition often comes from patience and framing, not risk. If you protect your position, you usually protect your camera too.
Protect Your Camera While Shooting on the Beach
While actively shooting, your main job is to limit exposure time and exposure points. Keep the camera out only when you are using it. When you stop, put it back in a closed bag or sealed pouch rather than leaving it hanging in blowing sand.
Avoid changing lenses on the beach unless absolutely necessary. If you must do it, move to a sheltered area, turn your back to the wind, point the camera mount downward, and make the swap quickly. Never leave body caps or rear lens caps loose in sand.
Use a strap at all times. Beach footing can shift, and a dropped camera can land in sand or shallow salt water in a second. Keep a microfiber cloth handy, but do not grind grit across the lens. Blow or brush away loose particles first.
Be especially careful near waves. Rogue water reaches farther than many beginners expect. If you want wave action, shoot from a safe distance with a longer focal length. Also remember that fine mist can travel even when you are not obviously close to the waterline.
Finally, do not set your camera directly on towels, blankets, or driftwood coated with grit. A closed bag, clean case, or your own hands are safer temporary resting places.
Clean and Maintain Your Digital Camera After a Beach Session
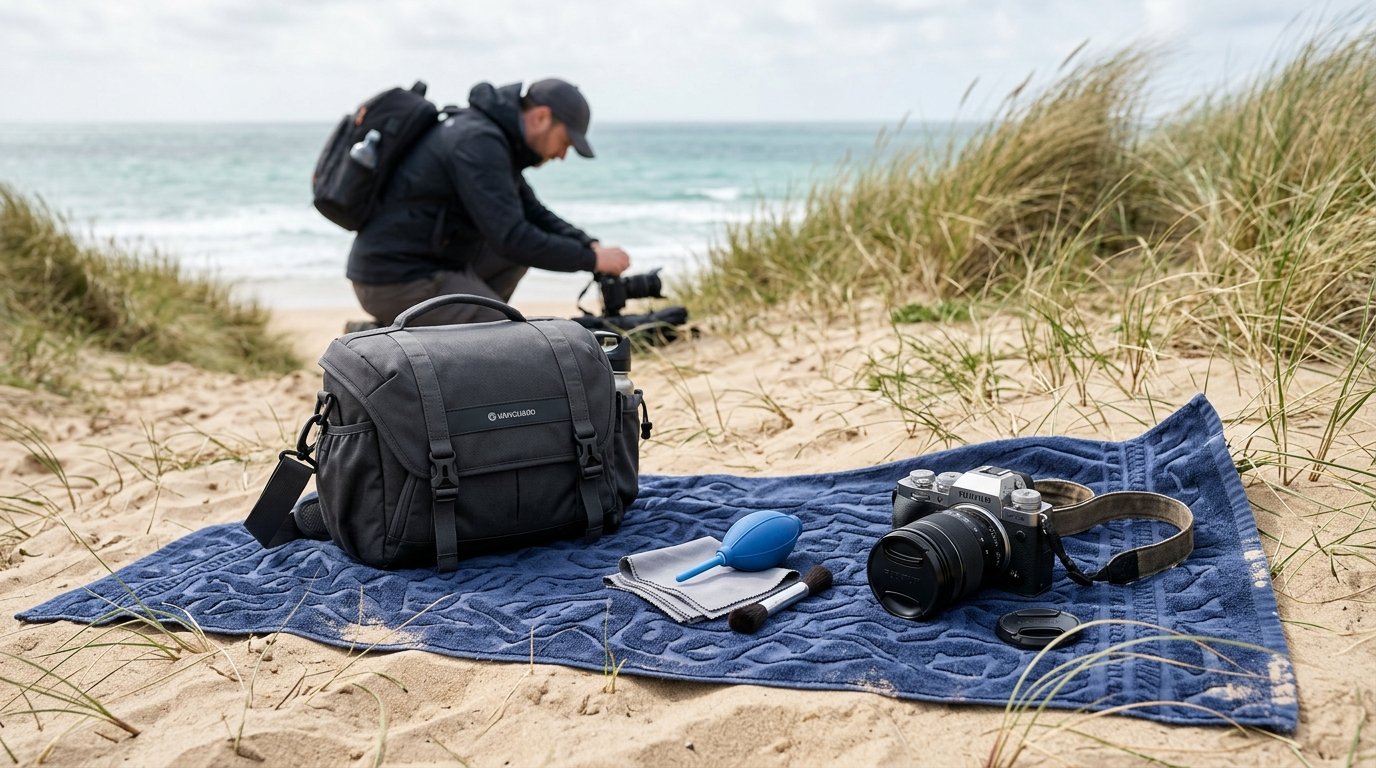
Post-shoot cleaning matters because beach damage is often delayed. Sand may scratch later, and salt residue can attract moisture and encourage corrosion over time. Clean your gear in a calm indoor space, not in the parking lot while wind is still blowing.
Start with the outside of the bag, tripod feet if used, and accessories so you do not re-contaminate the camera. Then inspect the camera body and lens carefully. Use a blower first to remove loose sand from seams, buttons, the hot shoe area, and around the lens barrel. A very soft brush can help lift trapped grains, but do not force anything.
Next, wipe exterior surfaces gently with a slightly damp microfiber cloth if salt spray is present. The cloth should be lightly moistened with fresh water, not dripping wet. Follow with a dry section of the cloth. For the front lens element, blow off grit first, then wipe gently from the center outward with a clean lens cloth or proper lens tissue.
Do not open battery, card, or port doors until the outside is clean. Otherwise, loose sand can fall inward. If you suspect moisture intrusion, let the camera dry in a ventilated room with silica gel nearby before opening compartments.
Check zoom and focus rings for grinding. If controls feel rough, stop and get professional service rather than working grit deeper into the mechanism. Finally, store the camera in a dry place, recharge batteries, and do one last image review to catch any signs of sensor dust or flare from residue. Careful cleaning after each beach trip is the best long-term maintenance habit.
Mistakes Beginners Make with Beach Photography and Camera Care
The most common beginner mistake is treating the beach like any other location. It is not. Bright reflective light causes exposure errors, and the environment punishes casual handling.
Other frequent mistakes include changing lenses in the wind, wiping sandy glass without blowing it first, walking too close to waves for dramatic angles, and leaving gear uncovered while resting or talking. Some photographers also trust the rear screen too much in bright sun and miss clipped highlights.
On the maintenance side, many people clean too late or too aggressively. Salt residue should not sit for days, and gritty surfaces should never be rubbed hard. Small habits make the difference: shoot simply, keep gear closed, and clean in the right order.
FAQ
Can Sand Ruin a Digital Camera?
Yes. Sand can scratch lens coatings, jam zoom or focus mechanisms, wear down buttons and dials, and contaminate the sensor area during lens changes. A little surface sand is manageable, but grinding particles into moving parts can cause expensive damage.
How Do I Clean Salt Spray Off My Camera and Lens?
First remove loose grit with a blower. Then wipe exterior surfaces with a lightly damp microfiber cloth using fresh water, followed by a dry cloth. For lenses, blow first, then clean gently with proper lens tissue or a clean microfiber cloth.
Is It Safe to Bring a Mirrorless or Dslr Camera to the Beach?
Yes, if you use basic precautions. Bring minimal gear, avoid lens swaps in wind, keep the camera in a closed bag when idle, use a strap, and clean it promptly afterward. Weather sealing helps, but it does not make a camera beach-proof.
What Camera Settings Work Best for Bright Beach Sunlight?
A strong starting point is Aperture Priority, ISO 100, and around f/8 for general scenes. Add positive exposure compensation if sand looks dull or gray. For action, use at least 1/1000 sec. Check the histogram to protect highlights.
Should I Use a Uv Filter to Protect My Lens at the Beach?
A UV or clear filter can add a sacrificial layer against spray and blowing grit, which many beach shooters appreciate. Just use a good-quality filter. Cheap filters can reduce image quality and add flare, especially in strong seaside light.