Quick Answer
The best 6 pieces of photography advice are simple habits you can use with any camera: compose deliberately, look for better light, make the subject obvious, learn basic camera control, shoot with intention, and review your photos honestly.
You do not need expensive gear to improve quickly. Most stronger photos come from clearer decisions before, during, and after pressing the shutter.
| Advice | What it improves | Quick practice |
|---|---|---|
| Compose before you shoot | Cleaner, more balanced images | Move your feet before zooming |
| Find good light | Mood, detail, color | Shoot the same subject in shade and sun |
| Make the subject clear | Stronger visual impact | Ask, “What is this photo about?” |
| Control the camera basics | Fewer blurry or poorly exposed shots | Practice aperture, shutter speed, and ISO |
| Shoot with intention | More consistent results | Pick one goal for each photo walk |
| Review your work | Faster improvement | Keep three wins and one fix from each shoot |
These tips work because they focus on decision-making, not memorizing every setting. A beginner who learns to see light, simplify a frame, and review mistakes will improve faster than someone who only upgrades equipment.
How to Think About This Topic
Photography becomes easier when you stop thinking of it as “capturing whatever is in front of me” and start thinking of it as “making choices about what the viewer should notice.” Every good photo is the result of small decisions: where you stand, what you include, what you exclude, when you press the shutter, and how you handle light.
A useful mental model is this: subject, light, frame, settings, purpose, review.
First, identify the subject. If you cannot explain the subject in one sentence, the viewer may not understand it either. “My dog sleeping in window light” is clear. “A room with a dog, chair, books, and some sunlight” is less clear.
Second, study the light. Light changes the feeling of a photo more than most beginners expect. Soft window light can make a portrait calm and flattering. Harsh midday sun can create strong contrast and deep shadows. Neither is automatically good or bad, but each creates a different result.
Third, build the frame around the subject. Composition is not just the rule of thirds. It is the act of arranging the image so the subject stands out. That might mean stepping closer, lowering the camera, waiting for a distracting person to leave, or using a doorway as a natural frame.
Fourth, use settings to support the idea. Camera control is important, but it is not the starting point for every photo. Settings should serve the image. A fast shutter speed helps freeze a running child. A wide aperture can blur a messy background. A lower ISO can preserve detail in good light.
Fifth, shoot with purpose. Instead of taking twenty random photos, choose one thing to practice: reflections, shadows, portraits, motion, or clean backgrounds.
Finally, review your images. Improvement happens when you notice patterns. If your favorite photos all have simple backgrounds, that tells you something. If your weak photos are often cluttered or blurry, that gives you a clear next step.
Practical Guidance
1. Compose Before You Shoot
Before pressing the shutter, scan the edges of the frame. Beginners often focus only on the center and miss distractions near the borders: trash cans, bright signs, half-cut people, or awkward branches.
Exercise: take one photo quickly, then take a second photo after moving two steps left, right, forward, or back. Compare them. The second frame is often stronger because you made a deliberate choice.
2. Look for Better Light
Good light does not always mean bright light. It means light that suits the subject. For portraits, open shade or window light is often easier than direct sun. For landscapes, early morning and late afternoon usually give warmer color and longer shadows.
Exercise: photograph the same object near a window, under a ceiling light, outside in shade, and in direct sun. Notice how texture, color, and mood change.
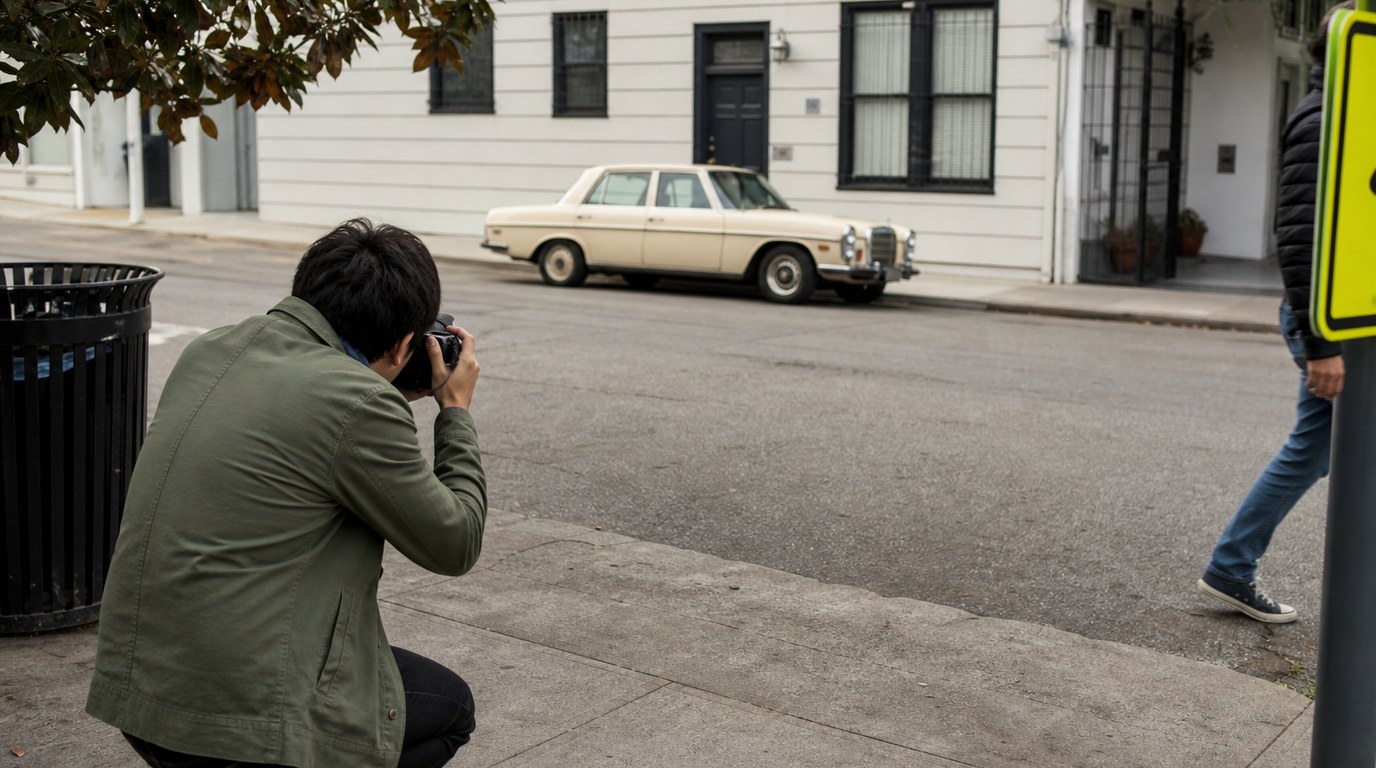
3. Make the Subject Obvious
A strong photo usually has a clear answer to “What should I look at first?” If everything competes for attention, the image feels confusing.
Use contrast, focus, placement, or simplicity to guide the viewer. For example, if you photograph a cyclist, wait until they pass in front of a clean wall instead of a busy storefront. If you photograph food, remove extra napkins, bags, and clutter from the table.
Exercise: before each shot, say the subject out loud. Then remove or reframe anything that does not support it.
4. Learn the Camera Basics That Matter Most
You do not need to master every menu. Start with three controls: shutter speed, aperture, and ISO.
Shutter speed affects motion. Use faster speeds for action and slower speeds when you want blur or are using a tripod. Aperture affects depth of field. A wider aperture can blur the background; a narrower aperture keeps more of the scene sharp. ISO affects brightness and noise. Raise it when light is low, but expect more grain.
Exercise: use aperture priority mode for a week. Photograph the same subject at a wide aperture and a narrow aperture so you can see the difference.
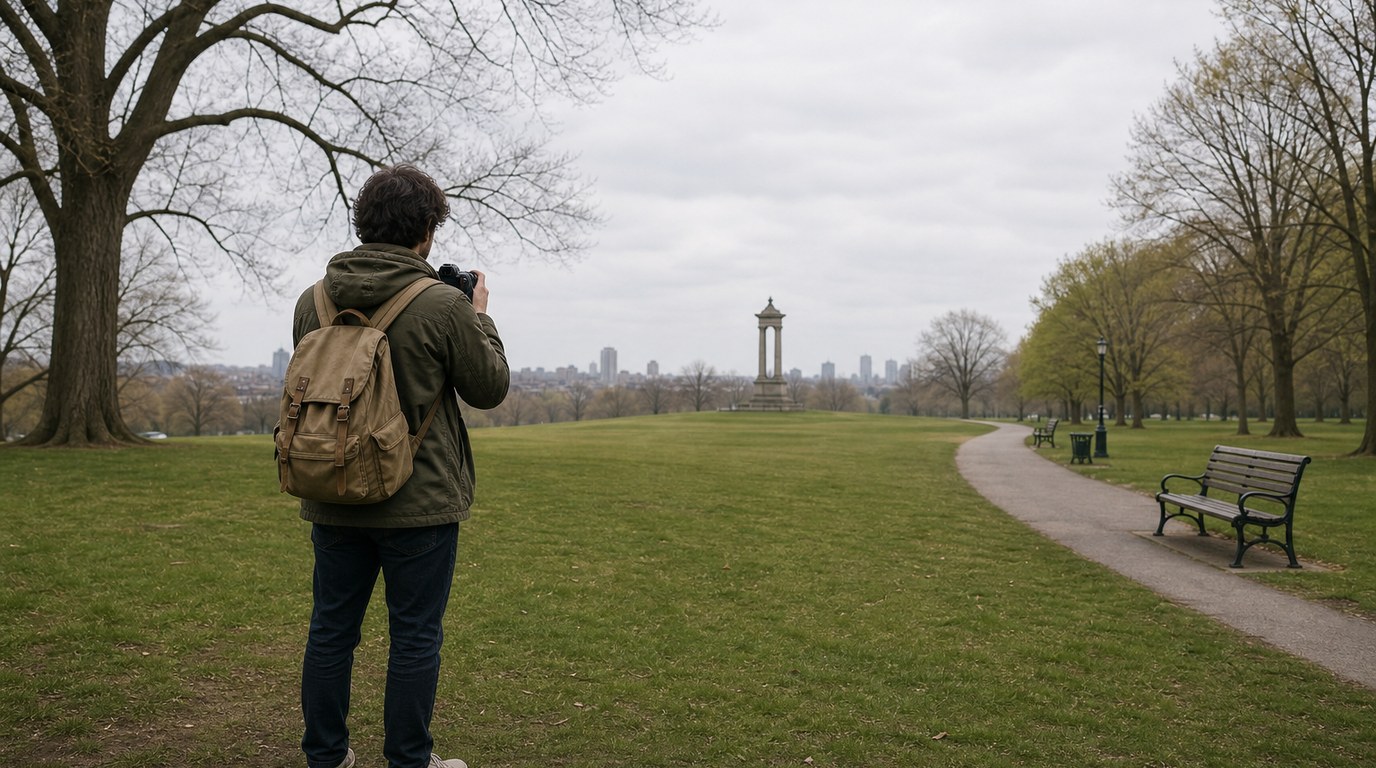
5. Shoot with Intention
Random practice helps less than focused practice. Give each session a small mission. One day, look only for leading lines. Another day, practice portraits in shade. Another day, photograph ordinary objects from unusual angles.
This keeps you from judging success only by whether you “got a great shot.” You also succeed when you learn something specific.
Exercise: choose one theme before a short walk, such as “red objects,” “reflections,” or “hands at work.” Limit yourself to that theme for 20 minutes.
6. Review Your Photos Honestly
Do not only keep shooting. Study your results. Pick your three strongest images from a session and ask why they work. Then choose one weak image and identify one fix. Maybe the background was messy, the shutter speed was too slow, or the subject was too far away.
Exercise: create two folders: “Best” and “Lessons.” The “Lessons” folder is not for failure. It is where your improvement becomes visible.
FAQ
What Should a Beginner Know First About 6 Pieces of Photography Advice?
A beginner should know that these tips are about habits, not perfection. Start by making the subject clear, watching the light, and checking the frame before shooting. Those three choices alone can improve photos faster than learning every advanced camera setting.
What Matters Most When Evaluating 6 Pieces of Photography Advice?
The most useful advice is practical, repeatable, and visible in your results. If a tip helps you make a clearer photo on your next shoot, it matters. Prioritize advice that improves seeing, timing, composition, light, and review habits.
What Mistakes Should Readers Avoid with 6 Pieces of Photography Advice?
Avoid treating the advice as a checklist that must be completed perfectly every time. Also avoid blaming gear too quickly. Many weak photos come from unclear subjects, distracting backgrounds, poor light, or rushed shooting rather than camera limitations.
What Is the Next Logical Step After Learning About 6 Pieces of Photography Advice?
Choose one piece of advice and practice it for a week. For example, focus only on cleaner composition or better light. After that, review your photos and note what improved. Small, focused practice builds skill more reliably than random shooting.