The must-use Lightroom Classic tools for people photographers are the ones that help you create flattering, consistent, believable edits without slowing down the session workflow. Start with Profiles, White Balance, and the Basic panel for the overall look. Then use the Tone Curve and HSL/Color Mixer to refine contrast and color. For portraits, the Masking tools are essential because they let you adjust faces, eyes, hair, clothing, and backgrounds separately. The Healing tool handles small distractions, while Crop, Transform, and Lens Corrections polish the frame. Finally, Presets, Sync, Copy Settings, and Export settings help you deliver a full portrait, wedding, family, or headshot gallery efficiently.
Start with a Simple Portrait Editing Mental Model
A good people-photo edit usually follows this order: correct the whole image, refine the subject, remove distractions, then prepare the file for delivery. That workflow keeps you from over-editing small details before the main exposure and color are right.
Think of Lightroom Classic in layers of decision-making. First, set the foundation with a profile, white balance, exposure, and contrast. Next, adjust color so skin, clothing, and background tones work together. Then use local masks to guide attention toward the face. After that, clean up temporary distractions and crop for stronger composition.
This mental model matters because portraits can fall apart quickly when tools are used randomly. Bright eyes will not save a photo with poor skin color, and heavy skin smoothing will not fix bad overall contrast.
Use Profiles Before Touching the Main Sliders
Profiles are easy to overlook, but they affect the starting point of your portrait edit. In Lightroom Classic, the Profile option appears near the top of the Basic panel. It changes how color and contrast are interpreted before you adjust sliders like Exposure, Highlights, or Saturation.
For people photography, avoid choosing a profile only because it looks dramatic. High-contrast or highly saturated profiles can make skin look harsh, red, or uneven. Adobe Color, Adobe Portrait, and camera-matching portrait profiles are often better starting points.
Set the profile first, then make your normal adjustments. If you change it later, you may need to redo exposure, contrast, and color decisions.
Get Skin Tone Right with White Balance
White Balance is one of the most important Lightroom Classic tools for people photographers because skin quickly reveals color problems. If the temperature is too cool, people can look pale or gray. If it is too warm, skin can look orange. If the tint is off, faces may shift green or magenta.
Start with the White Balance eyedropper if there is a neutral object in the scene, such as a gray wall, white shirt, or neutral pavement. Then adjust by eye. The goal is not always perfect neutrality; it is believable, flattering skin.
For portraits, watch the face more than the background. A warm sunset background may look good, but not if it makes skin look unnatural. Use small Temperature and Tint changes rather than extreme corrections.
Shape Exposure and Contrast in the Basic Panel
The Basic panel is where most portrait edits truly begin. Use Exposure to set the overall brightness, but pay close attention to the face. In people photography, the subject’s skin usually matters more than the brightest background detail.
Highlights can recover bright foreheads, cheeks, wedding dresses, or white shirts. Shadows can open dark hair, suits, or backlit faces. Whites and Blacks set the image’s endpoints, but pushing them too far can make skin look crunchy or flat.
Contrast, Texture, Clarity, and Dehaze need extra care with portraits. A little contrast can add life, but too much Clarity or Texture can exaggerate pores, wrinkles, and makeup. For many people photos, it is better to add contrast globally with restraint and use masks for more specific enhancements.
As a practical starting point, correct exposure first, recover highlights second, lift shadows if needed, then fine-tune contrast.
Refine Portrait Contrast with the Tone Curve
The Tone Curve gives you more controlled contrast than the Basic panel. It is especially useful when a portrait needs depth but the standard Contrast slider feels too heavy.
A gentle S-curve can brighten highlights and deepen shadows while keeping the midtones pleasing. For portraits, the key word is gentle. Skin lives mostly in the midtones, so an aggressive curve can make faces look too harsh or uneven.
Use the Tone Curve after your Basic panel adjustments. That way, you are refining an already-corrected image instead of using the curve to fix basic exposure problems. If the portrait starts to look overly dramatic, reduce the curve or return to the Basic panel and soften the overall contrast.
Control Skin, Clothing, and Background Colors with Hsl/color Mixer
The HSL/Color Mixer panel helps you adjust specific color ranges without changing the entire photo. For people photographers, this is useful for skin tone correction, clothing control, and background harmony.
Skin often falls across red, orange, and sometimes yellow channels. Small Hue adjustments can reduce overly red or orange skin. Luminance can brighten skin slightly, while Saturation can calm strong color casts. Be careful: large HSL changes can make skin look artificial or patchy.
The same panel is helpful when clothing or backgrounds distract from the face. You might lower green saturation in a park portrait, darken blue clothing slightly, or shift yellow indoor light away from the skin. The goal is not to make every color perfect. It is to keep attention on the person while maintaining a natural-looking image.
Use the targeted adjustment tool in the Color Mixer when you are unsure which channel to adjust.
Use Masking for Faces, Eyes, Hair, Clothing, and Backgrounds
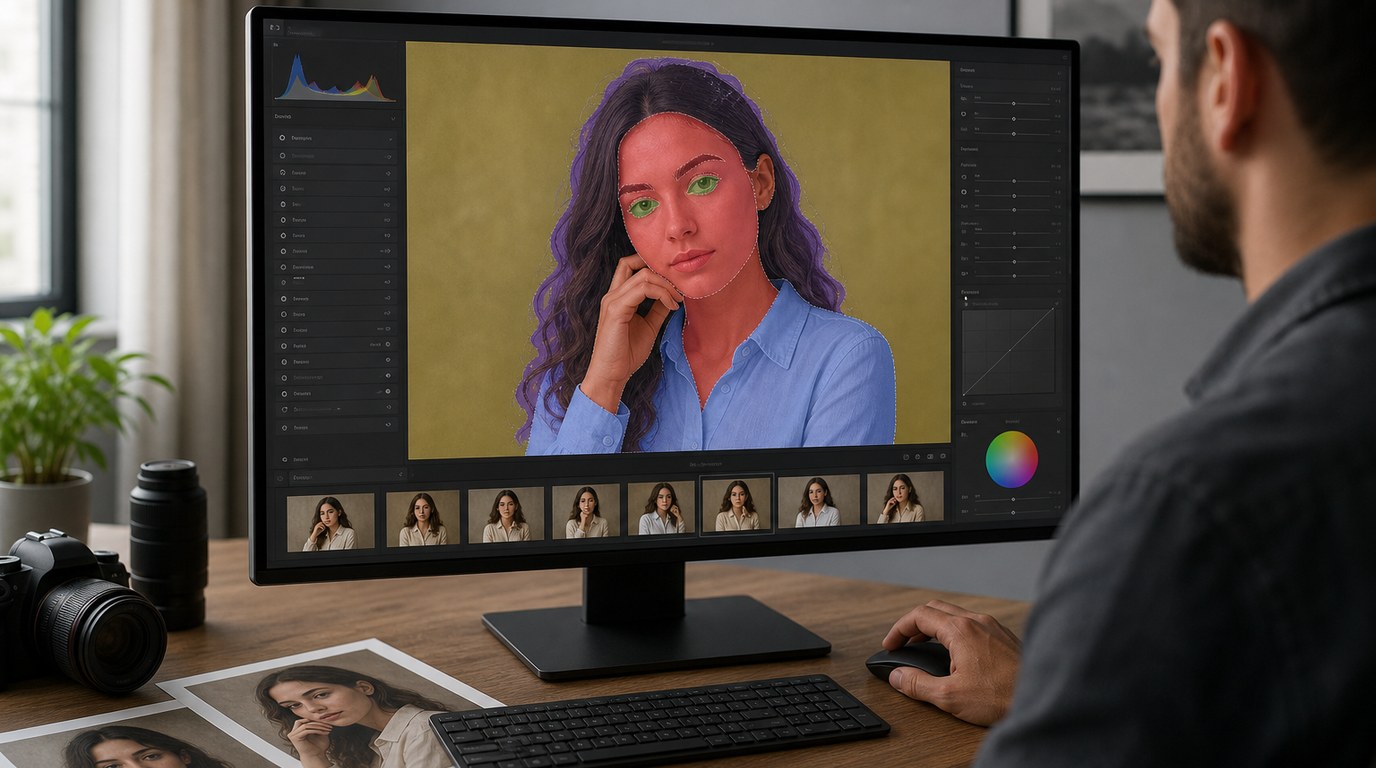
Masking is one of the most powerful Lightroom Classic toolsets for people photographers. Instead of applying every adjustment to the whole image, masks let you control specific parts of the portrait.
Lightroom Classic can detect people and create masks for facial skin, body skin, eyebrows, eye sclera, iris and pupil, lips, teeth, hair, and clothing. This is extremely useful for portraits, weddings, families, and headshots because each area often needs a different kind of adjustment.
For faces, use masks subtly. You might raise Exposure slightly, reduce Texture a little, or soften contrast. Avoid making skin look plastic. For eyes, small changes to Exposure, Whites, or Texture can add clarity, but over-brightened eyes look unnatural fast.
Hair masks can help add definition or recover detail in dark areas. Clothing masks are useful when a white dress is too bright, a black suit is too flat, or a colorful outfit is pulling attention away from the face.
Background masks are equally important. Darkening, softening, or desaturating the background can make the subject stand out without needing a dramatic preset. A simple Select Subject mask combined with an inverted background mask is often enough to guide the viewer’s eye.
Clean up Temporary Distractions with the Healing Tool
The Healing tool is best for small, temporary distractions, not major retouching. Use it to remove blemishes, stray lint, small flyaway hairs, sensor spots, background specks, or a small object near the subject.
For people photography, keep retouching realistic. Removing a temporary blemish is usually fine. Removing permanent facial features, reshaping bodies, or heavily rebuilding skin is beyond what Lightroom Classic is designed to do well.
Zoom in enough to place your healing spots accurately, but also zoom out often to check whether the image still looks natural. If a correction becomes obvious, reduce the opacity, change the source area, or delete the spot and try again.
Use Crop, Transform, and Lens Corrections to Polish the Portrait
Crop is not just for changing aspect ratio. It helps remove edge distractions, improve headroom, and strengthen the subject’s placement in the frame. For headshots, pay attention to eye position and shoulder balance. For family photos, make sure the crop does not cut awkwardly through hands or feet.
Lens Corrections can fix distortion and vignetting caused by the lens. This is useful for portraits made with wider lenses, where faces near the edge of the frame may look stretched.
Transform tools can straighten vertical lines in environmental portraits, especially when walls, doors, or buildings are visible. Use these finishing tools after your main tonal and color edits.
Speed up People Photography Edits with Presets, Sync, and Copy Settings
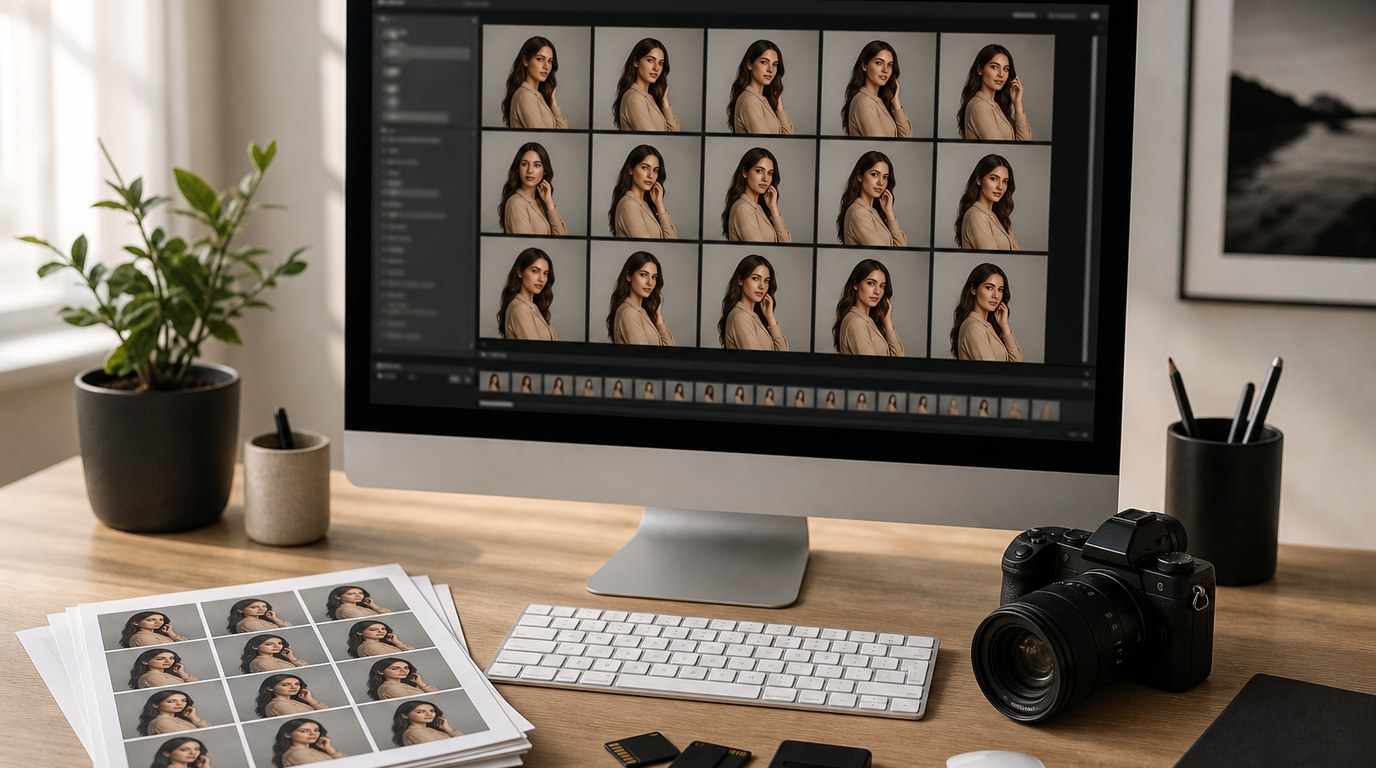
People photographers often edit many similar images from the same session. Lightroom Classic’s efficiency tools help keep the gallery consistent.
Presets are useful starting points, not one-click solutions. A good portrait preset might set a profile, curve, color mix, sharpening style, or subtle tone. After applying it, still adjust exposure and white balance for each lighting situation.
Sync is helpful when several images share the same lighting and camera settings. Edit one image, select the others, then sync appropriate settings. Be careful with masks, healing, and crop settings because they may not fit every frame.
Copy Settings works well when you want to paste selected adjustments from one image to another. For example, you might copy color grading and tone curve but leave out crop and healing. For weddings, families, and events, these tools save hours while keeping the final gallery visually unified.
Export People Photos for Web, Print, and Client Delivery
Export settings should match how the photos will be used. For web and social media, JPEG, sRGB, and a resized long edge are usually practical. For client galleries, high-quality JPEGs in sRGB are widely compatible.
For print, export at full resolution unless the lab gives specific size requirements. Keep quality high, avoid unnecessary resizing, and use appropriate sharpening for matte or glossy paper if needed.
File naming also matters. Use clear names that help clients or labs stay organized, such as family name, session date, or image sequence. A beautiful edit can still create problems if it is exported in the wrong color space, size, or format.
FAQ
What Should a Beginner Know First About Must Use Lightroom Classic Tools for People Photographers?
Start with the tools that affect the whole portrait before using detailed retouching tools. Profiles, White Balance, and the Basic panel create the foundation. Once exposure and skin tone look right, use HSL, Masking, Healing, Crop, and Export tools to finish the image.
What Matters Most When Evaluating Must Use Lightroom Classic Tools for People Photographers?
The most important test is whether the tool helps the person look natural, flattering, and consistent across the gallery. For portraits, skin tone, facial brightness, eye attention, and background control matter more than dramatic effects or heavy presets.
What Mistakes Should Readers Avoid with Must Use Lightroom Classic Tools for People Photographers?
Avoid overusing Clarity, Texture, Saturation, and skin masks. These can make portraits look harsh, orange, gray, or fake. Also avoid syncing crops, healing spots, or masks across unrelated images without checking each frame carefully.
What Is the Next Logical Step After Learning About Must Use Lightroom Classic Tools for People Photographers?
Practice the workflow on one full portrait session. Edit a single image first, then apply the same style across similar photos using Sync or Copy Settings. Compare the gallery for consistent skin tone, exposure, contrast, and export quality.