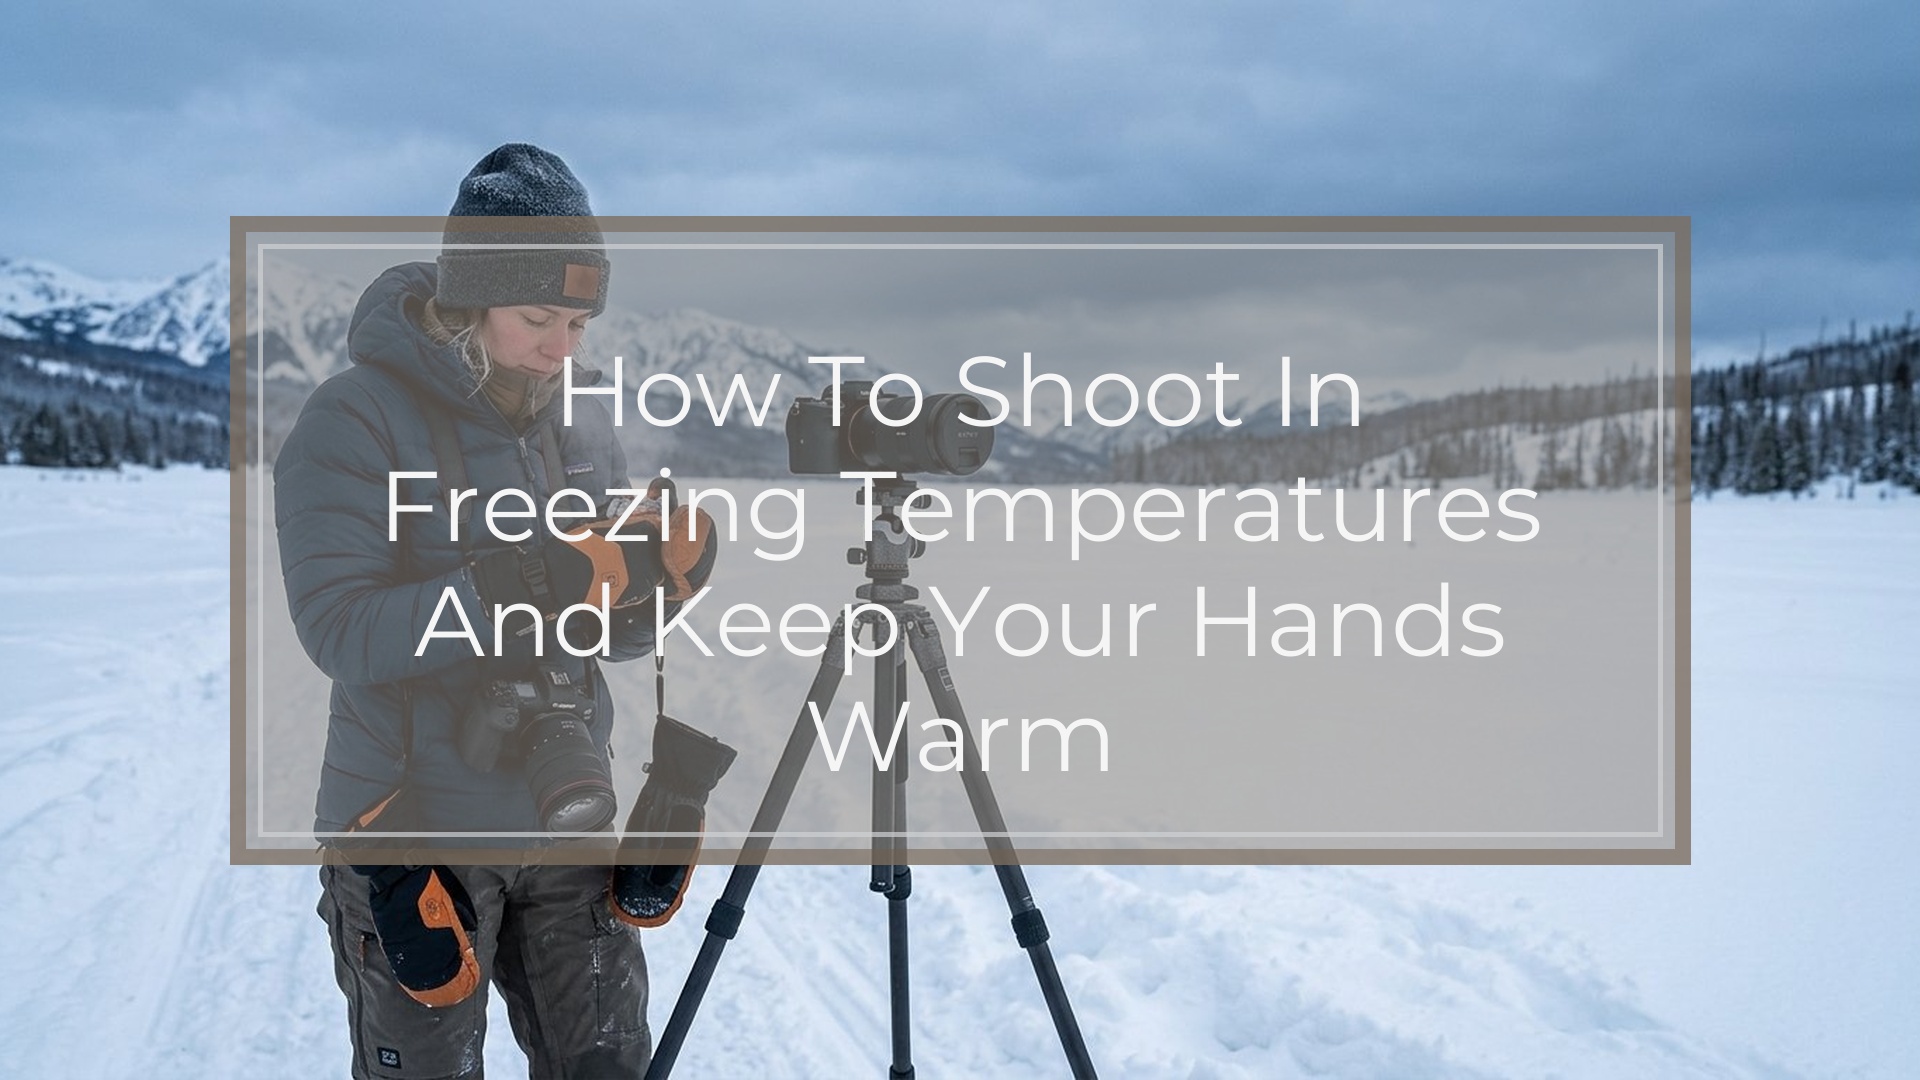
To shoot in freezing temperatures without losing feeling in your hands, prepare as much as possible before you go outside, use a layered glove system, and work in short shooting cycles. Set up your camera indoors, carry warm spare batteries close to your body, and choose settings that reduce tiny button presses in the field.
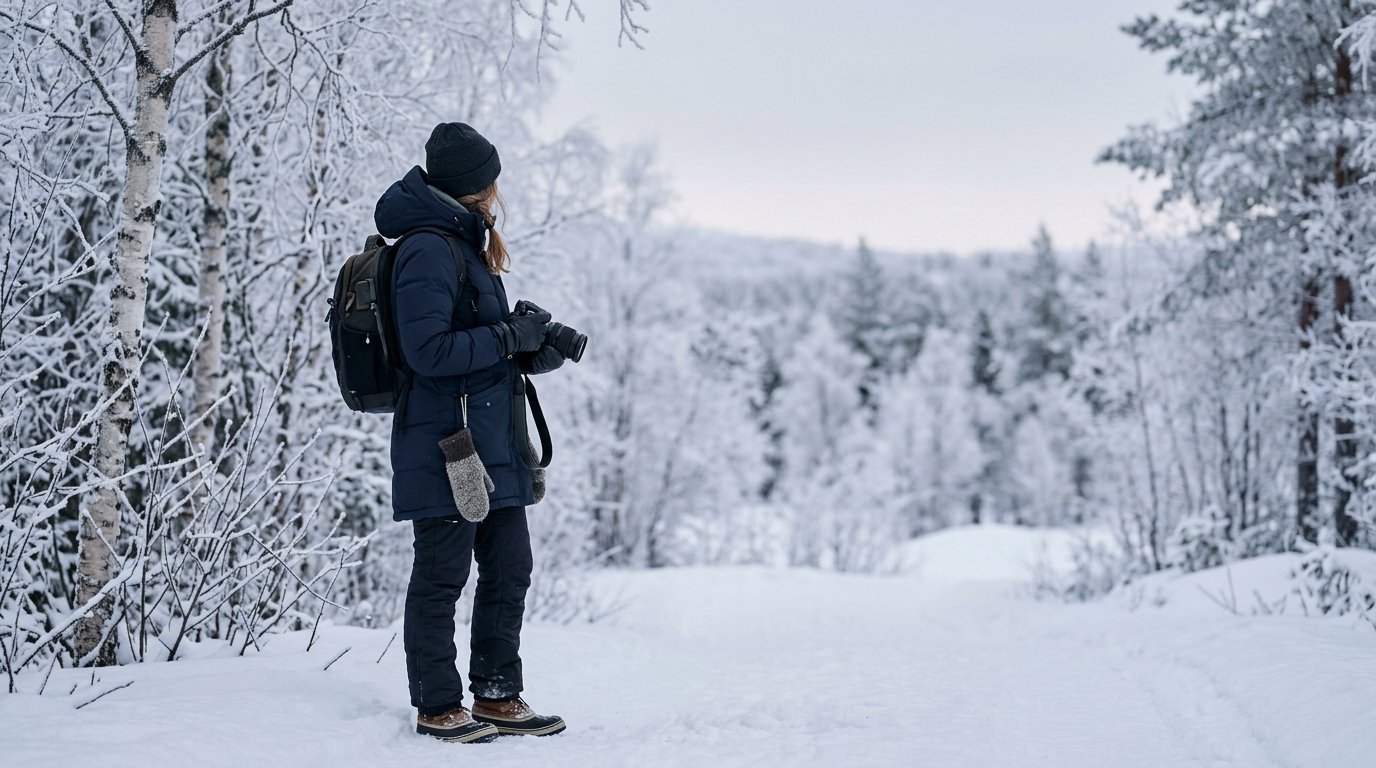
The best hand setup is usually a thin liner glove for camera control, plus a warm mitten or fold-back outer glove for recovery between shots. Add hand warmers in pockets or mittens, not directly against bare skin. When you shoot, expose your fingers only briefly, then re-warm before they get numb.
Cold-weather photography is less about toughness and more about rhythm: shoot, warm your hands, check your settings, then shoot again. If you plan for warmth, battery life, and condensation, freezing weather becomes much easier to manage.
Why Freezing Weather Makes Photography Harder
Freezing weather affects both you and your camera. Your fingers lose dexterity first, which makes small buttons, dials, lens caps, and memory card doors harder to handle. Once your hands get numb, you also start making rushed decisions, dropping gear, or avoiding adjustments you actually need.
Your camera has its own cold-weather problems. Batteries drain faster, LCD screens may respond more slowly, plastic parts can feel stiff, and metal tripods become painfully cold to touch. Snow and breath can also create moisture on camera surfaces.
The key mental model is simple: cold-weather photography is warmth management. You are not just “taking pictures in winter.” You are managing your hands, your batteries, your controls, and the transition back indoors. The better you prepare, the less you have to fumble when your fingers are cold.
Prepare Your Camera Before You Step Into the Cold
The easiest way to keep your hands warm is to reduce how much you need to touch the camera outside. Before you leave the house, car, or lodge, set up the camera for the conditions you expect.
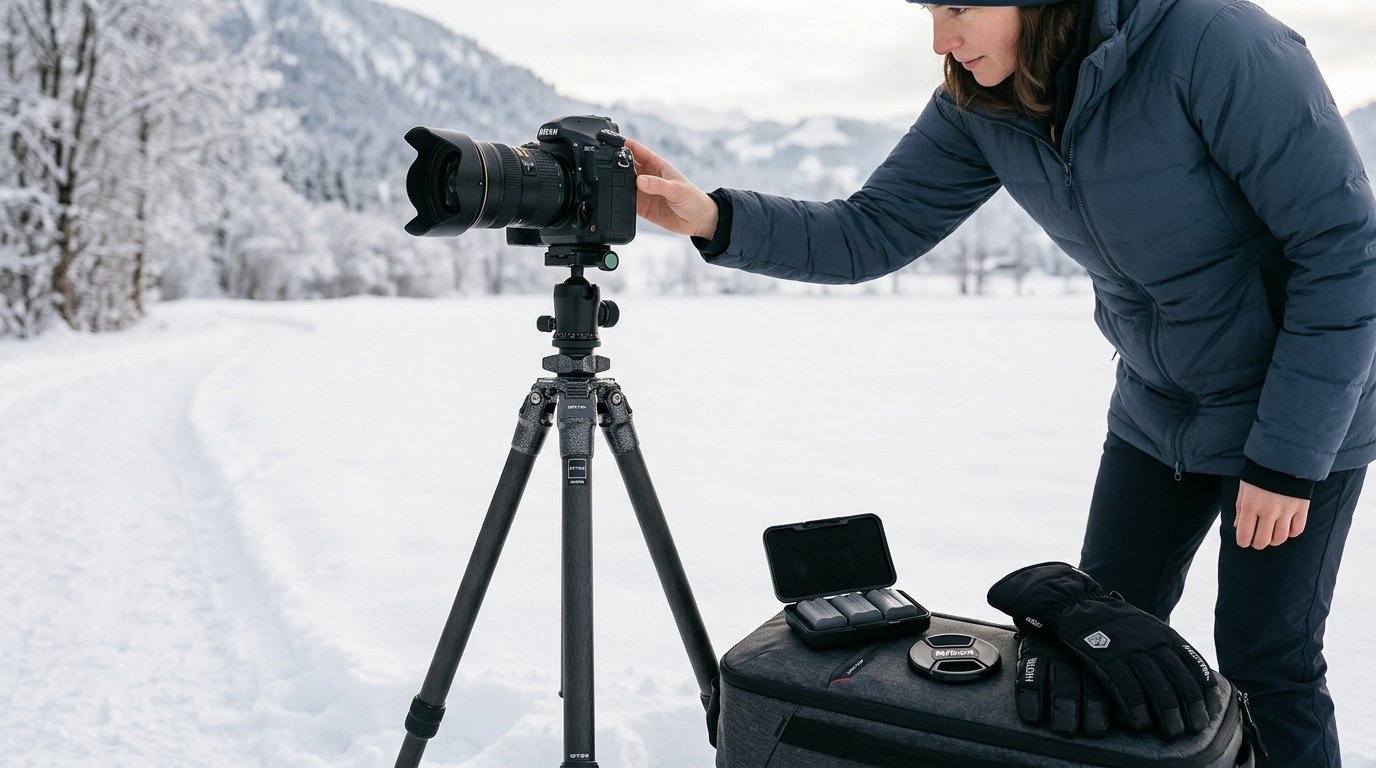
Start with a charged battery, empty memory card, clean lens, and attached lens hood. Choose your main lens ahead of time if possible, because changing lenses in snow or wind is awkward and increases the chance of moisture or debris entering the camera.
Set your shooting mode, image quality, autofocus mode, and drive mode before you step out. If you know you will photograph snowy landscapes, start with aperture priority, RAW, and exposure compensation ready to adjust. If you will photograph moving people or pets, set continuous autofocus and a faster shutter speed before your hands are cold.
Also simplify your physical setup. Attach your strap, loosen stiff zippers, open tripod locks briefly to check them, and put your lens cloth where you can reach it with gloves on. Every small task done early saves warm fingers later.
Build a Hand-warmth System That Still Lets You Use the Camera
The best glove for warmth is often bad for camera control, and the best glove for camera control is often not warm enough. Instead of searching for one perfect glove, build a system.
A practical setup has three layers: thin liner gloves, warm outer mittens or gloves, and a heat source. Liner gloves give you enough grip and touch to press buttons, turn dials, and handle filters. Outer mittens protect your hands while you walk, wait, or review images. Hand warmers help restore heat during pauses.
For many photographers, fold-back mittens are the best compromise. You can flip the mitten cap back, use liner-covered fingers for a short burst of shooting, then close the mitten again. If you use a touchscreen camera, choose liner gloves with conductive fingertips, but do not rely only on the touchscreen in deep cold.
| Hand-warming option | Dexterity | Warmth | Best for |
|---|---|---|---|
| — | —: | —: | — |
| Thin liner gloves only | High | Low | Brief shoots, mild freezing days |
| Thick gloves | Medium | Medium | Walking around with occasional shots |
| Fold-back mittens with liners | High when open, high when closed | High | Most cold-weather photography |
| Heavy mittens plus hand warmers | Low | Very high | Waiting, tripod work, long pauses |
| Bare hands between warm-ups | Very high | Very low | Emergency adjustments only |
Avoid tight gloves. If they restrict circulation, your hands will get cold faster. Also avoid placing chemical warmers directly against bare skin for long periods. Put them in mitten pockets or jacket pockets where you can safely re-warm your fingers.
Use Shooting Cycles: Shoot, Warm, Check, Repeat
In freezing weather, do not wait until your hands are painfully cold before warming them. Use a cycle instead: shoot for a short period, close your mittens or pocket your hands, check your results, then shoot again.
For example, if you are photographing frost on trees, take several compositions while your fingers are still responsive. Then stop for thirty to sixty seconds, put your hands around warmers, and review your histogram or focus. Make your next adjustment while you still have feeling.
This rhythm prevents the common cold-weather spiral: hands get cold, settings become harder, you rush, images suffer, and you stay exposed longer trying to fix mistakes. Short cycles are more efficient. They also make it easier to notice when your fingers are becoming unsafe rather than merely uncomfortable.
Camera Settings That Make Cold-weather Shooting Easier
Choose settings that reduce tiny adjustments and help with snow or bright winter scenes. RAW capture is useful because snow can trick your meter and white balance. RAW files give you more room to correct exposure and color later.
Aperture priority is a good default for landscapes, travel scenes, and still subjects. Set your aperture, choose auto ISO if light is changing, and use exposure compensation to correct brightness. Snow often makes cameras underexpose, so try +0.3 to +1.0 exposure compensation and check the histogram to avoid blown highlights.
For moving subjects, use shutter priority or manual mode with auto ISO. Pick a shutter speed fast enough to stop motion, such as 1/500 second for people walking or playing in snow.
Set autofocus before you are cold. Single autofocus works for still scenes; continuous autofocus helps with movement. Use back-button focus only if you already know it well. Freezing weather is not the best time to learn a new control method.
Finally, customize buttons if your camera allows it. Assign exposure compensation, ISO, or focus area to controls you can operate with gloves.
Keep Batteries, Cards, and Accessories Working in the Cold
Cold reduces battery performance, so carry at least one spare battery and keep it warm in an inner pocket. If your camera battery drops quickly, swap it with the warm spare. The “dead” cold battery may recover some charge after warming up again.
Memory cards usually handle cold better than batteries, but they are small and easy to drop with gloves on. Format cards before the shoot, use a larger-capacity card if appropriate, and avoid changing cards in blowing snow unless necessary.
Keep accessories simple. A lens cloth is essential for snowflakes, fog, or moisture, but keep it dry in a pocket or pouch. A blower can help remove loose snow without rubbing it into the lens. If you use a tripod, foam-covered legs are more comfortable than bare metal. If your tripod has bare metal sections, handle them with gloves only.
Be careful with cables, rubber doors, and cheap plastic clips in extreme cold. They can become stiff or brittle. Move them slowly instead of forcing them.
Prevent Condensation When Moving Between Cold and Warm Places
Condensation is one of the biggest risks after a freezing-weather shoot. When a very cold camera enters warm indoor air, moisture can form on the outside and potentially inside the gear. The safest routine is to seal the camera before bringing it into warmth.
Before going indoors, place the camera and lens in a camera bag, plastic bag, or zip-top bag while still outside or in the cold car. Close it so warm indoor air reaches the bag first, not the camera directly. Then bring it inside and let it warm gradually.
Do not immediately remove the lens, memory card door, or battery door unless necessary. Give the gear time to reach room temperature. Depending on how cold it was, this may take one to several hours. Wipe away exterior moisture only after the camera has warmed safely.
Protect Yourself While You Shoot
Warm hands are not just about comfort; they are part of safe shooting. If your fingers become numb, clumsy, pale, or painful, stop shooting and warm them. Do not push through numbness just because the light is good.
Keep your core warm, because cold hands often start with a cold body. For photography, the most important clothing choices are the ones that let you operate gear safely: gloves you can manage, pockets you can access, and sleeves that do not block camera controls.
Use a neck gaiter or scarf carefully. Your breath can fog viewfinders, glasses, and rear screens, so direct exhaled air away from the camera. If you are working near ice, water, or steep ground, slow down. Cold fingers and slippery footing make dropped gear more likely.
Plan short warm-up breaks. Even a few minutes in a car, shelter, or wind-protected spot can reset your hands and improve your decisions.
A Simple Freezing-weather Photography Workflow
Use this step-by-step routine when you want a dependable cold-weather approach:
- Charge batteries, format cards, clean the lens, and choose your main lens indoors.
- Set your camera mode, RAW capture, autofocus mode, and starting exposure settings before going outside.
- Put on liner gloves, then warm outer mittens or fold-back mittens.
- Keep a spare battery and hand warmers in warm pockets.
- Outside, take a few test shots and check exposure, especially in snow.
- Shoot in short bursts while your fingers still work well.
- Close mittens or pocket your hands before they become numb.
- Review images and adjust settings during warming pauses.
- Brush off snow instead of rubbing it into the lens or camera body.
- Before going indoors, seal the cold camera in a bag and let it warm slowly.
This workflow keeps the shoot calm. Instead of reacting to cold hands and dying batteries, you stay ahead of the problems.
Common Mistakes to Avoid
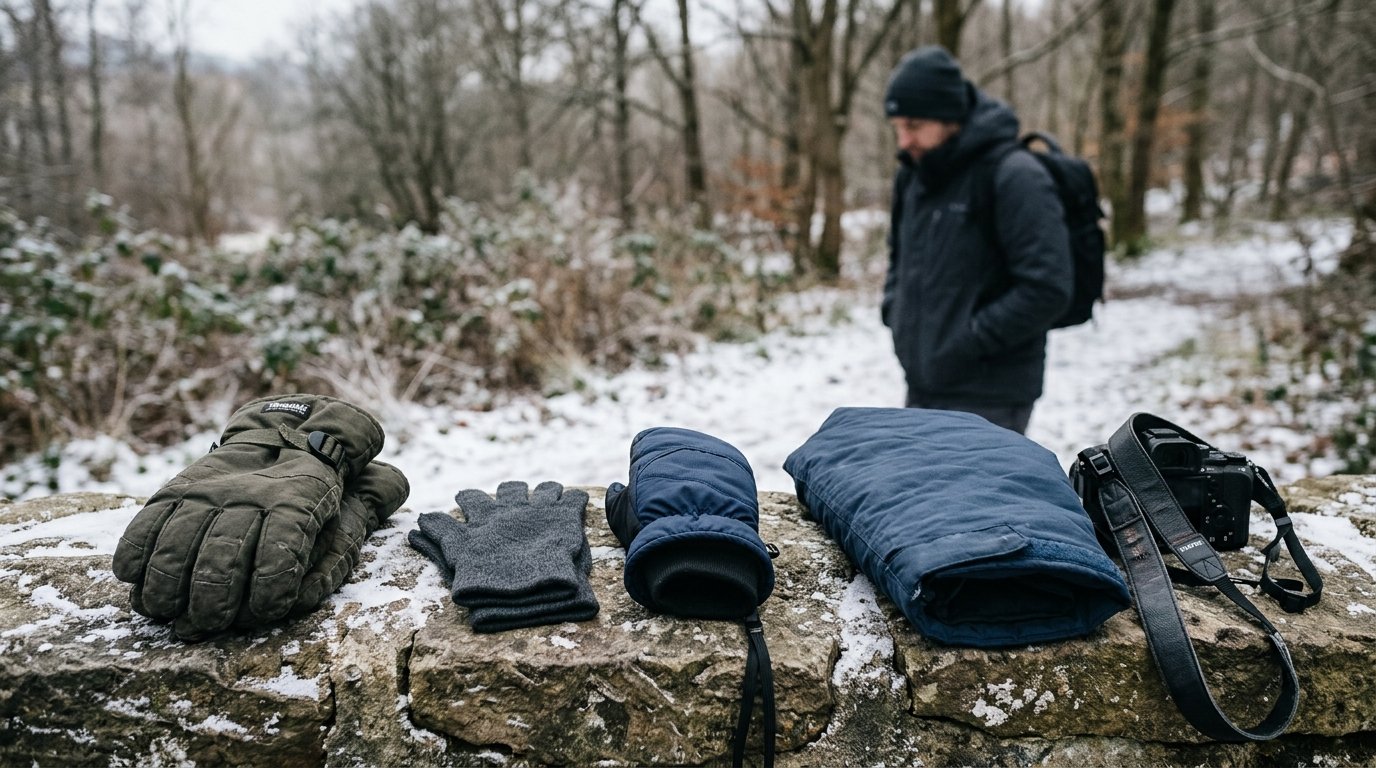
The biggest mistake is wearing one thick glove and expecting it to do everything. You need warmth and control, which usually means liners plus mittens.
Another mistake is waiting too long to warm your hands. Once your fingers are numb, recovery takes longer and camera handling becomes risky.
Do not bring a freezing camera straight into warm humid air without protection. Condensation can be more damaging than the cold itself.
Finally, avoid changing lenses, cards, or batteries in blowing snow unless you truly need to. Prepare first, then keep field changes minimal.
FAQ
What Should a Beginner Know First About How to Shoot in Freezing Temperatures and Keep Your Hands Toasty Warm?
Start by preparing your camera before you go outside and using a liner-glove-plus-mitten system. Your goal is to avoid long periods of exposed fingers. Shoot briefly, warm your hands often, and keep spare batteries close to your body.
What Matters Most When Evaluating How to Shoot in Freezing Temperatures and Keep Your Hands Toasty Warm?
The most important factor is balance: enough warmth to protect your hands, but enough dexterity to operate the camera safely. Fold-back mittens with thin liner gloves are often the best beginner-friendly option because they allow quick control and quick re-warming.
What Mistakes Should Readers Avoid with How to Shoot in Freezing Temperatures and Keep Your Hands Toasty Warm?
Avoid relying on bare hands, wearing gloves that are too tight, ignoring numb fingers, and bringing cold gear directly into warm air. Also avoid making unnecessary lens or card changes outside, especially in snow or wind.
What Is the Next Logical Step After Learning About How to Shoot in Freezing Temperatures and Keep Your Hands Toasty Warm?
Practice close to home on a short cold-weather walk. Test your gloves, hand warmers, camera controls, and battery routine before an important shoot. After one or two practice sessions, you will know what needs adjusting.