
Manual mode improves your photos because it makes you decide the three things that shape every exposure: brightness, motion, and depth of field. That does not mean you should use manual mode all the time. It means learning it gives you control that automatic modes often hide.
The three biggest benefits are more consistent exposure, more creative control, and faster learning when something goes wrong. Once you understand what each setting does, manual mode becomes less intimidating and much more useful.
Manual Mode Is Not About Making Photography Harder
Manual mode has a reputation for being the “serious photographer” setting, but that is not the best way to think about it. Manual mode is simply a way to stop the camera from changing important settings without your permission.
In auto modes, the camera constantly reacts to what it sees. That can be helpful, but it can also create confusing results. Manual mode slows the process down enough for you to understand why a photo looks bright, dark, sharp, blurry, flat, or dramatic.
You are not learning manual mode to prove anything. You are learning it so your camera becomes more predictable.
The Simple Mental Model: You Are Balancing Light, Motion, and Depth
Manual mode is built around three controls: aperture, shutter speed, and ISO. Beginners often hear about the “exposure triangle,” but a simpler way to think about it is this: every setting changes brightness and the look of the photo.
| Setting | Controls | Common visual effect |
|---|---|---|
| Aperture | How much light enters through the lens | Background blur and depth of field |
| Shutter speed | How long light hits the sensor | Frozen or blurred motion |
| ISO | How sensitive the camera is to light | Brightness and image noise |
Your job is not to memorize every number. Your job is to ask, “Do I need more light, sharper motion, or more depth?”
Reason 1: Manual Mode Gives You More Consistent Exposure
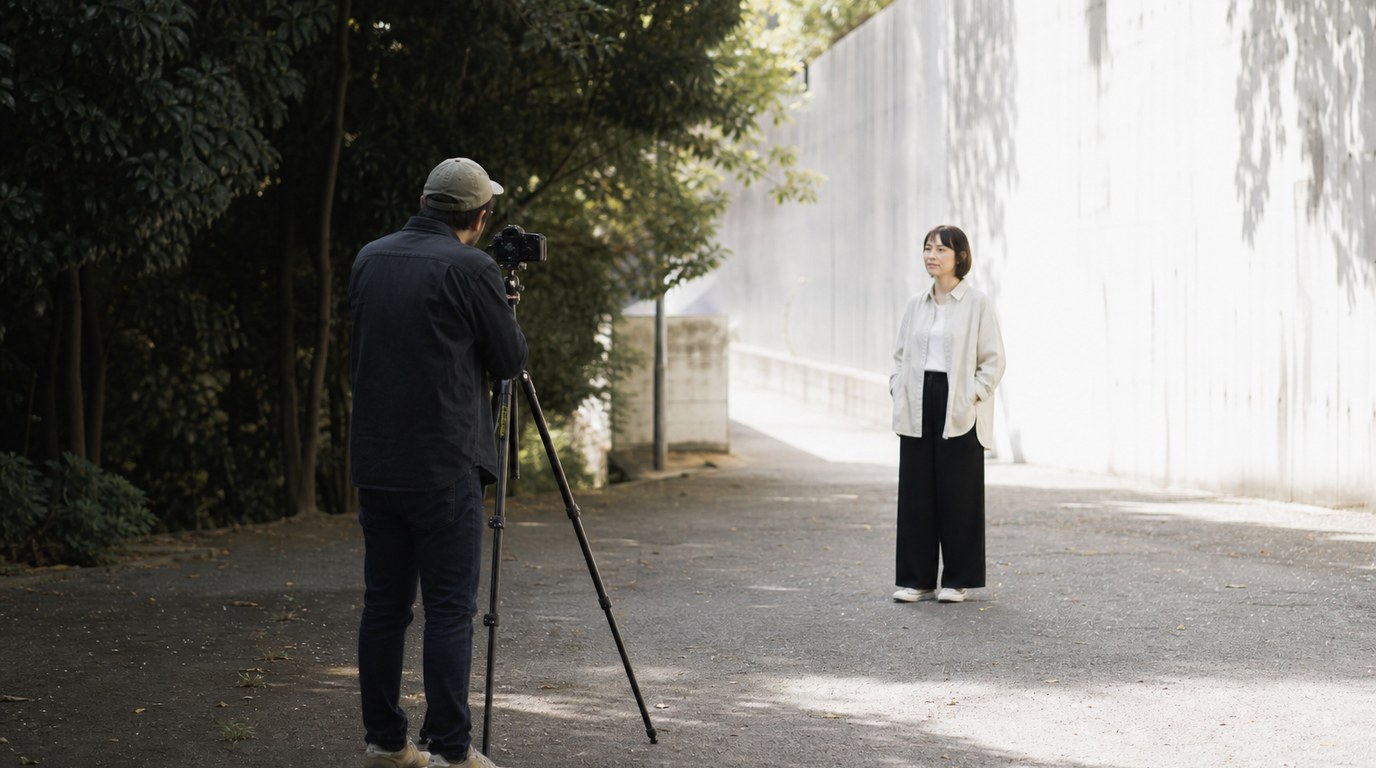
One of the best reasons to use manual mode is consistency. Automatic and semi-automatic modes can change exposure when the subject, background, or framing changes, even if the actual light has not changed.
Imagine photographing a person outdoors in the same spot. If you frame them against a dark tree, the camera may brighten the image. If you shift slightly and frame them against a bright wall, the camera may darken it. The light on the person did not change, but the camera’s guess did.
In manual mode, once you set the exposure for that light, it stays locked. This is especially useful for portraits, product photos, indoor scenes, events, and any situation where you want a set of images to match.
Reason 2: Manual Mode Lets You Choose the Look Instead of Accepting the Camera’s Guess
Auto mode usually tries to create a safe, average exposure. That is useful, but “safe” is not always the same as “interesting.” Manual mode lets you decide what matters most in the image.
If you want a soft portrait with a blurry background, you can choose a wide aperture like f/1.8 or f/2.8. If you want a landscape with the foreground and background both sharp, you can choose a narrower aperture like f/8 or f/11.
Shutter speed gives you another creative choice. A fast shutter speed can freeze a running dog, splashing water, or a child jumping. A slower shutter speed can blur traffic, smooth moving water, or show motion in a dancer’s hands.
Manual mode does not magically make photos artistic. It simply makes the visual decision yours.
Reason 3: Manual Mode Teaches You What Went Wrong
Manual mode is one of the fastest ways to learn because it connects mistakes to specific causes. In auto mode, a bad photo can feel mysterious. In manual mode, you can usually trace the problem.
If the photo is too dark, you need more light through a wider aperture, slower shutter speed, higher ISO, or better lighting. If the subject is blurry, the shutter speed may be too slow. If the background is too distracting, the aperture may be too narrow. If the image looks noisy, the ISO may be higher than necessary.
This feedback loop is valuable: take a photo, notice the problem, change one setting, and compare the result. That builds real understanding faster than letting the camera make every choice.
When You Should Still Use Auto, Aperture Priority, or Shutter Priority
Manual mode is worth learning, but it is not always the best mode. If the light is changing quickly and the moment matters more than perfect control, auto or a priority mode may be smarter.
Aperture priority is excellent when depth of field matters most, such as portraits, street photography, and travel. Shutter priority is useful when motion is the main concern, such as sports, wildlife, or action. Auto mode is fine when you simply need the shot.
The goal is not to use manual mode forever. The goal is to know when it helps.
A Simple Practice Exercise for Learning Manual Mode
Try this in steady light near a window or outdoors. Choose one subject that does not move. Set ISO to 100 or 200. Pick an aperture, then adjust shutter speed until the photo looks properly exposed.
Now change only one setting at a time. Open and close the aperture. Try faster and slower shutter speeds. Raise the ISO and compare the noise. Keep the subject and light the same so each effect is obvious.
Ten focused minutes like this teaches more than random guessing for hours.
FAQ
Should Beginners Start with Manual Mode?
Beginners can start with manual mode, but they do not need to use it for every photo. Practice it in calm situations, then use aperture priority, shutter priority, or auto when speed matters. Learning manual mode builds understanding even if you often use other modes.
Does Manual Mode Always Make Photos Better?
No. Manual mode only improves photos when you use it to make better decisions. A poorly chosen manual setting can produce worse results than auto. Its real value is control and consistency, not automatic improvement.
What Is the Hardest Part of Manual Mode?
The hardest part is balancing changes quickly. Aperture, shutter speed, and ISO each affect brightness and image style. With practice, you stop thinking in isolated numbers and start thinking in priorities: light, motion, and depth.